Welcome to our Livepeer staking guide. In this guide we’re going to show you just how simple it is to stake Livepeer tokens and why it’s important for token holders to do so.
Throughout this guide we’re going to be using a handful of terms that are important to know and understand. If you’re already familiar with Livepeer feel free to skip this section. Otherwise, take a moment to read through this list.
Token Holder – Any person or entity holding Livepeer Tokens (LPT).
Delegator – Person who delegates (stakes) LPT in order to receive a reward.
Delegating / Bonding – Staking LPT for a reward.
Unbonding Period – Period of time during which a token holder’s Livepeer Tokens are delegated and cannot be accessed – seven (7) rounds (between 6-7 days) as of this writing. The unbonding period can be as short as several weeks or as long as several months and is similar in nature to a security deposit.
Orchestrator / Delegate / Transcoding Node – Entity to whom Livepeer Tokens (LPT) are delegated. For anyone familiar with other DPoS blockchains, the transcoding node plays a similar role to the Baker in the Tezos network or the Block Producer in the EOS network.
Inflation
To understand why delegating on the Livepeer Token network is important, it’s necessary to understand the inflation mechanism. In every round, each of which happens about every 21 hours at the moment, the supply of LPT is increased. That makes LPT an inflationary currency which is typically seen as bad for investors.
However, that inflation only hurts token holders who are not delegating. When a token holder delegates their LPT they receive a percentage of the newly created LPT and are protected against inflation. This was a deliberate design by the creators to encourage delegating.
The Role of the Orchestrator
Orchestrators are the nodes that provide video compute for the transcoding and AI inference jobs being transmitted around the Livepeer network. For example, a transcoding node could transcode some livestreaming video in Ultra-High-Definition into something lower quality and requiring much less data. This means that users with weaker internet bandwidth and with less powerful devices can still watch live.
Staking LPT on Livepeer on Arbitrum
In February 2022, Livepeer successfully migrated its protocol to the Arbitrum chain, an Optimistic Rollup that helps to scale Ethereum. Ethereum is referred to as the Layer 1, while chains like Arbitrum are referred to as a Layer 2. In this guide, we will walk you through the steps needed to delegate LPT on Livepeer now that the protocol is on Arbitrum. You will need to:
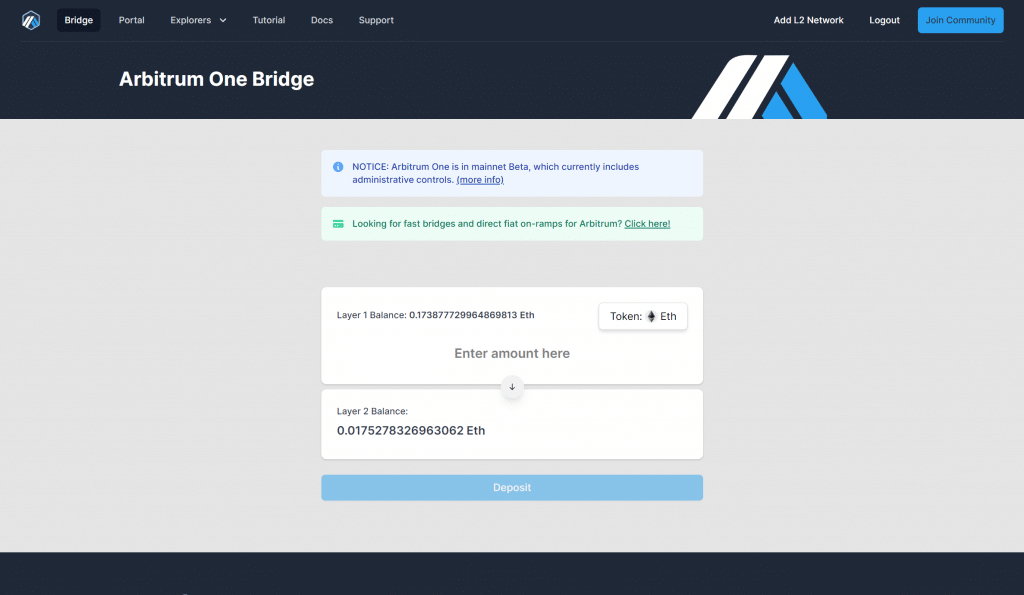
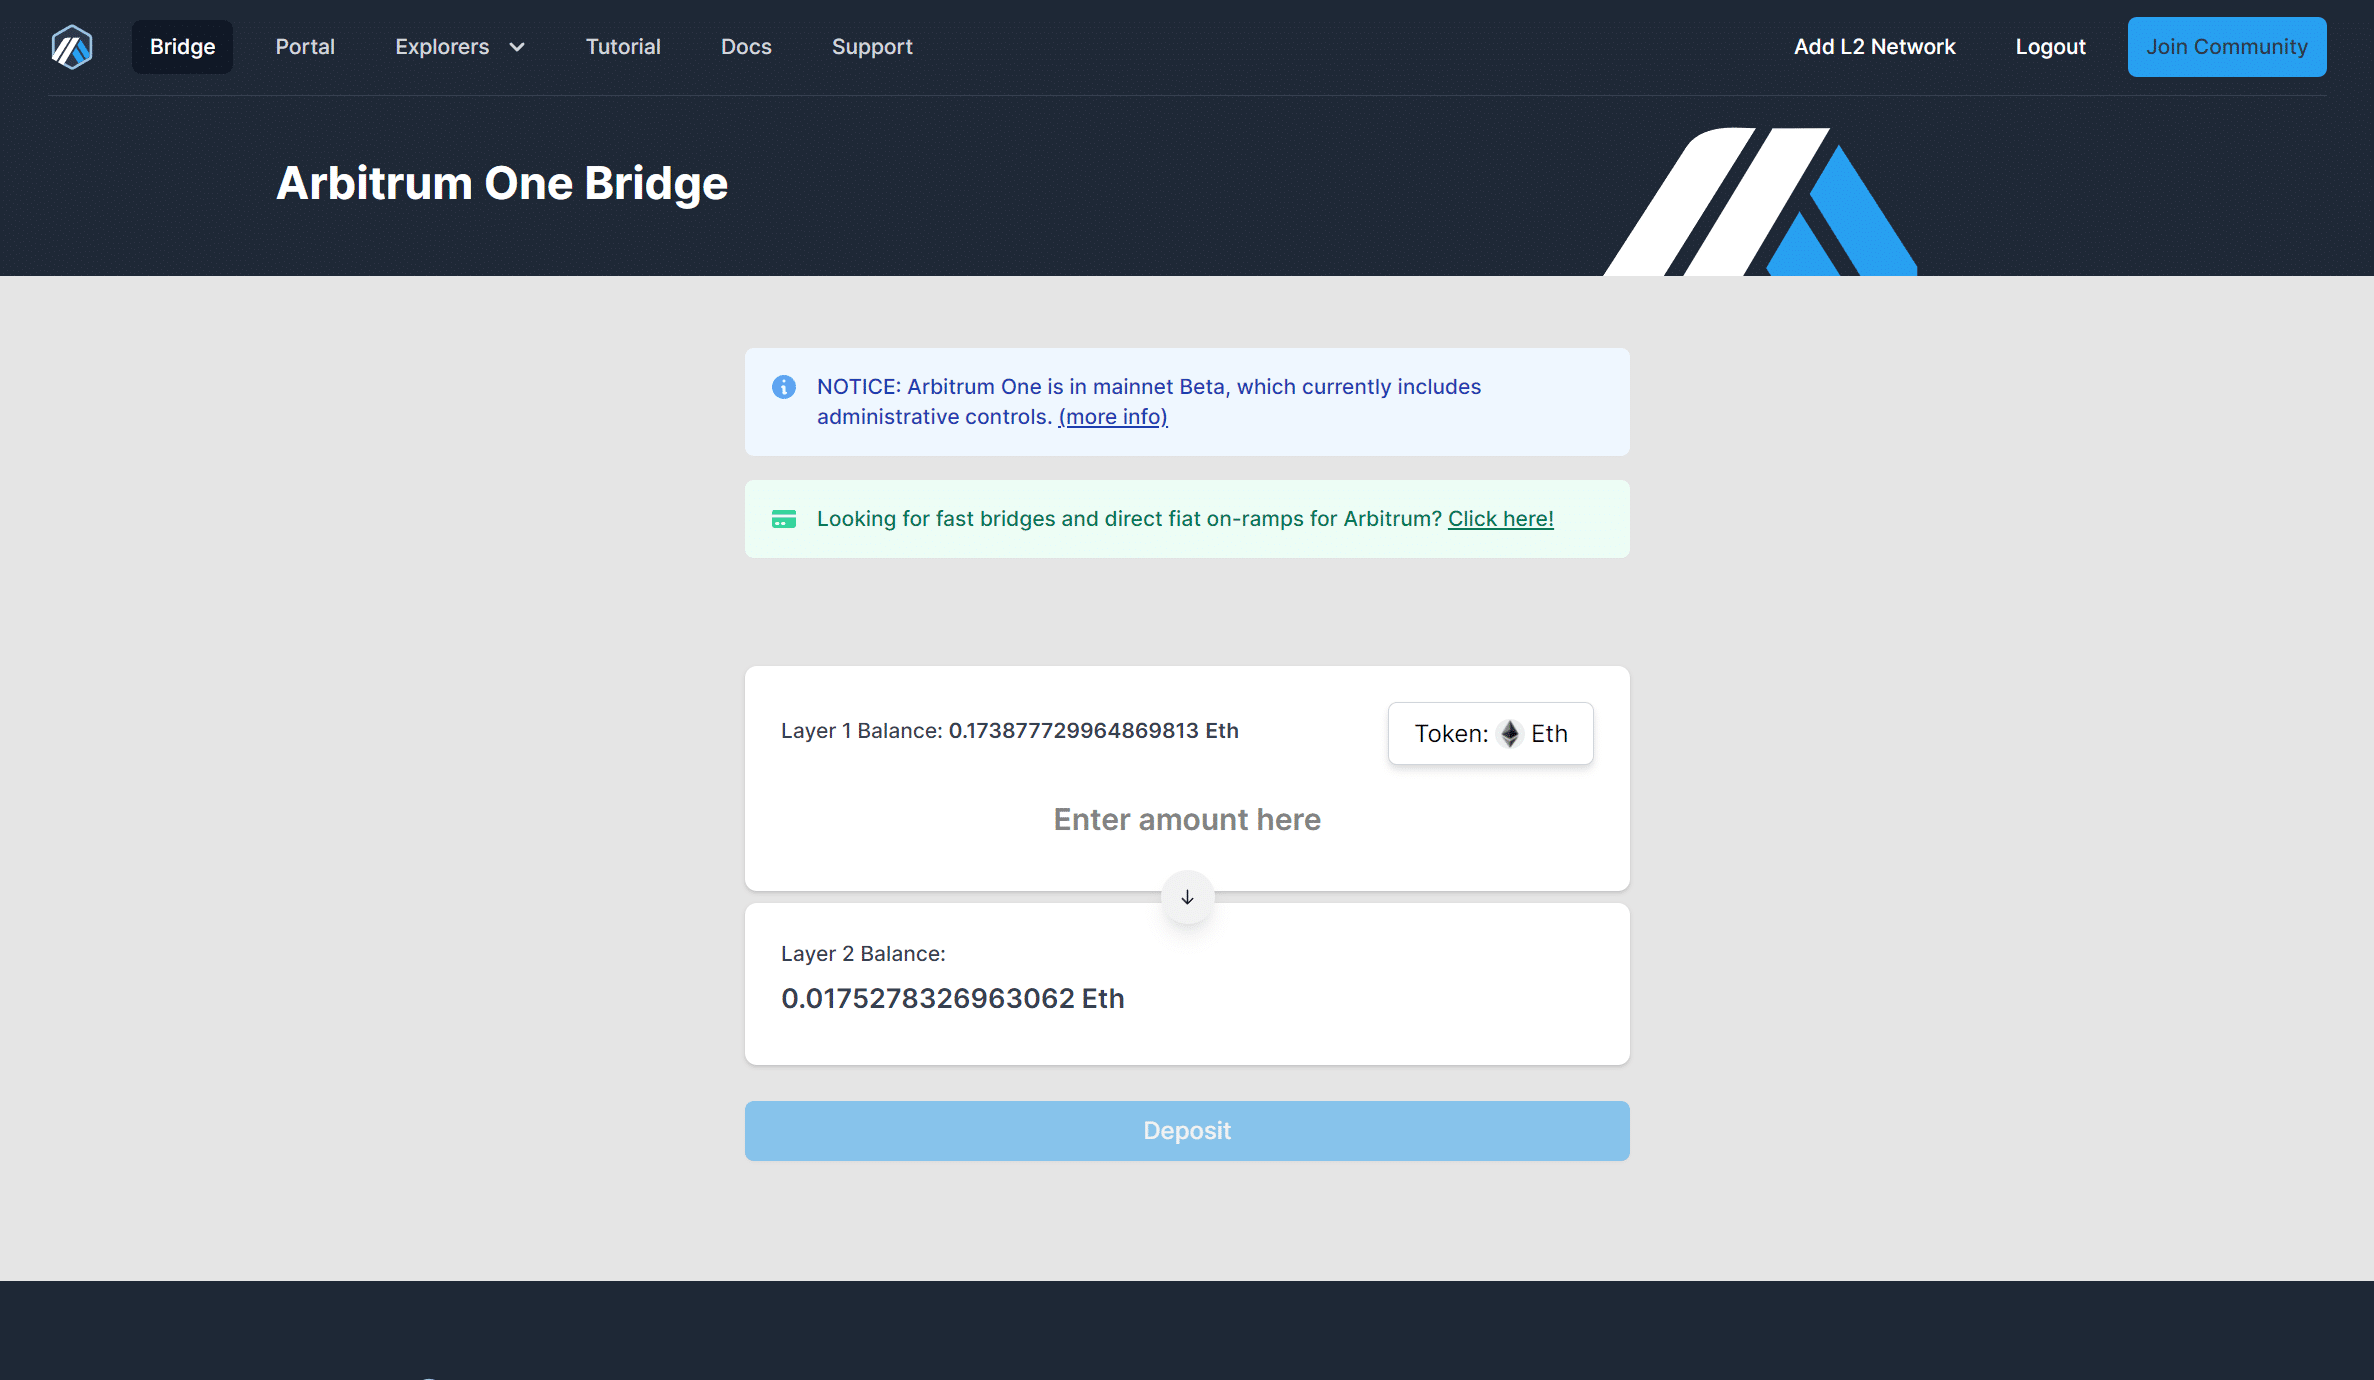
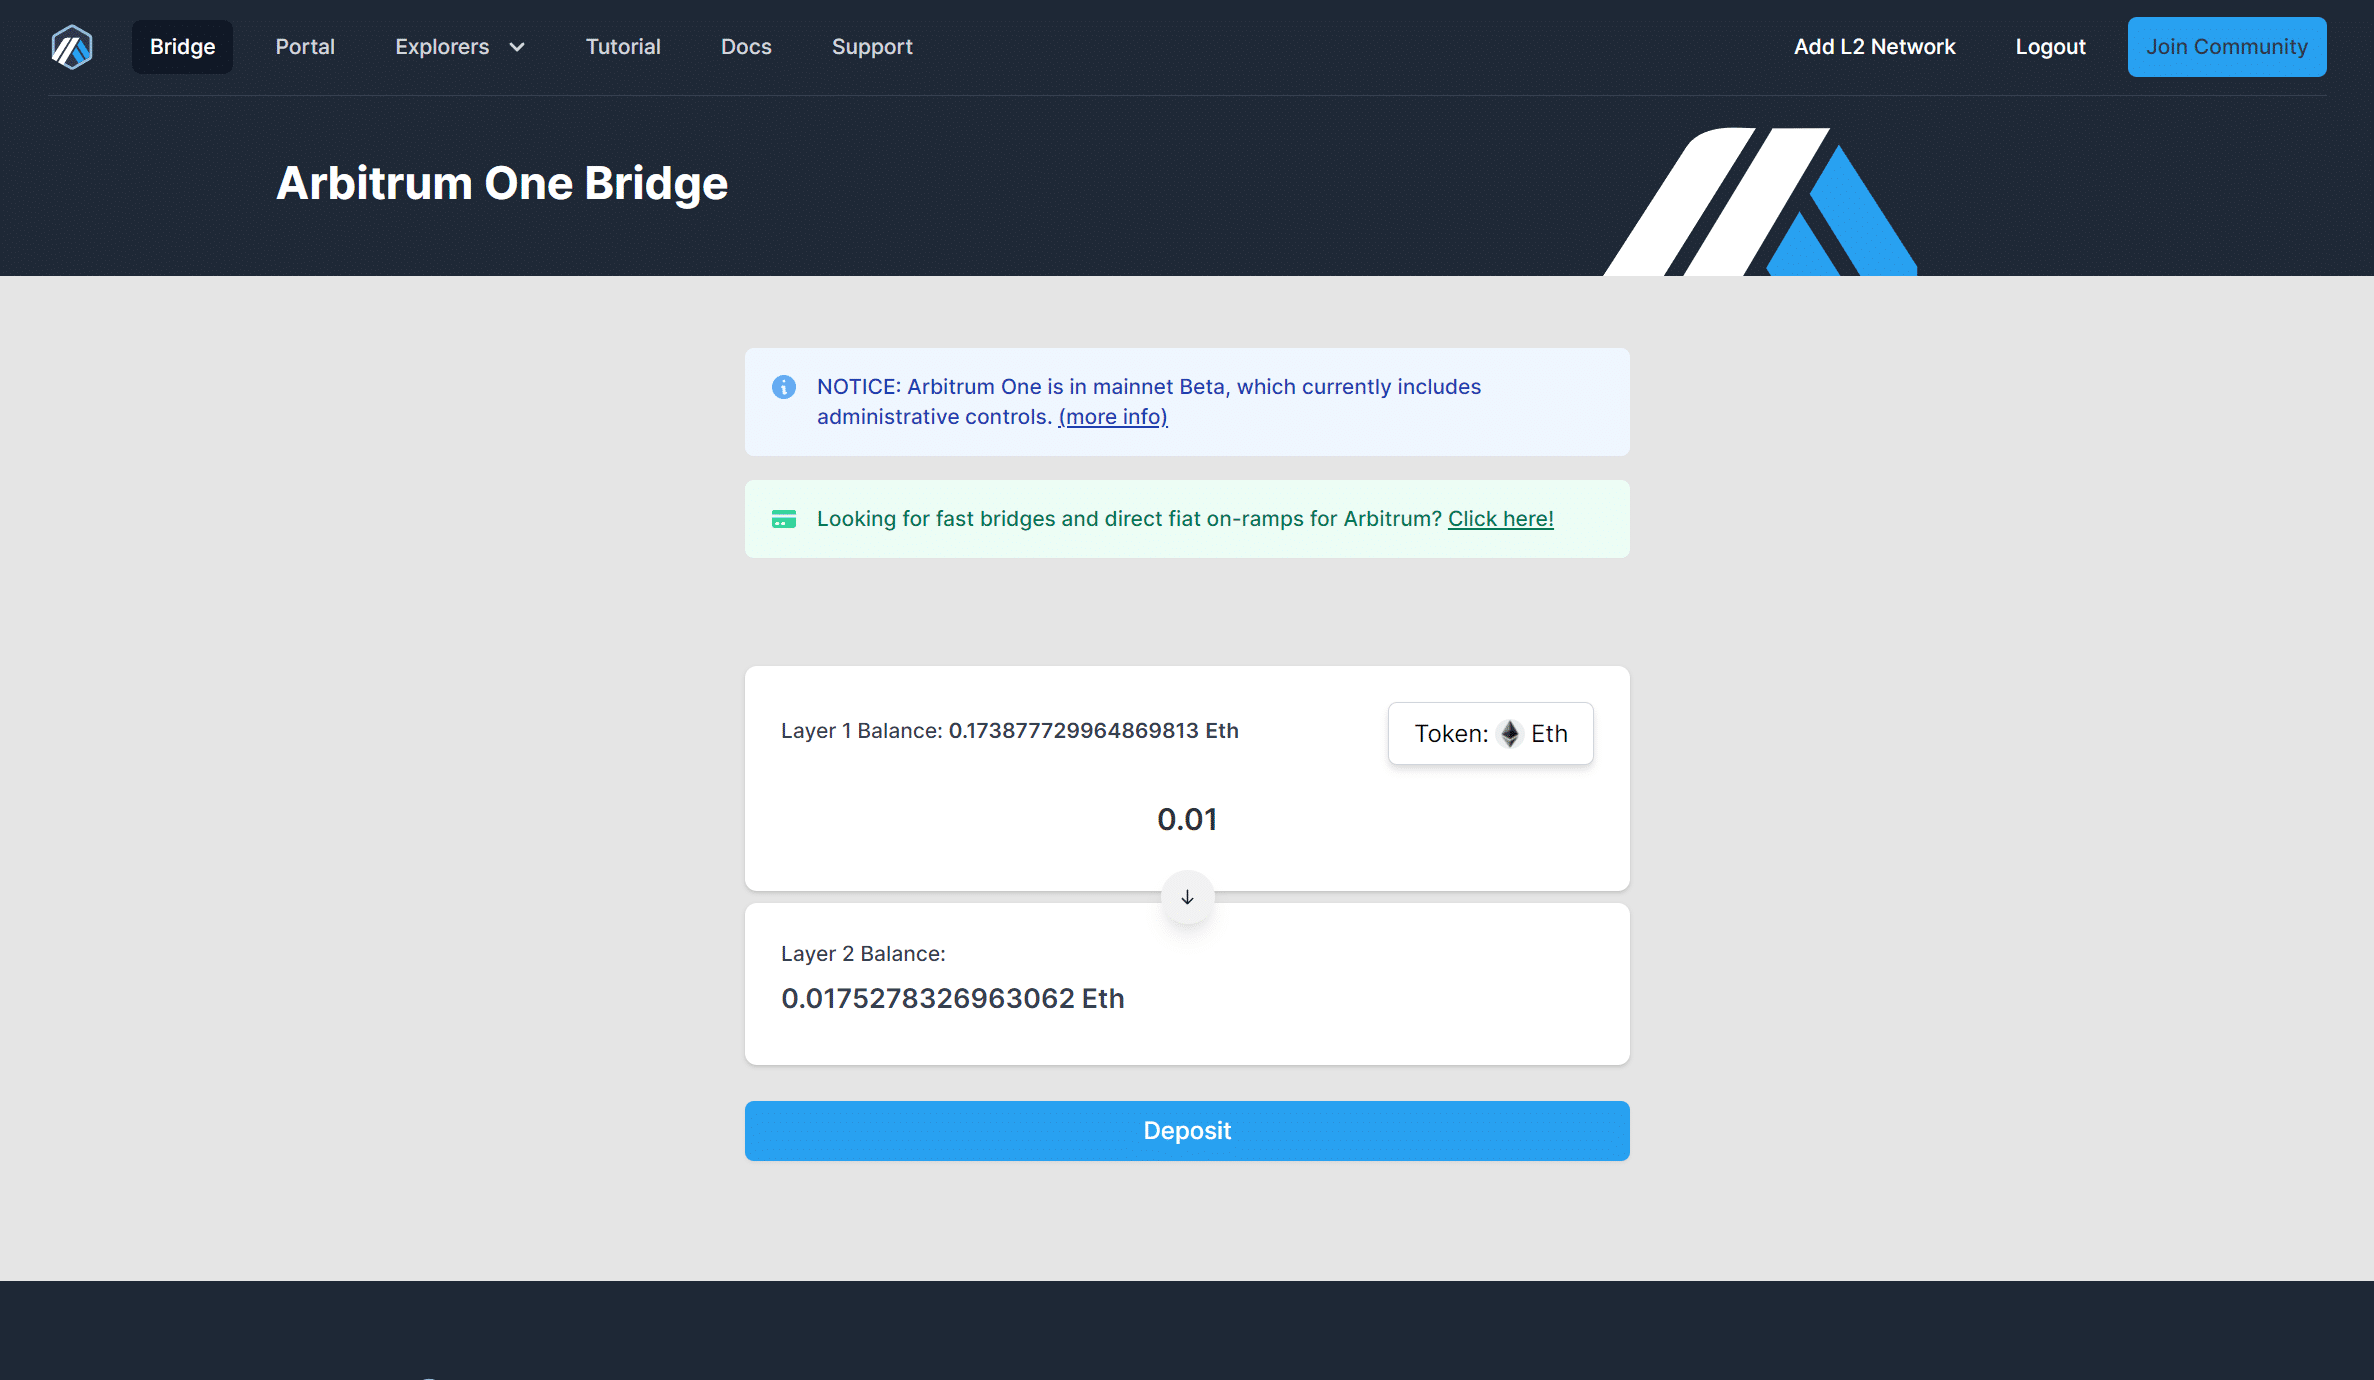
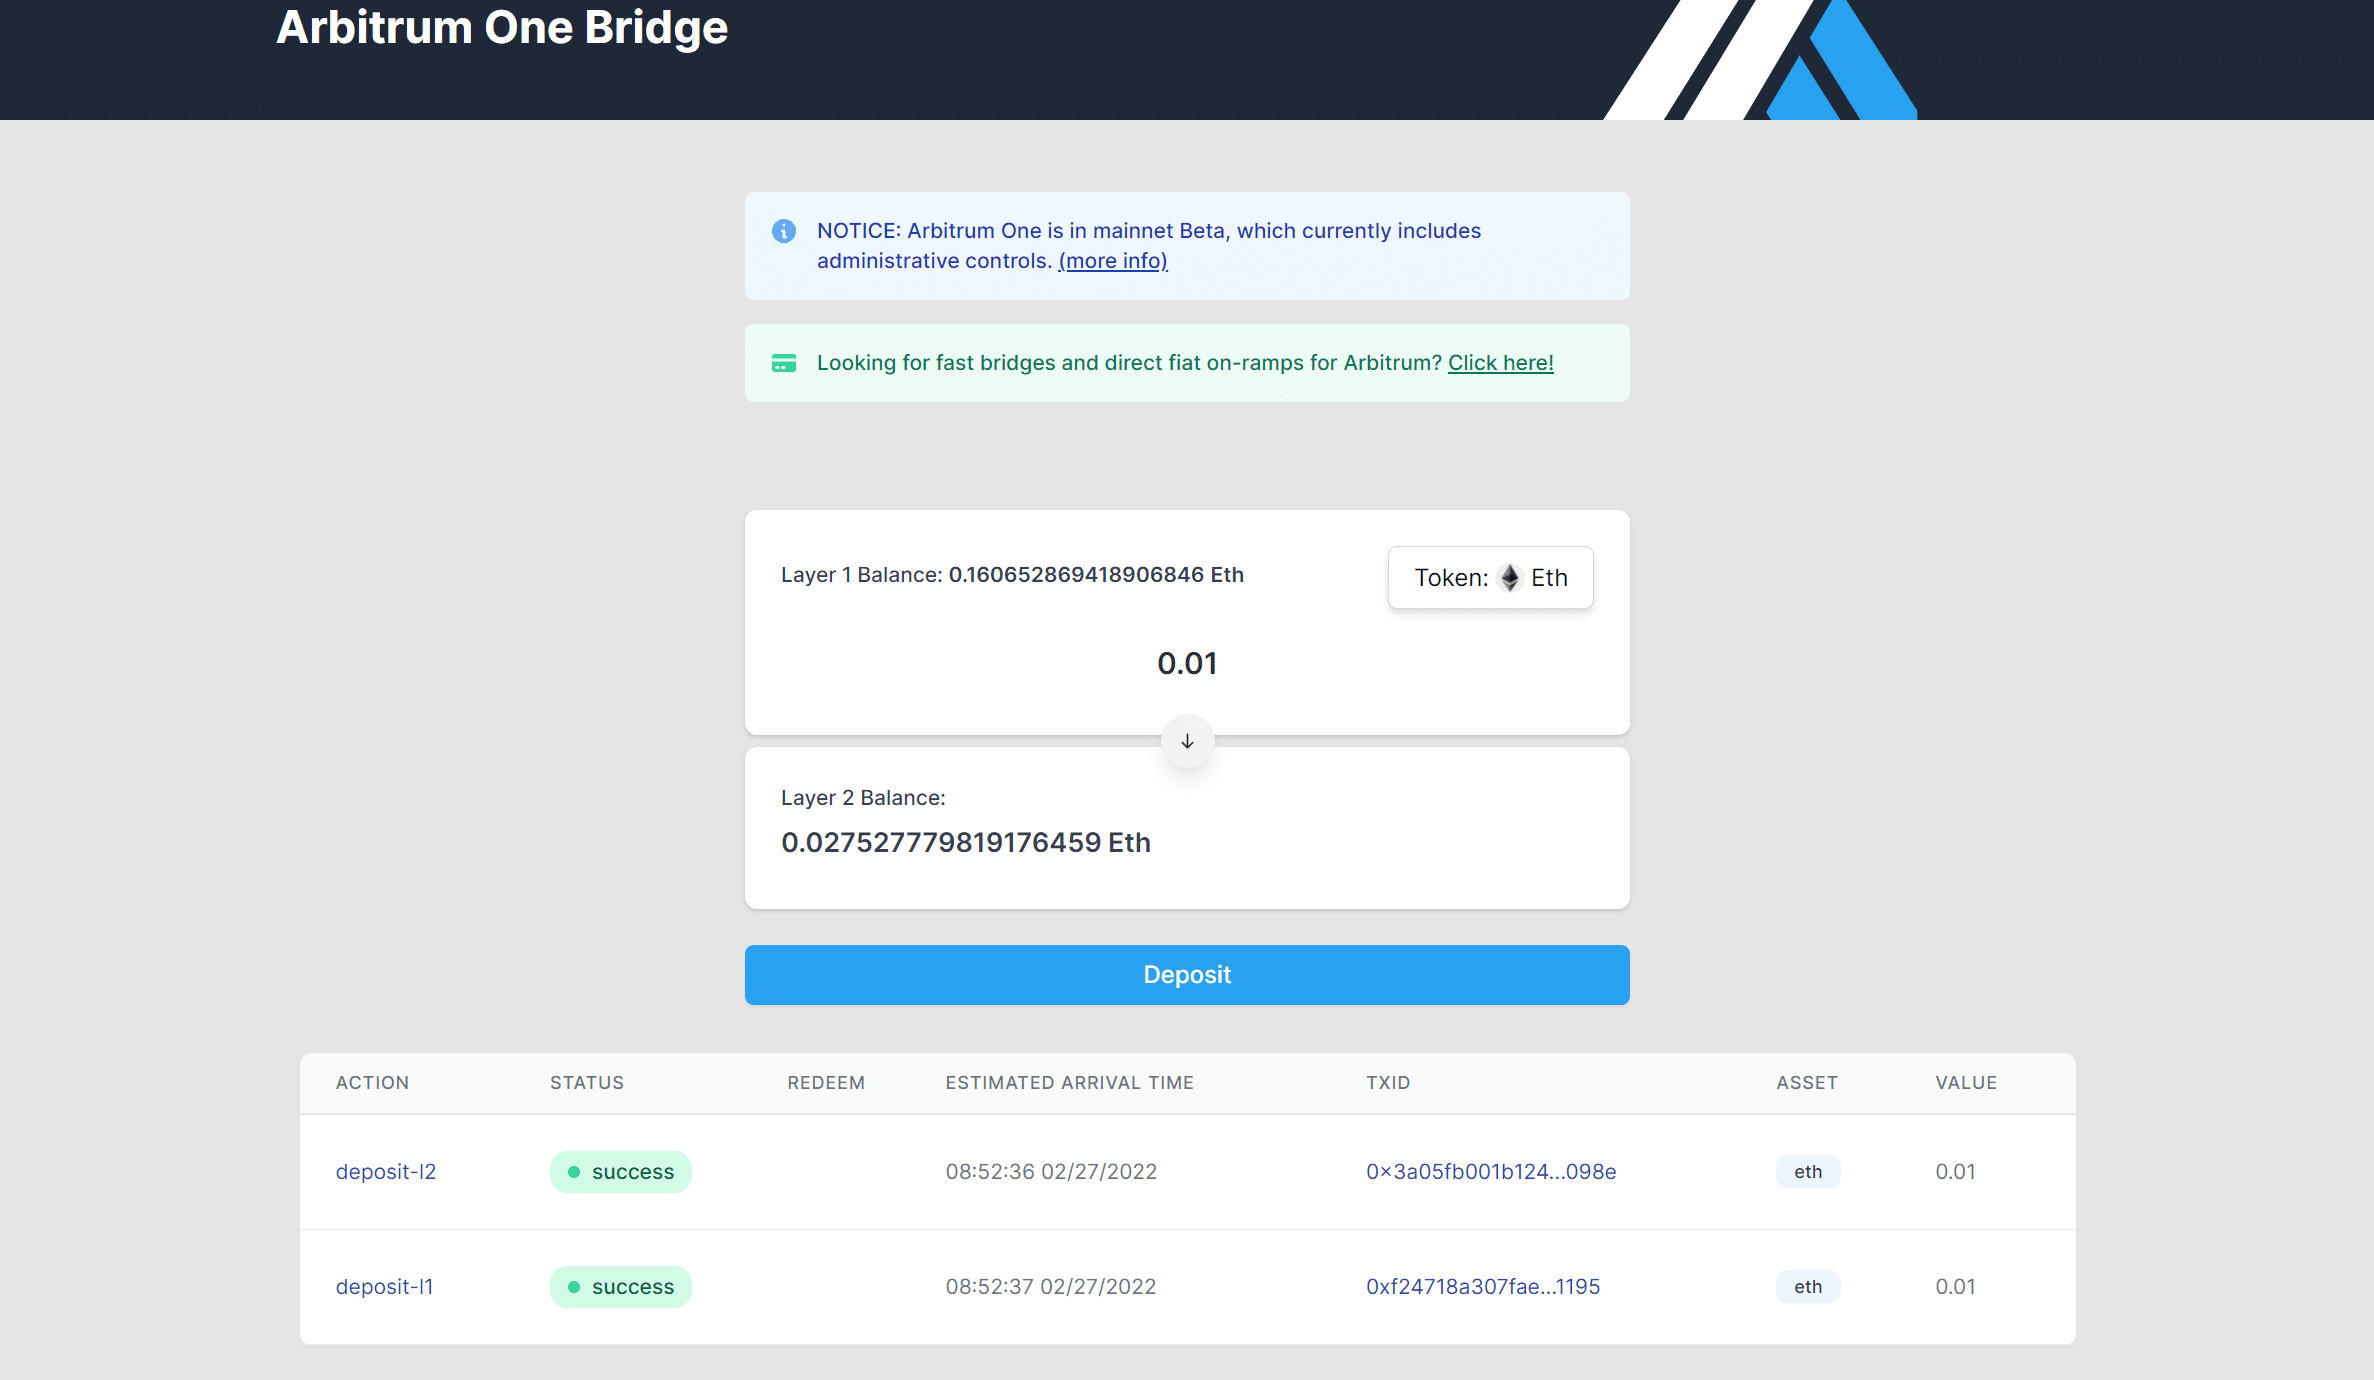
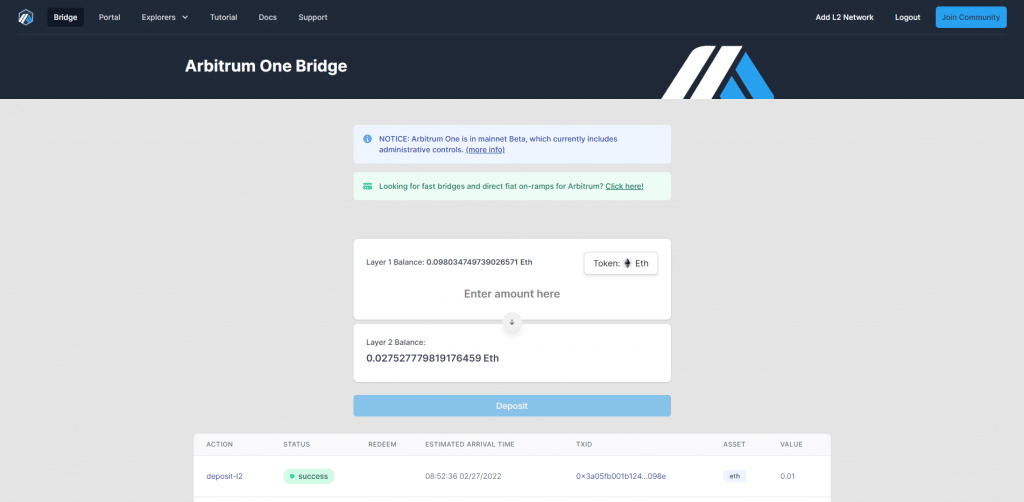
Visit bridge.arbitrum.io - Visit the Arbitrum bridge page which is where you will be able to bridge your ETH (as well as any other supported ERC-20 tokens such as LPT). Make sure that you're connected to your wallet on the Ethereum mainnet network: This page shows your current ETH balances on layer 1 (Ethereum) and on layer 2 (Arbitrum).
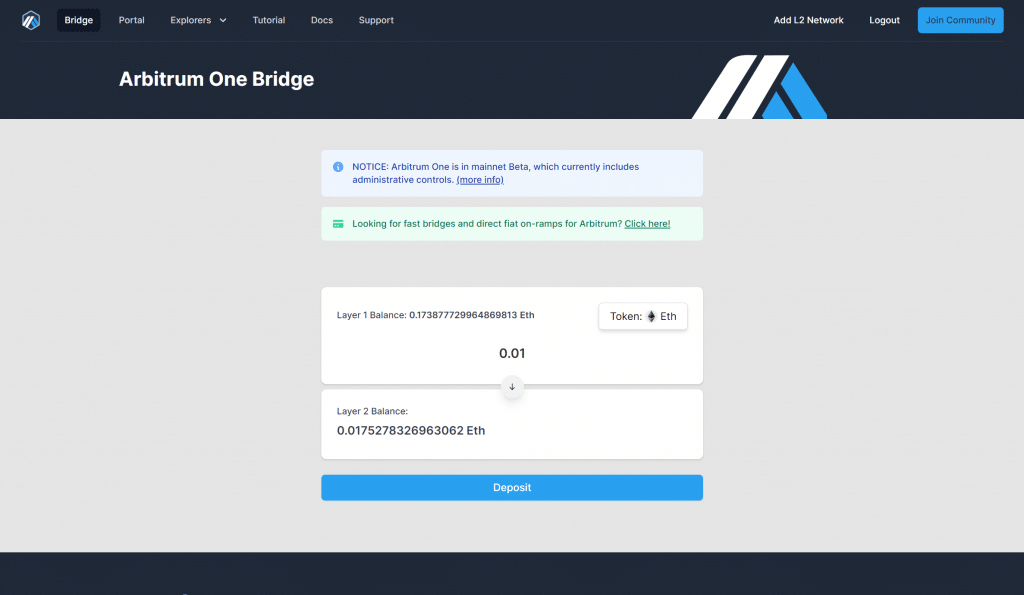
Enter the amount of ETH you want to bridge - You must input the amount of ETH you want to bridge to Arbitrum to pay for fees. You don't need a lot of ETH on Arbitrum. Here, I'm bridging 0.01 ETH, although you may want to bridge more if you plan on buying LPT directly on Arbitrum: Enter the amount of ETH to send to Arbitrum.
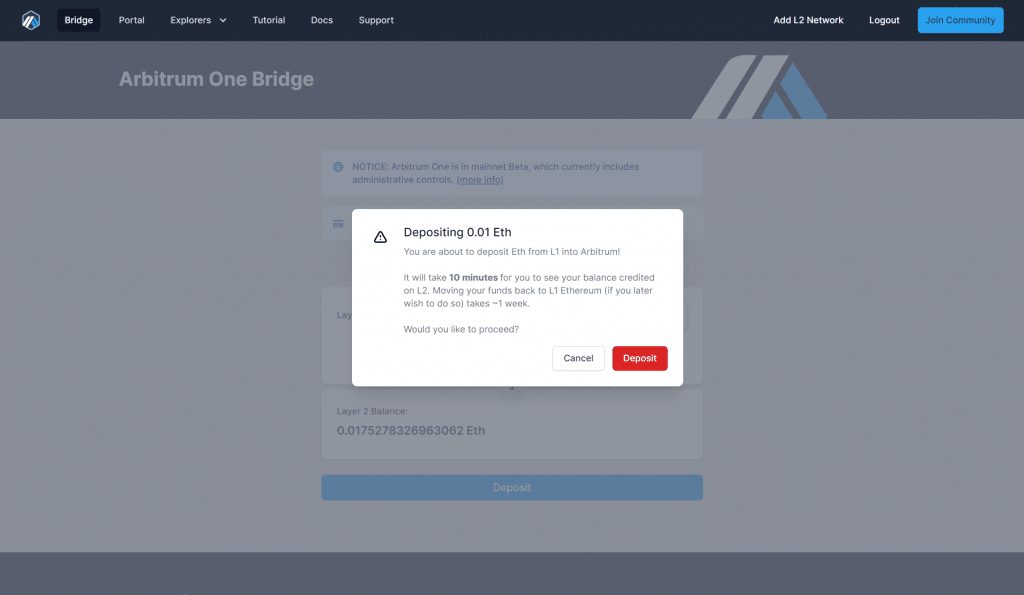
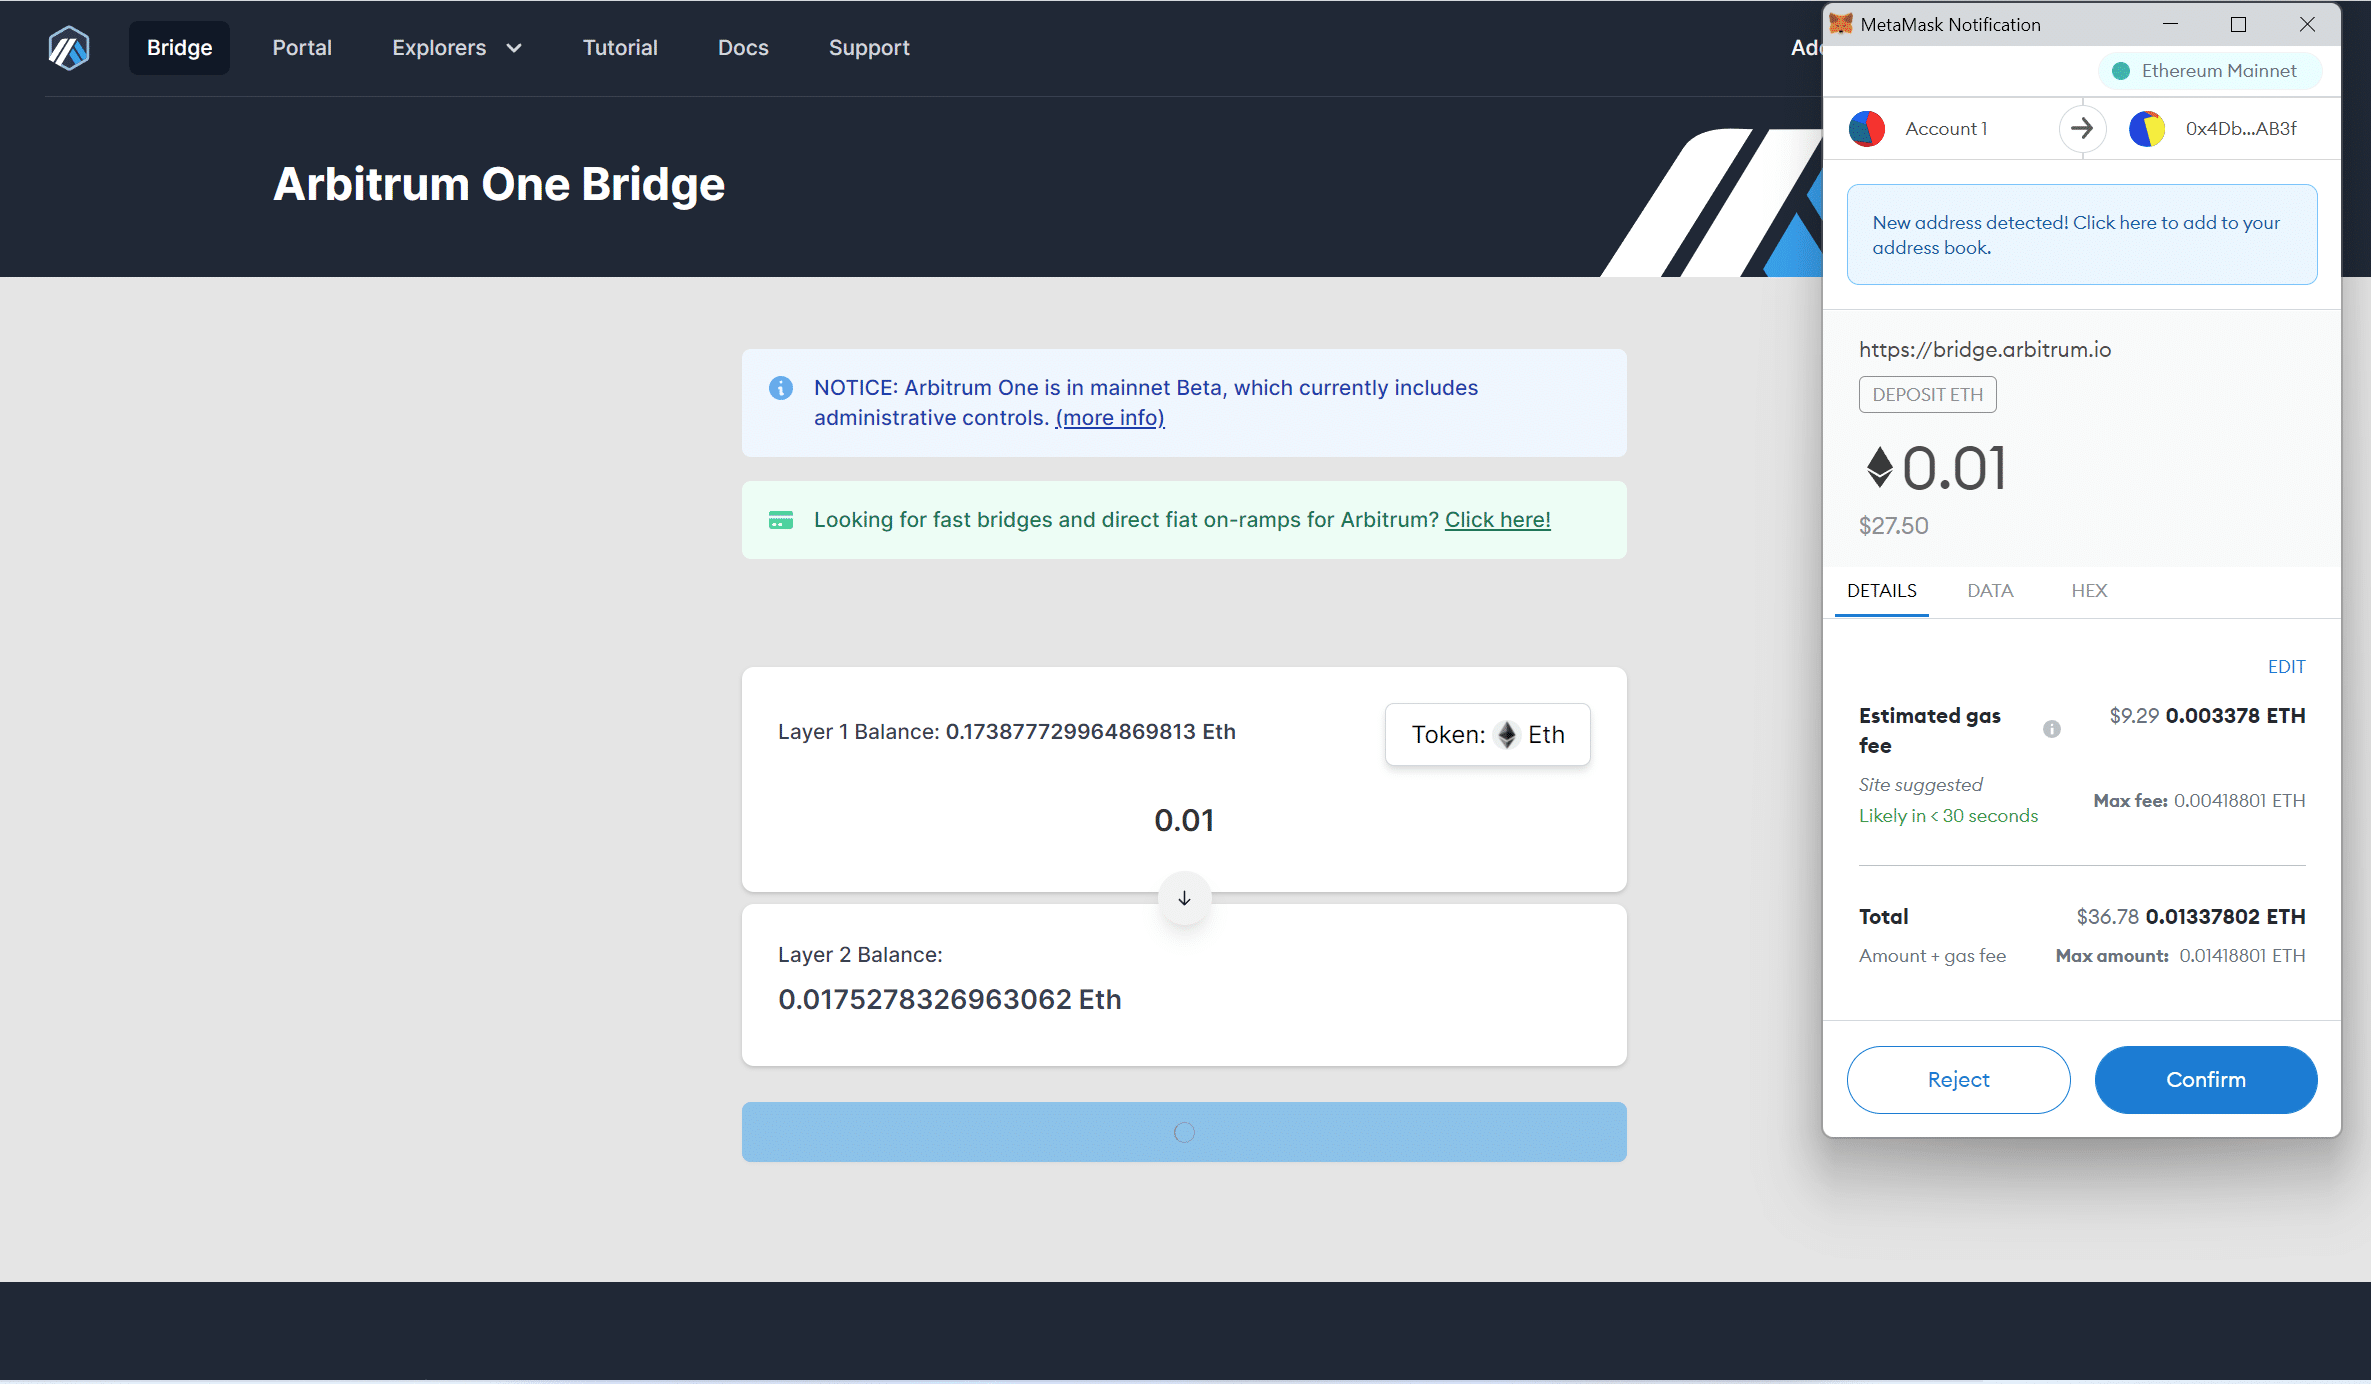
Click on Deposit - Click on Deposit and a popup will appear asking you if you want to proceed. Click on Deposit again: Confirmation popup.
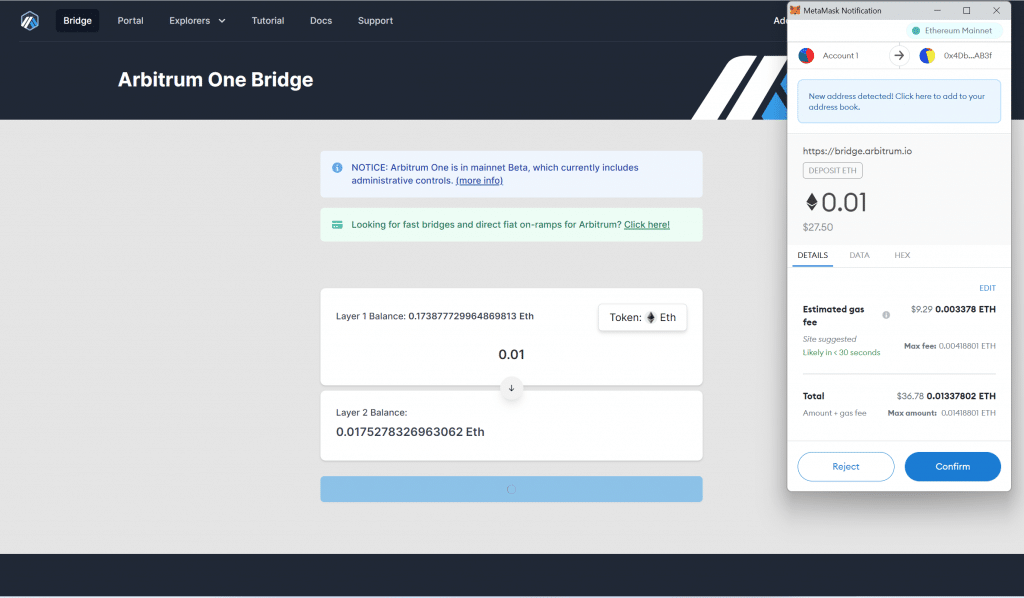
Confirm the transaction - Your wallet (Metamask here) will ask you to confirm the transaction. You will have to pay some gas fees: Confirm the transaction.
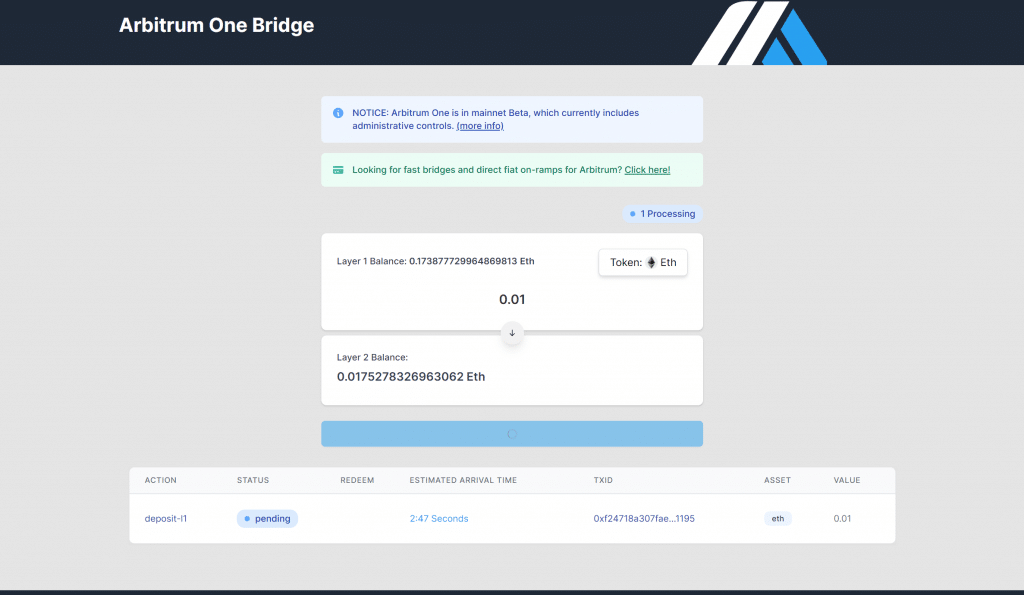
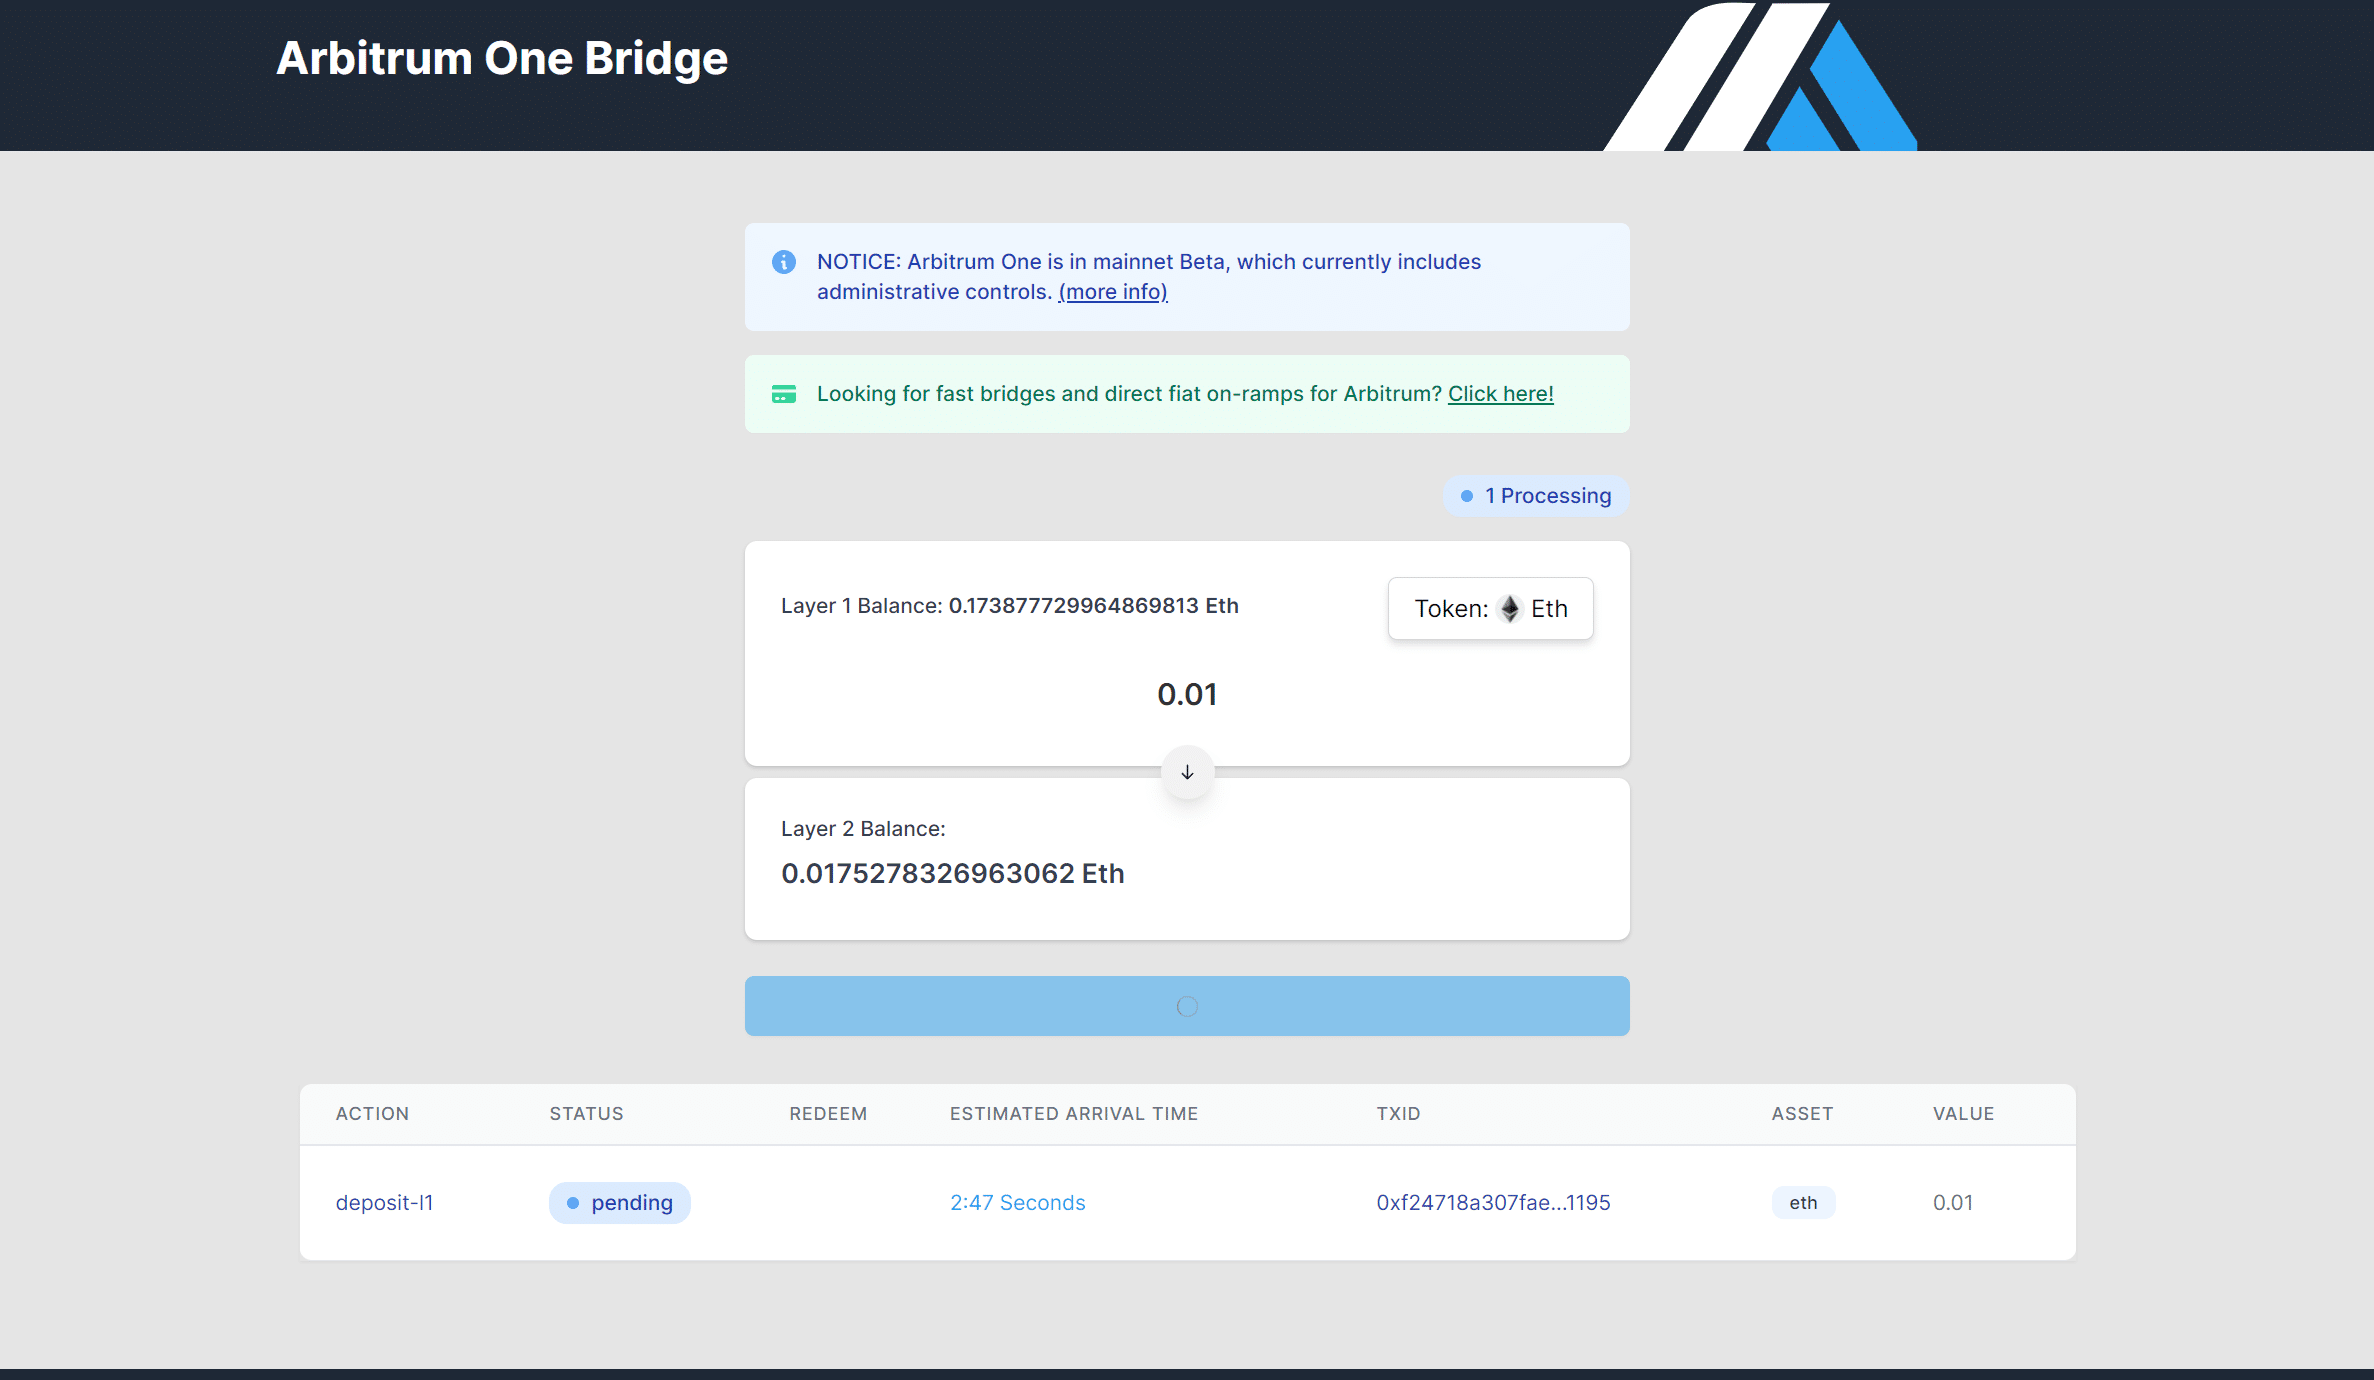
Wait for the transaction to complete on Ethereum - You must now wait for the transaction to confirm. You should see pending and the estimated arrival time: Transaction pending on Ethereum.
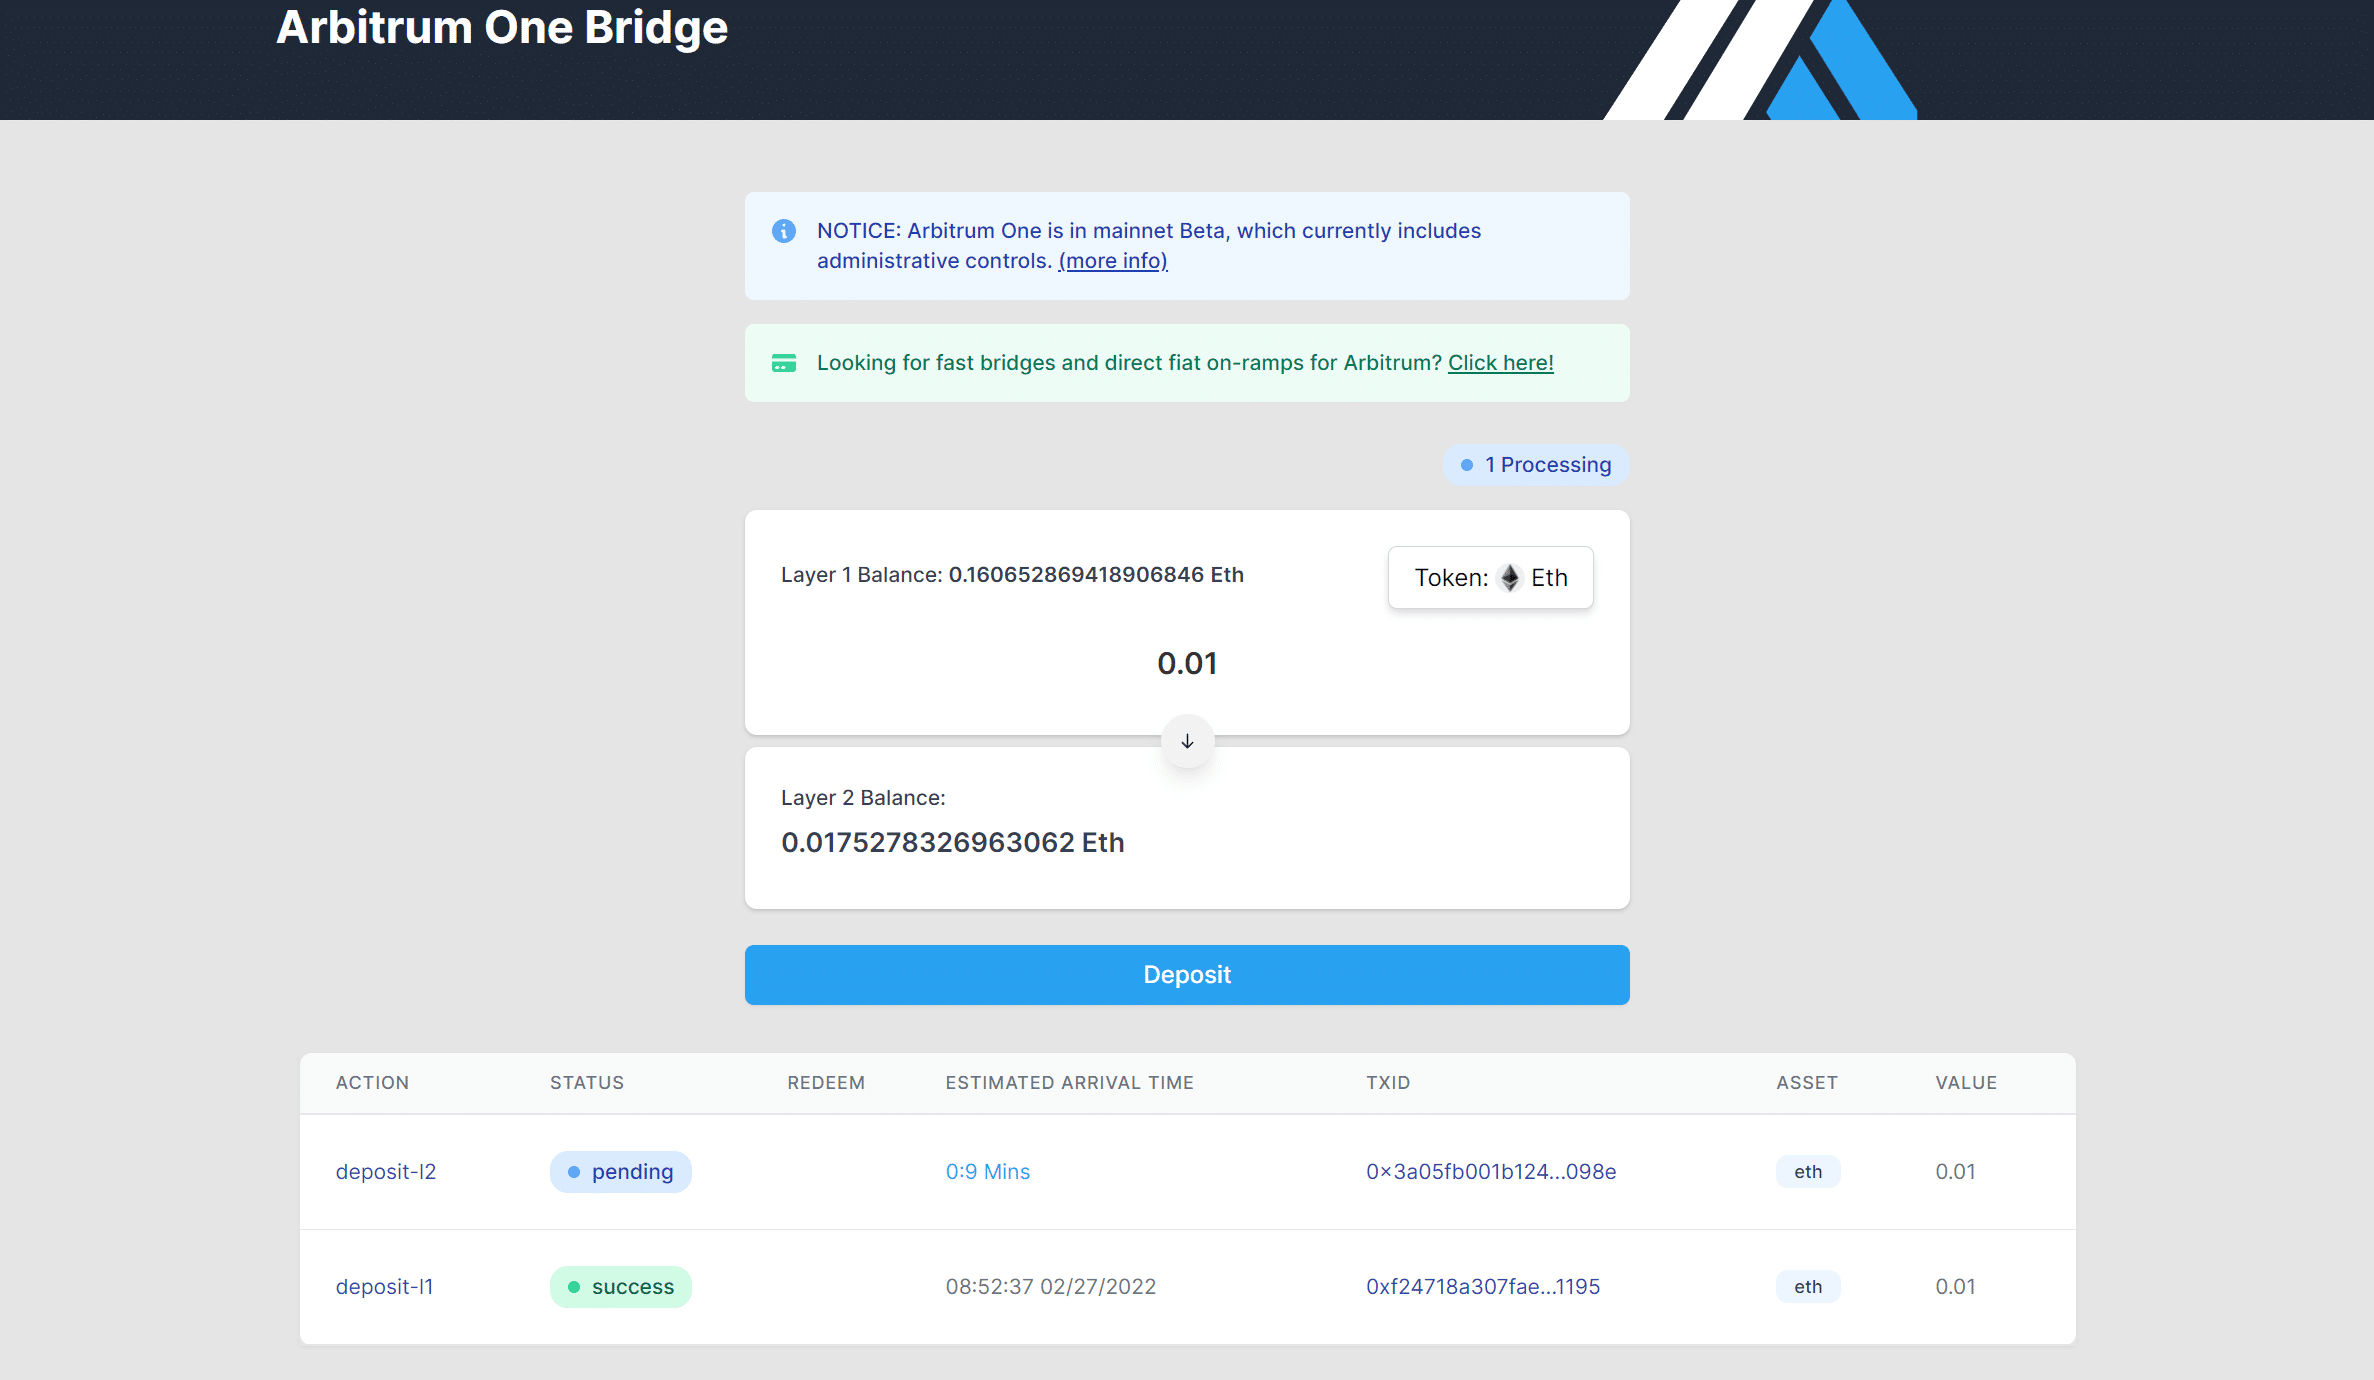
Wait for the transaction to complete on Arbitrum - Once the transaction has confirmed on Ethereum, the layer 1, you must wait for it to confirm on Arbitrum, the layer 2. This can take 10 minutes: Transaction pending on Arbitrum.
Bridge completed - When both transactions have confirmed, they will both show Success, meaning that your ETH has been bridged from Ethereum to Arbitrum: Transaction success.
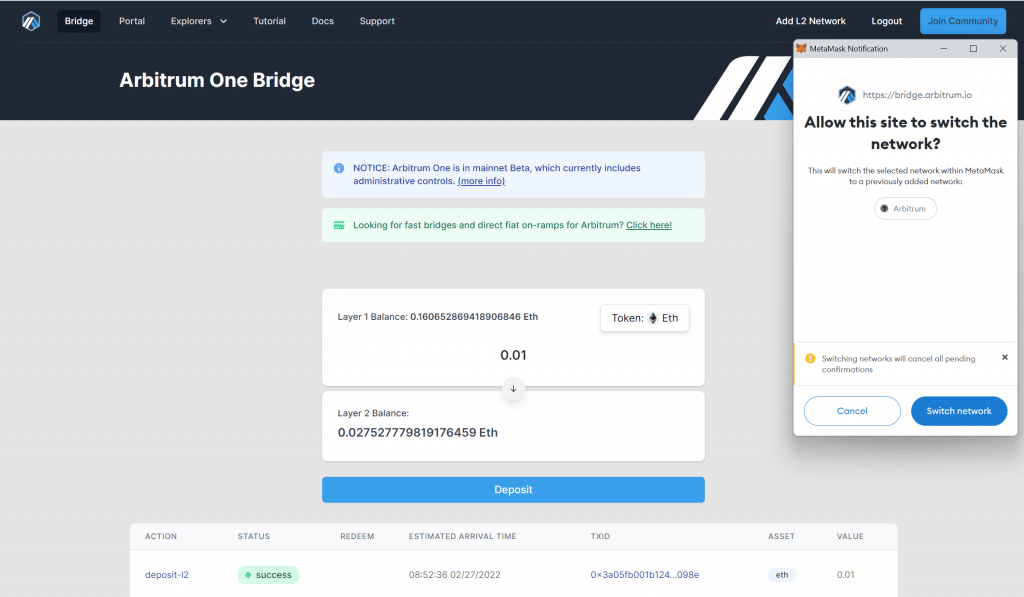
Add the Arbitrum Network to your wallet - While on the bridge page you can click on the Add L2 Network link at the top right to add the Arbitrum Network to your wallet if you haven't done it yet. This will switch you from Ethereum to Arbitrum in your wallet: Switch Network.
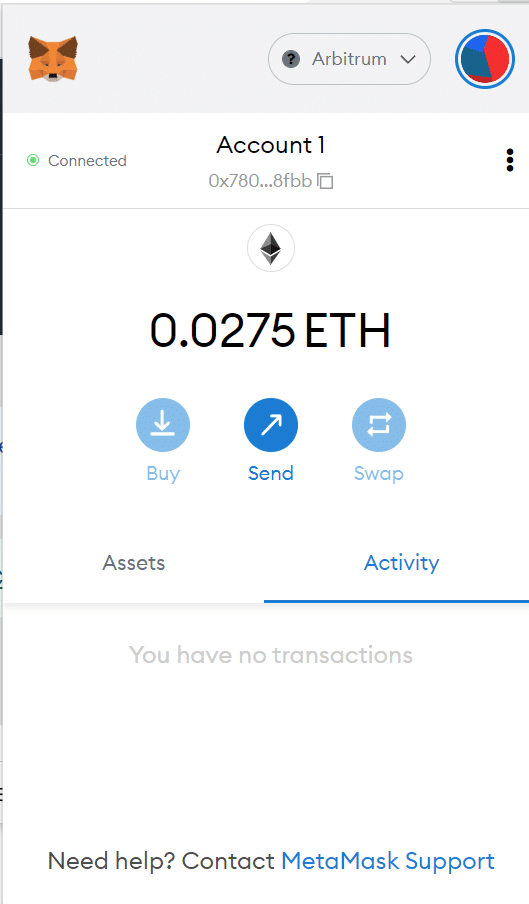
Check your balance on Arbitrum - Now that your wallet is on the Arbitrum Network, you should be able to see your new balances on Arbitrum: Your ETH balance in your wallet on Arbitrum.
How to Buy LPT on Arbitrum or on Ethereum Layer 1
If you already have the LPT you want to stake in your wallet, you can skip to the Bridge your LPT to Arbitrum step if your LPT are on Ethereum, or to the Stake your LPT with an Orchestrator step if your LPT are already on Arbitrum. If you need to purchase LPT, you can do so on a decentralized exchange (DEX) like Uniswap and Matcha (Matcha is actually an aggregator of DEXes and should offer the best rate, but not always as you'll see below), or on a centralized exchange (CEX) like Kraken, Coinbase and Binance.
Buy LPT on a Decentralized Exchange (DEX) on Ethereum
If you're buying on a DEX, your first option is to buy your LPT on Ethereum and then bridge your LPT. If you don't have a lot of ETH in your wallet on Arbitrum, buying your LPT on Ethereum first might be the best option for you. However, buying your LPT on Arbitrum will cost you less in gas and you won't have to do the LPT bridge step:
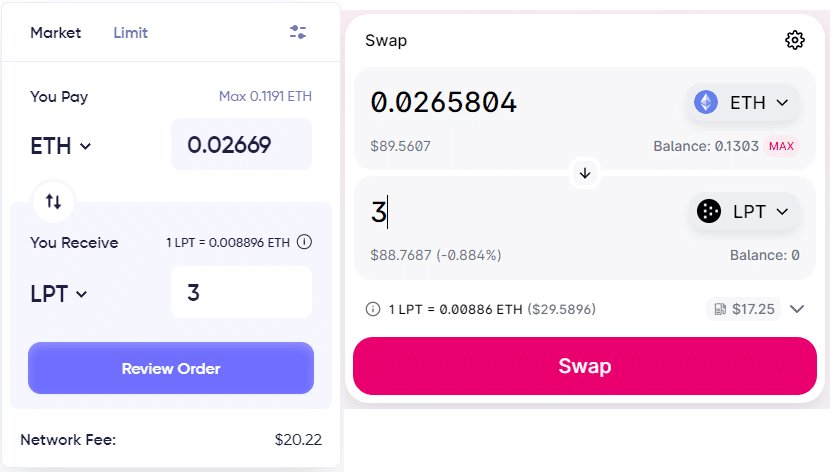
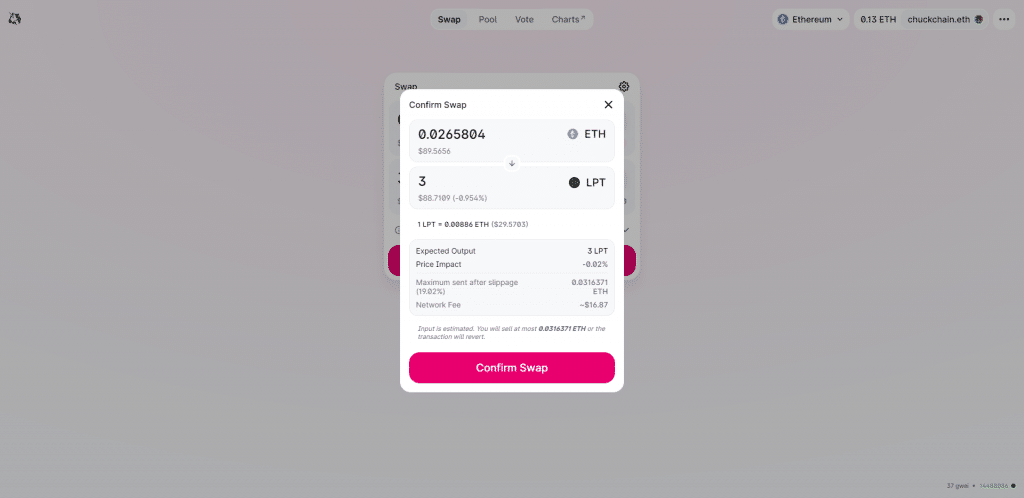
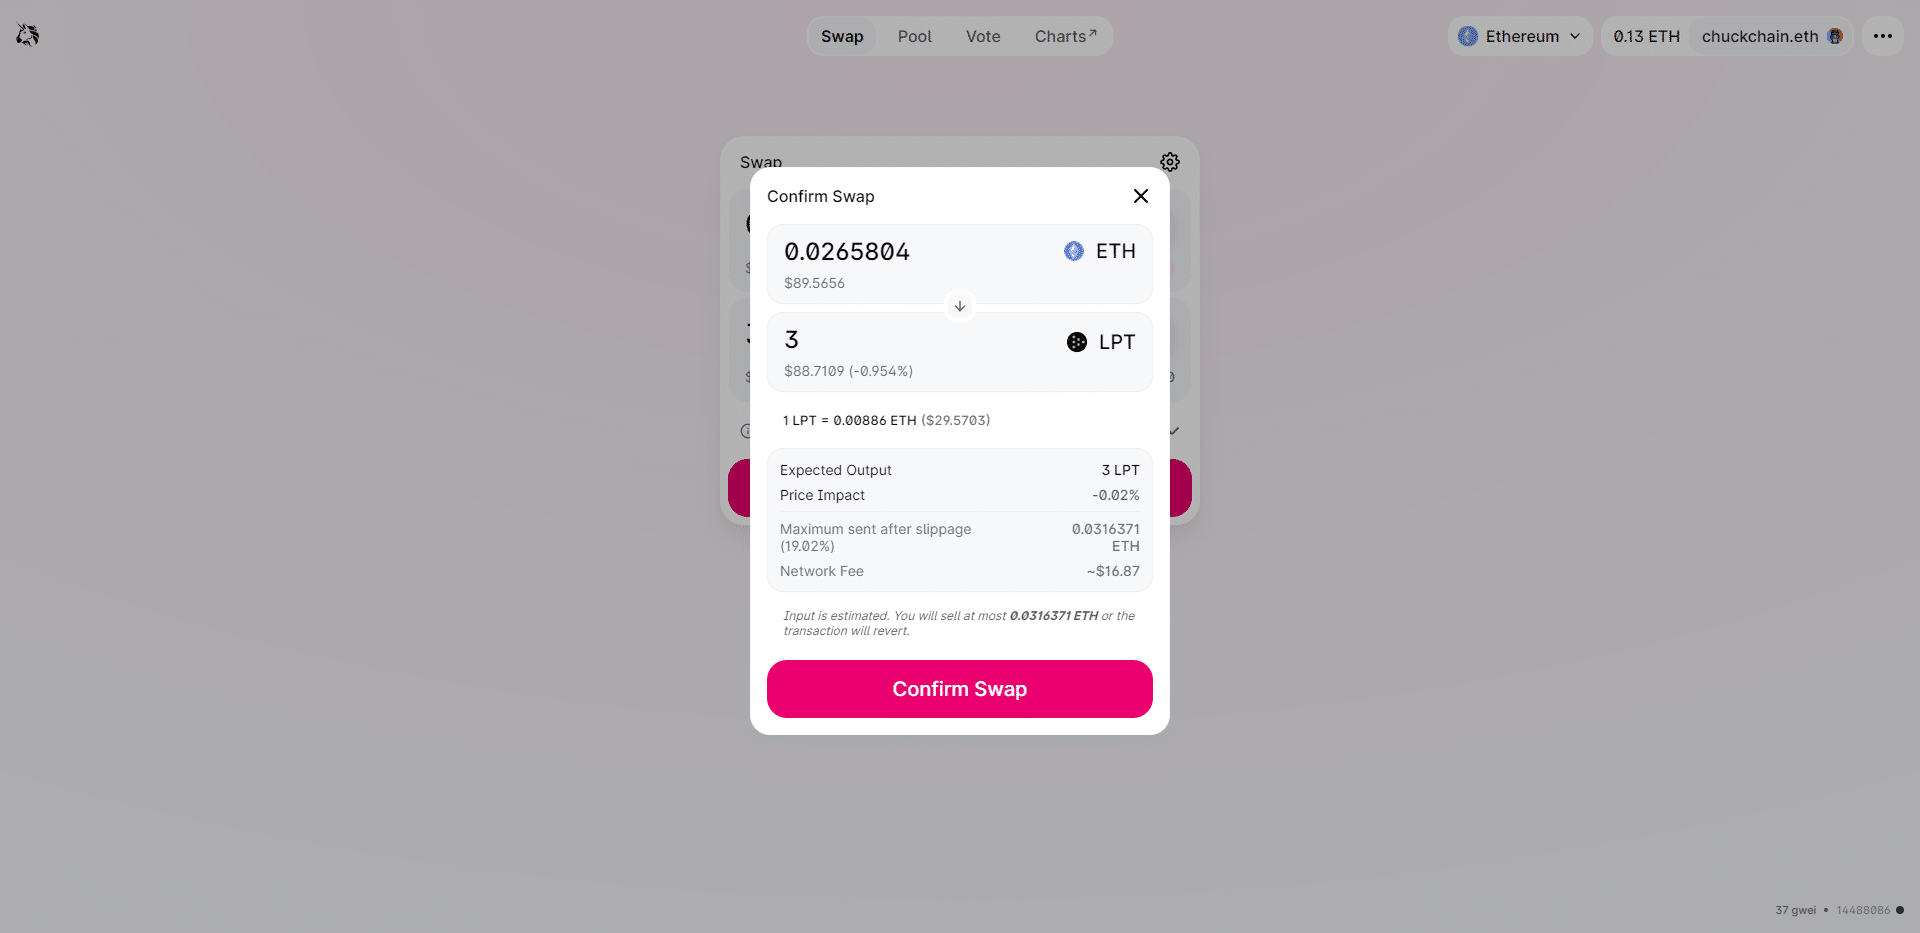
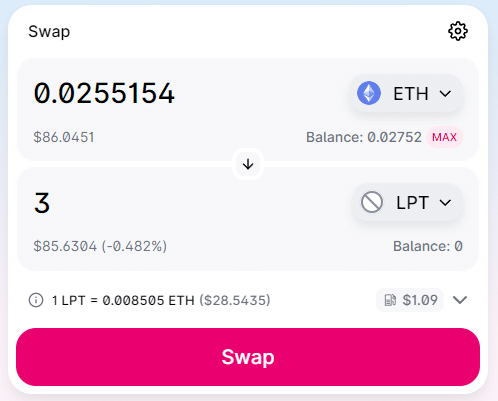
Swap your token for LPT - In my example, Uniswap offers the better rate, so click on Swap on Uniswap and a will popup appear; click on Confirm Swap:Confirm the swap from ETH to LPT.
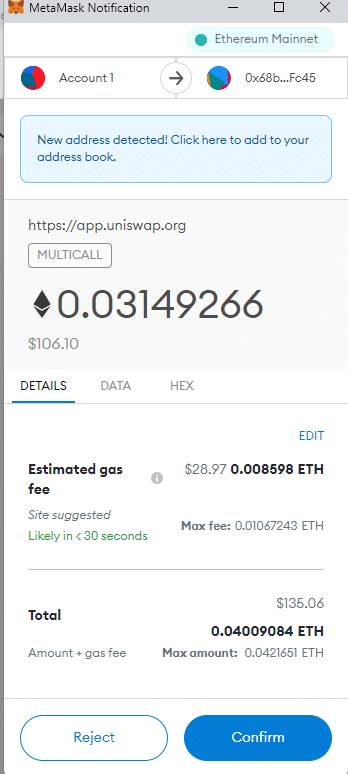
Confirm the transaction in your wallet - Your wallet - in my case it's Metamask - will ask you to confirm the transaction:Confirm the swap from ETH to LPT in your wallet - Metamask in this example.
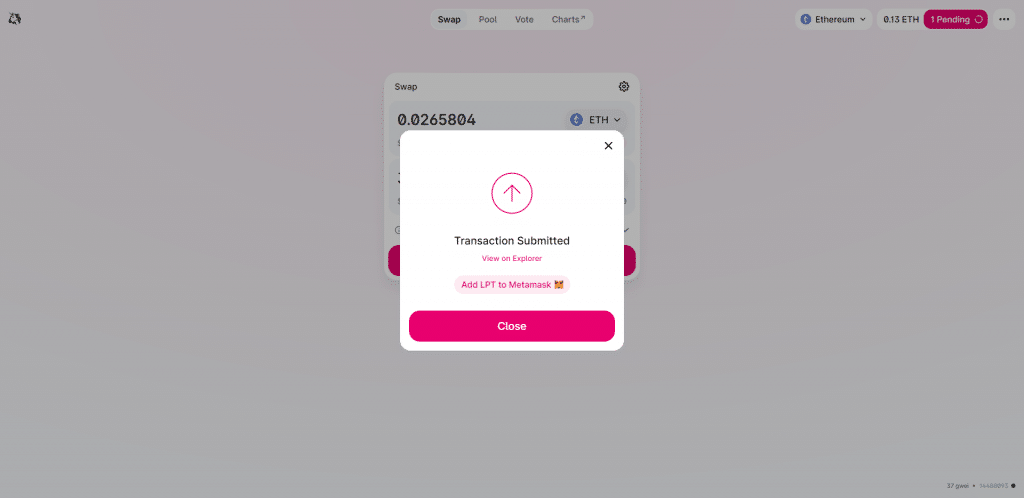
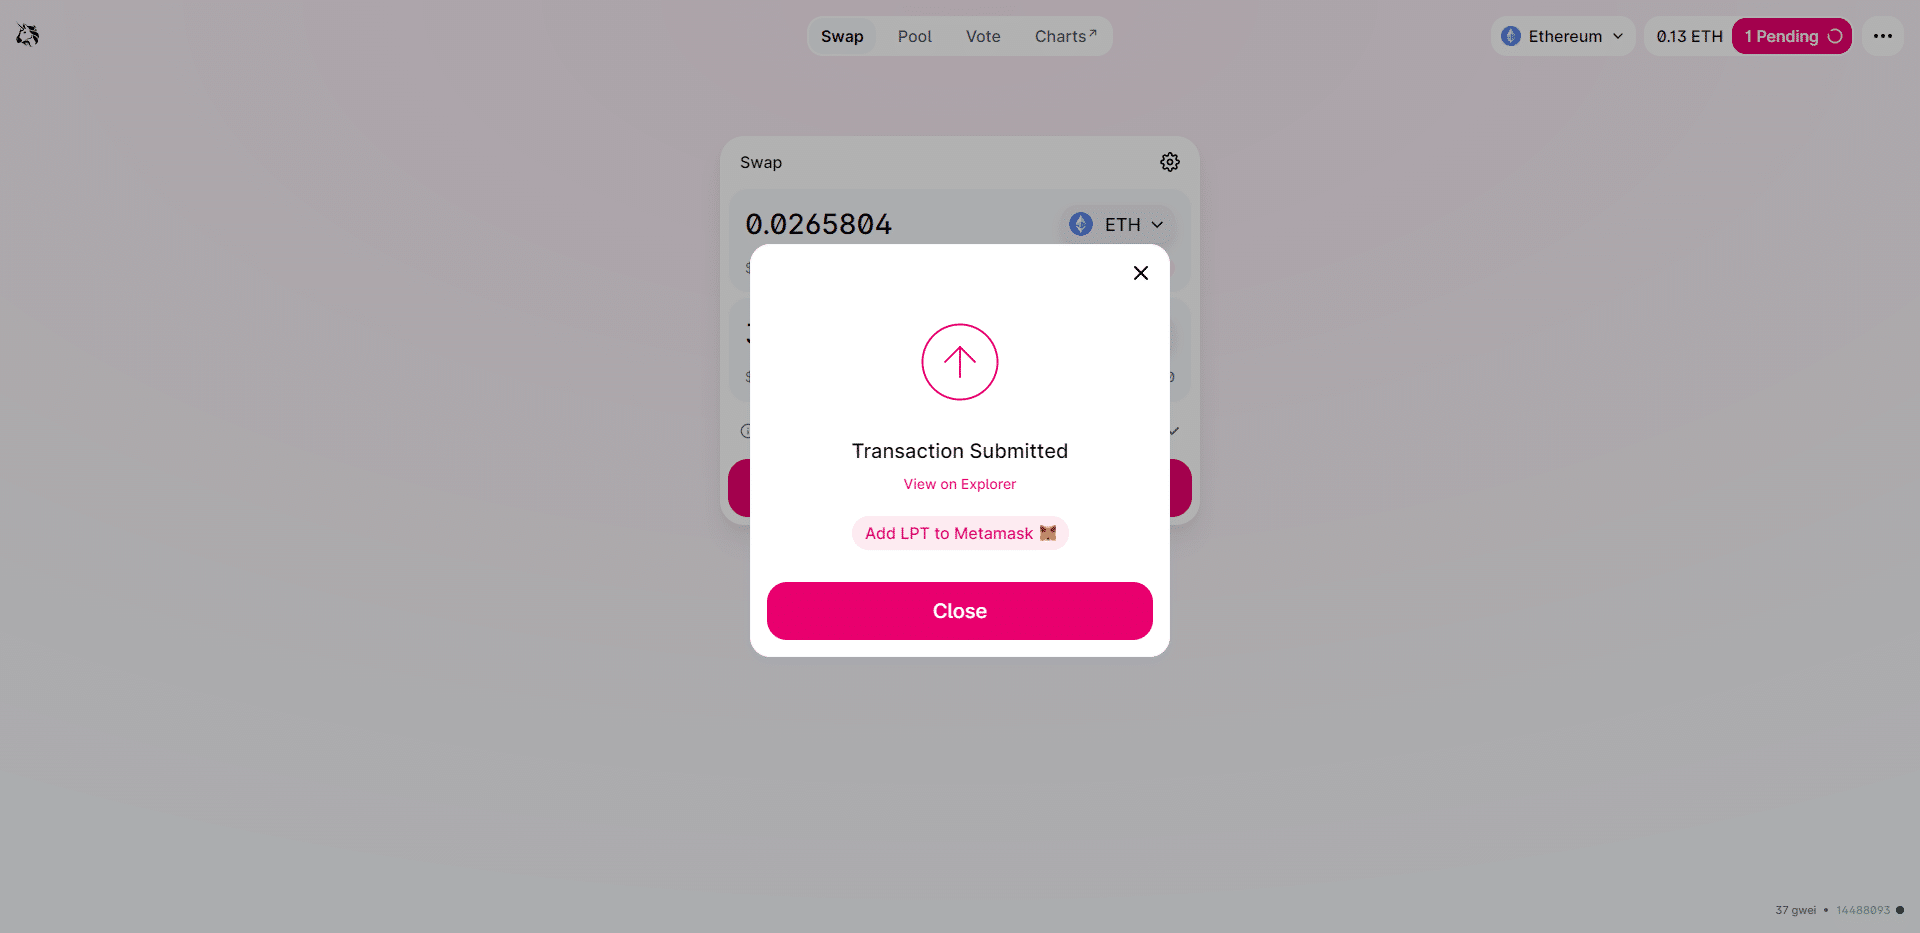
Wait for the transaction to confirm - On the top right of the Uniswap page, you should see that the transaction is now pending:ETH to LPT swap is now pending.
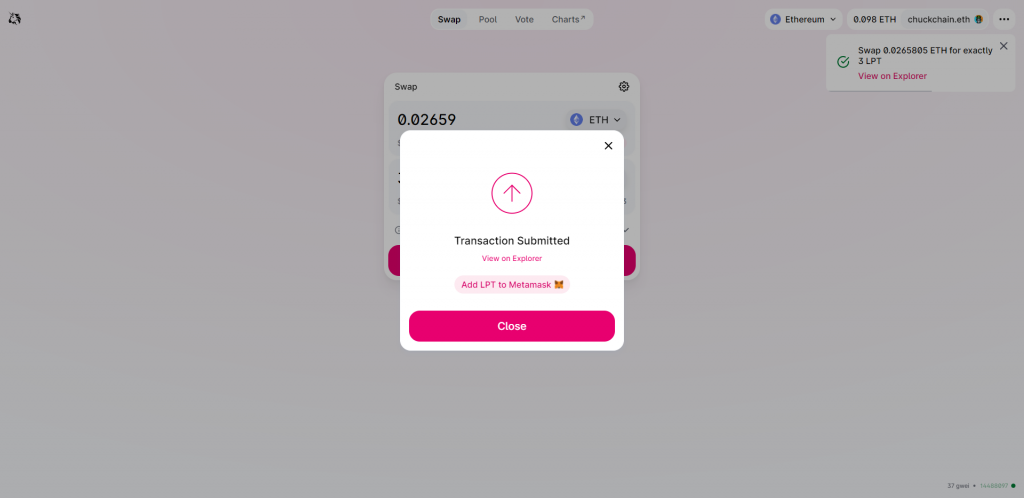
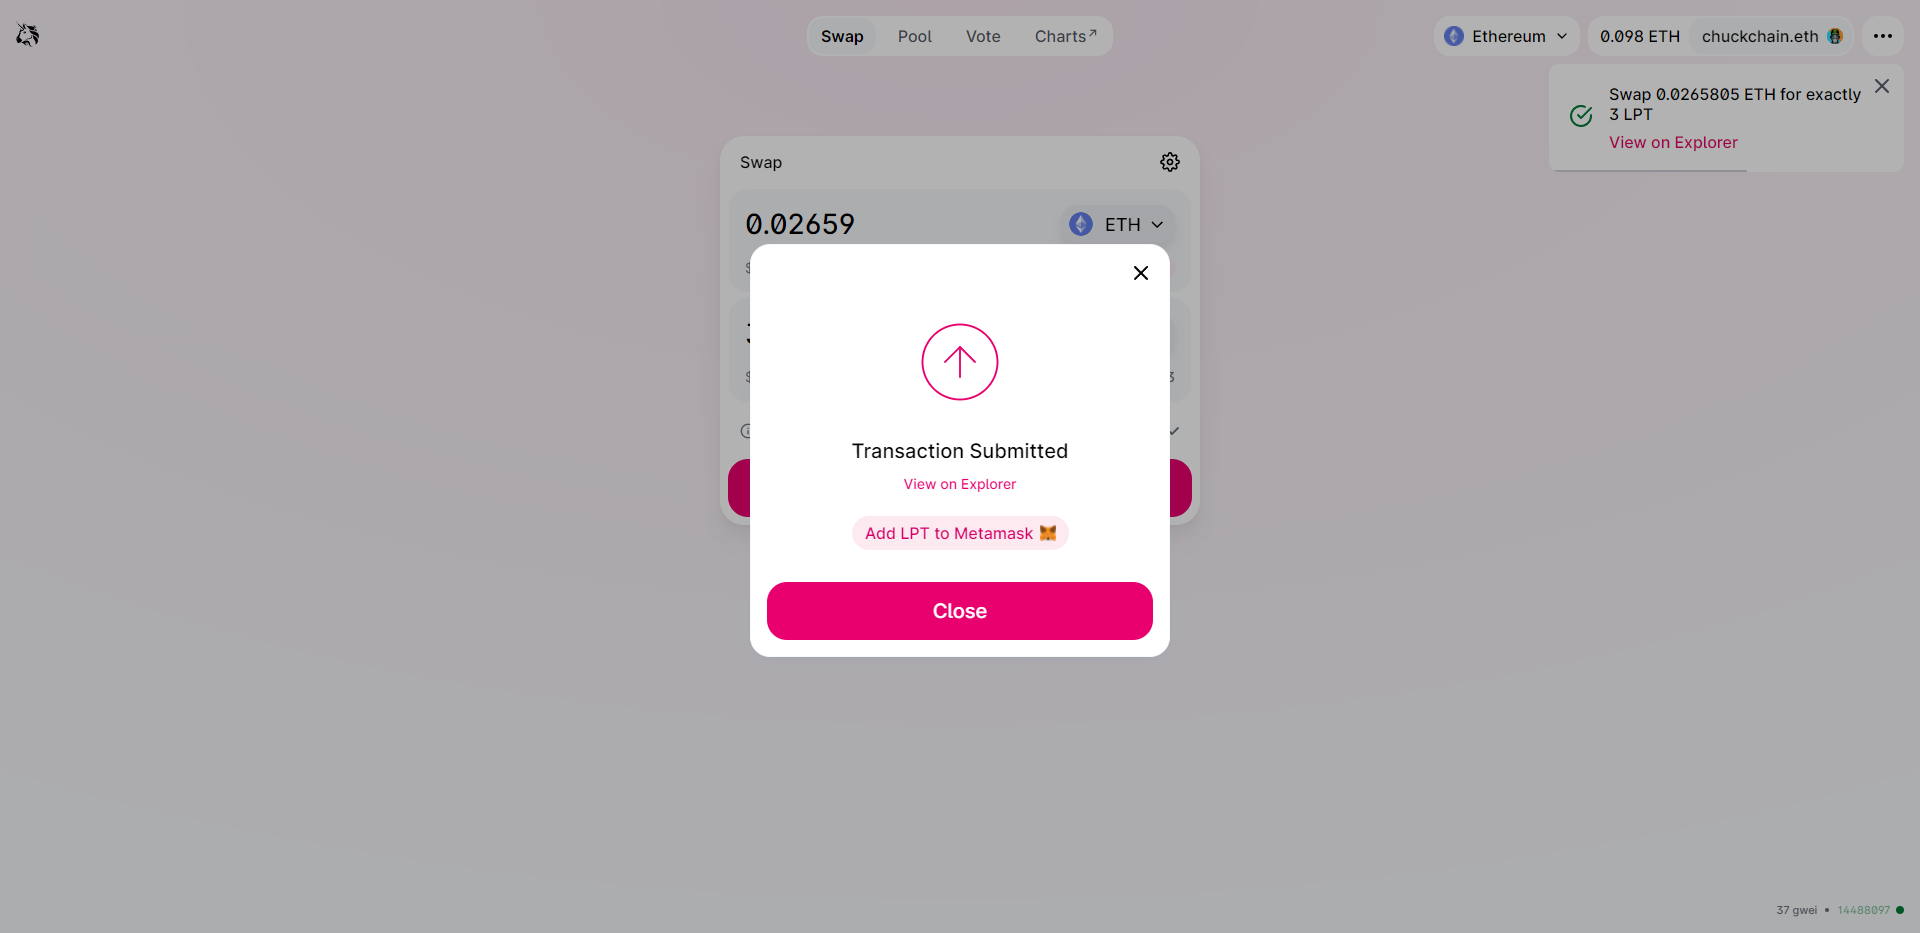
Swap completed - On the top right of the Uniswap page, you should see that the transaction has succeded. Your LPT are now in your wallet:ETH to LPT swap completed.
If you're buying on a CEX, your LPT will be on Ethereum and you will have to (1) send them from your CEX wallet to your private wallet (Metamask or Coinbase Wallet for example) (2) and then bridge them to Arbitrum. Here are some popular Centralized Exchanges that allows you to buy LPT or sell LPT:
The steps are very similar to the steps above to bridge ETH to Arbitrum.
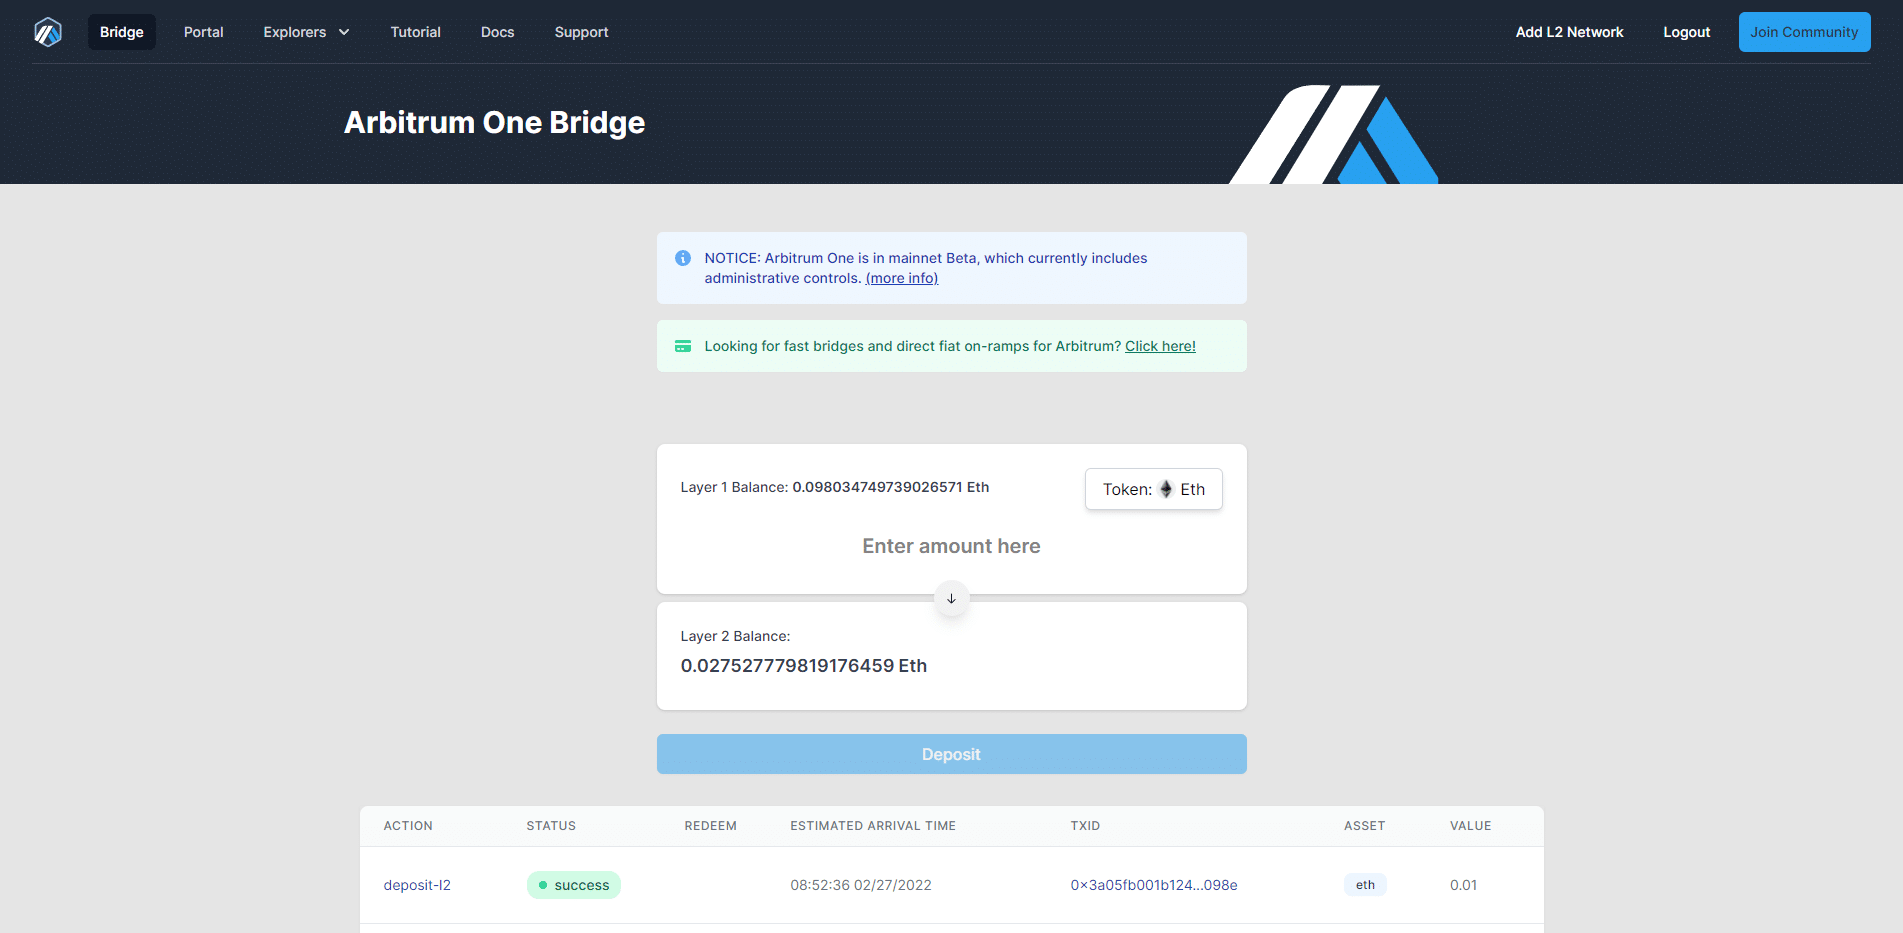
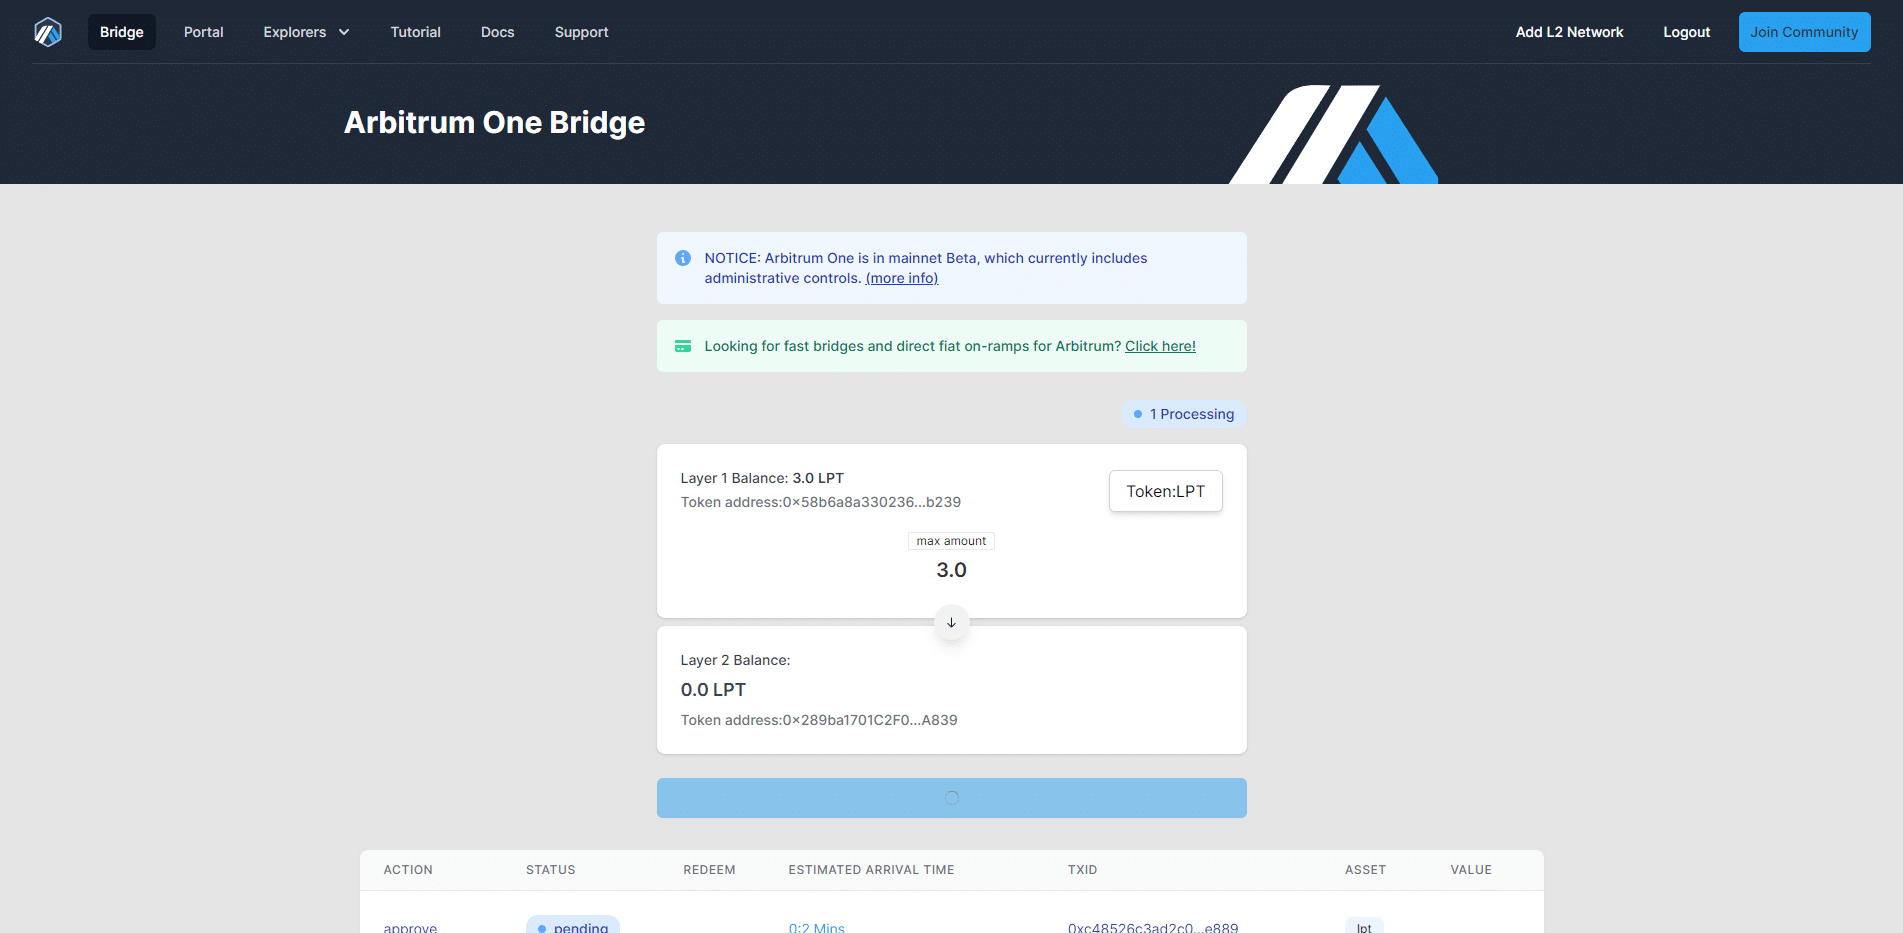
Visit bridge.arbitrum.io - Visit the Arbitrum bridge page where you will bridge your LPT to Arbitrum. Make sure that you're connected to your wallet on the Ethereum mainnet network:This page shows your current ETH balances on layer 1 (Ethereum) and on layer 2 (Arbitrum).
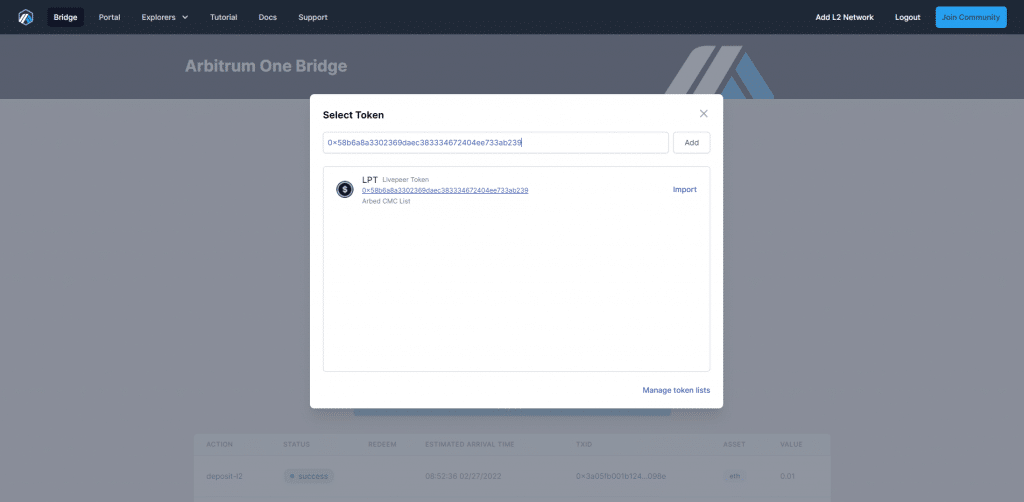
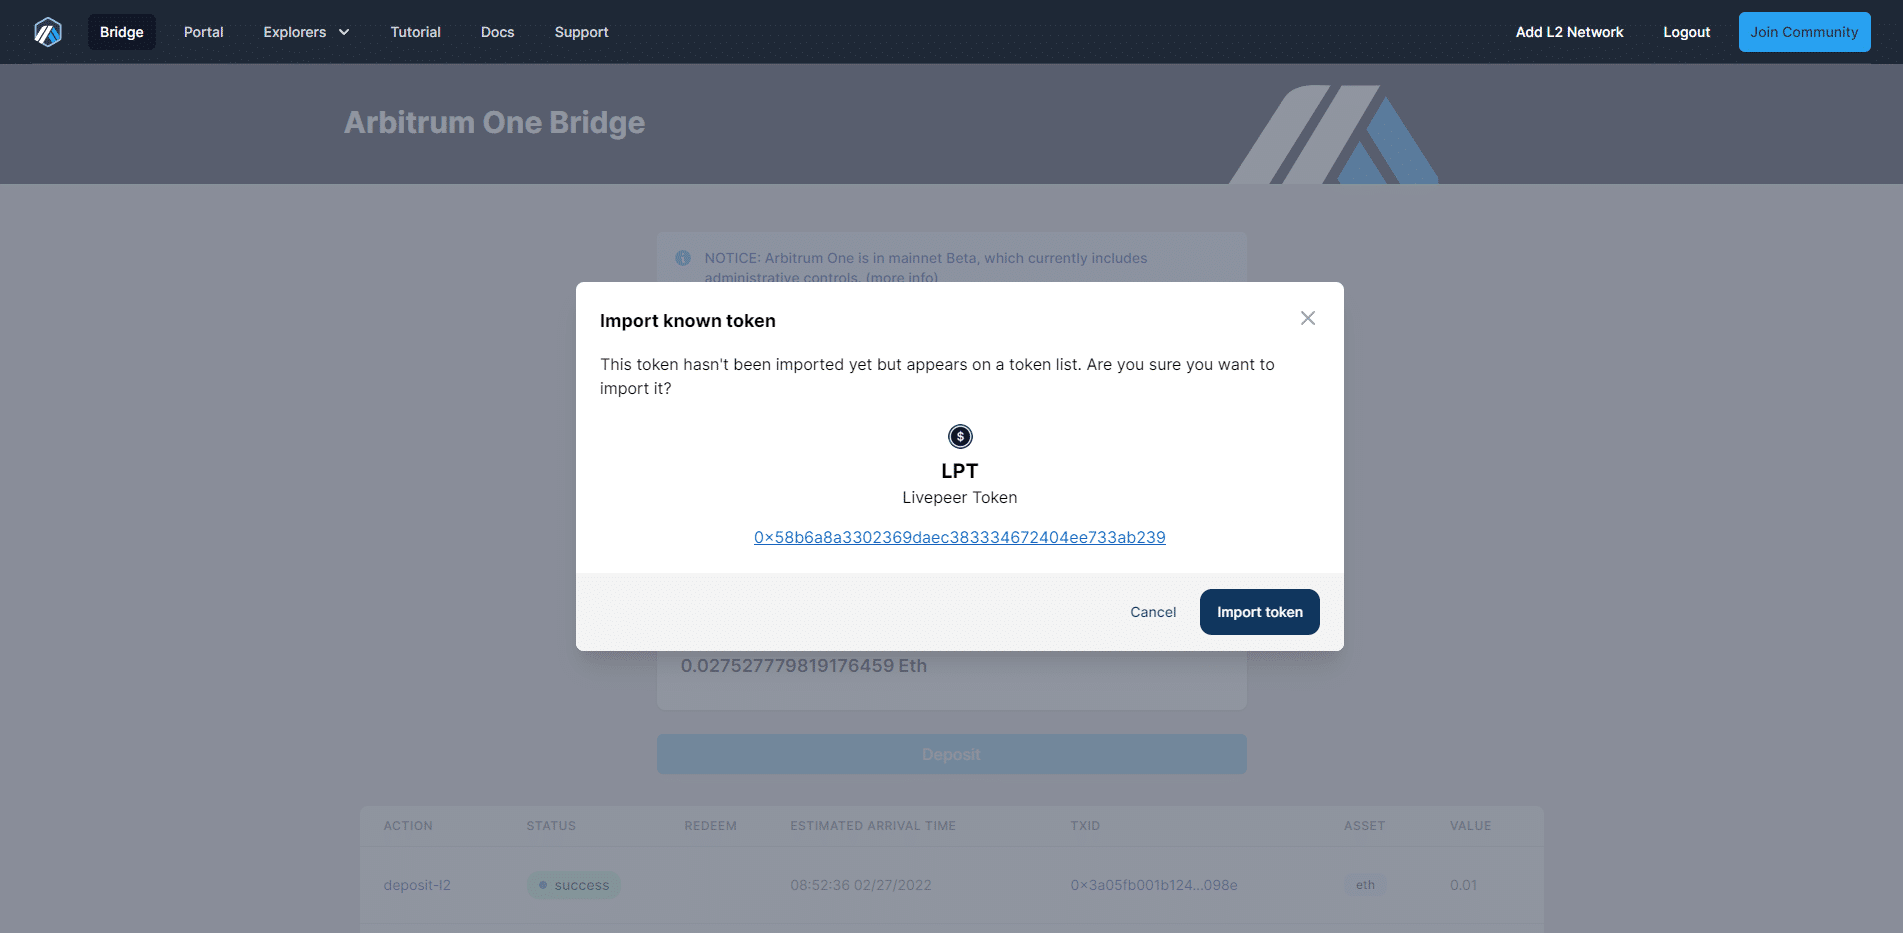
Import LPT as the Token to bridge - Click on Token and a popup screen will ask you to select a token. Enter the LPT contract address - 0x58b6a8a3302369daec383334672404ee733ab239 - and press Enter. The LPT Livepeer Token will appear in the box and you can click on Import:This shows LPT as the Token we want to bridge to Arbitrum.
Import known token - The Arbitrum Bridge will ask you to confirm that you want to import LPT; click on Import token:Import the LPT token to bridge it to Arbitrum.
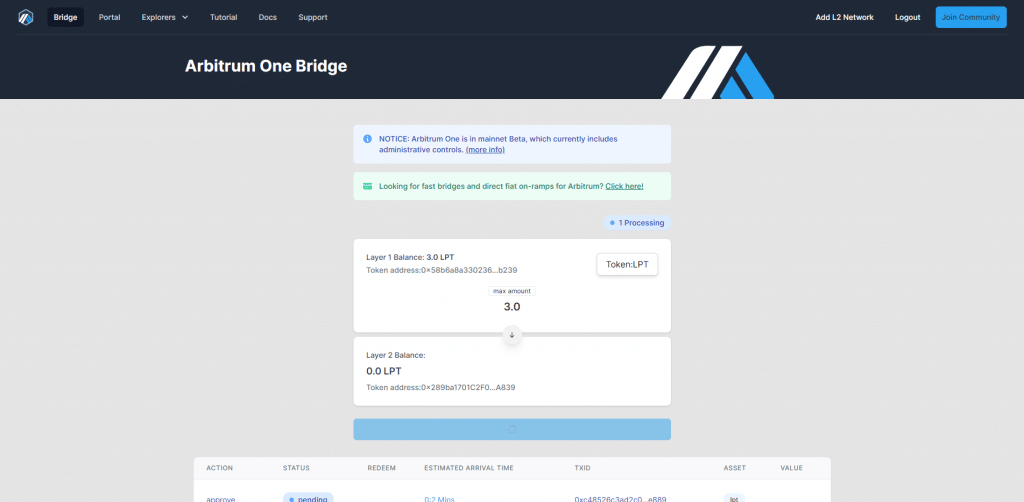
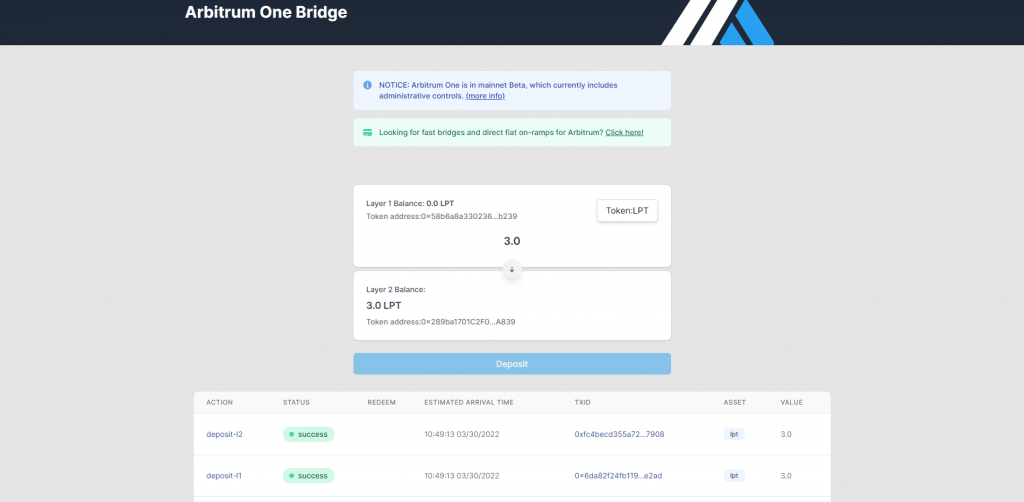
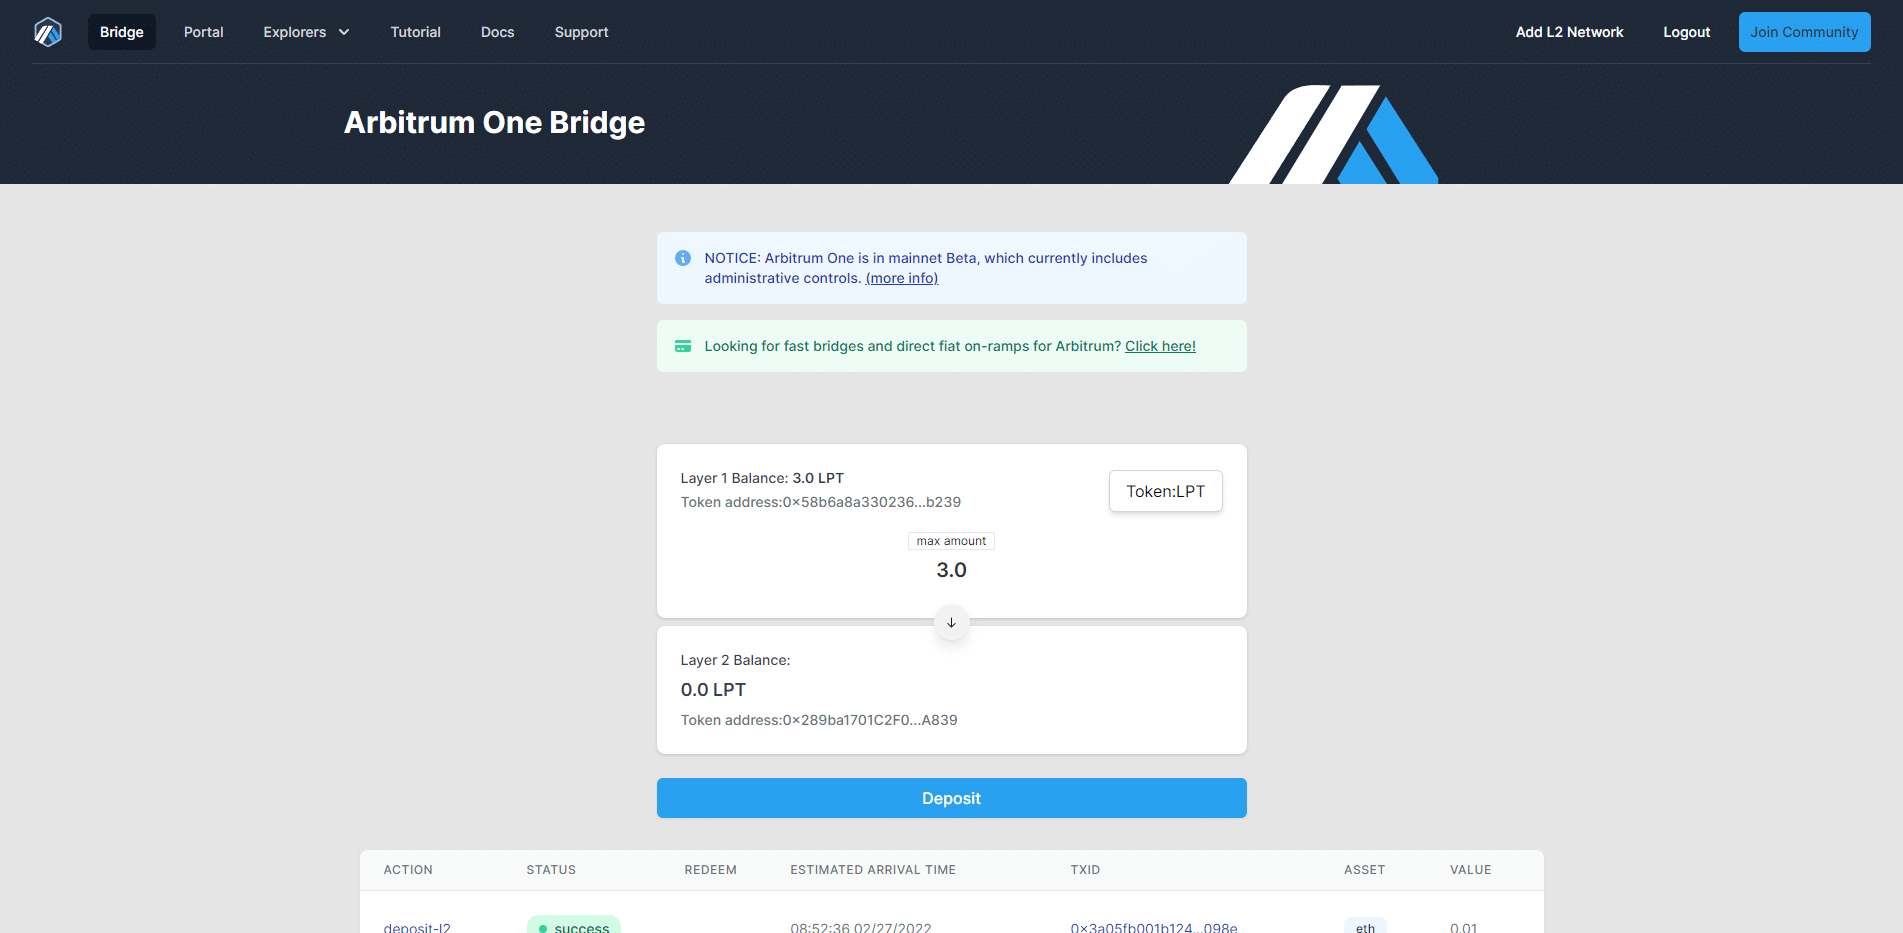
Enter the amount of LPT you want to bridge - You must input the amount of LPT you want to bridge to Arbitrum. Here, I'm bridging 3 LPT for this guide, but you can bridge much more obviously:Enter the amount of LPT to send to Arbitrum.
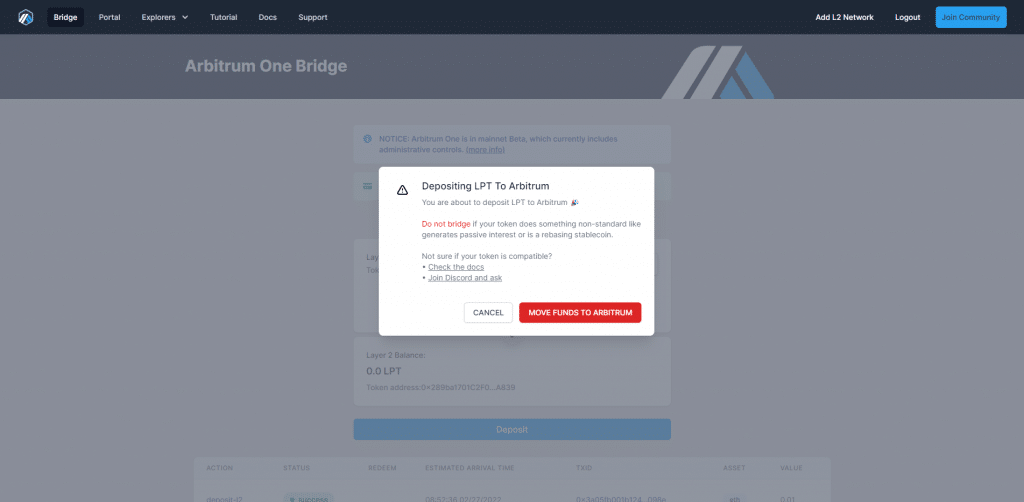
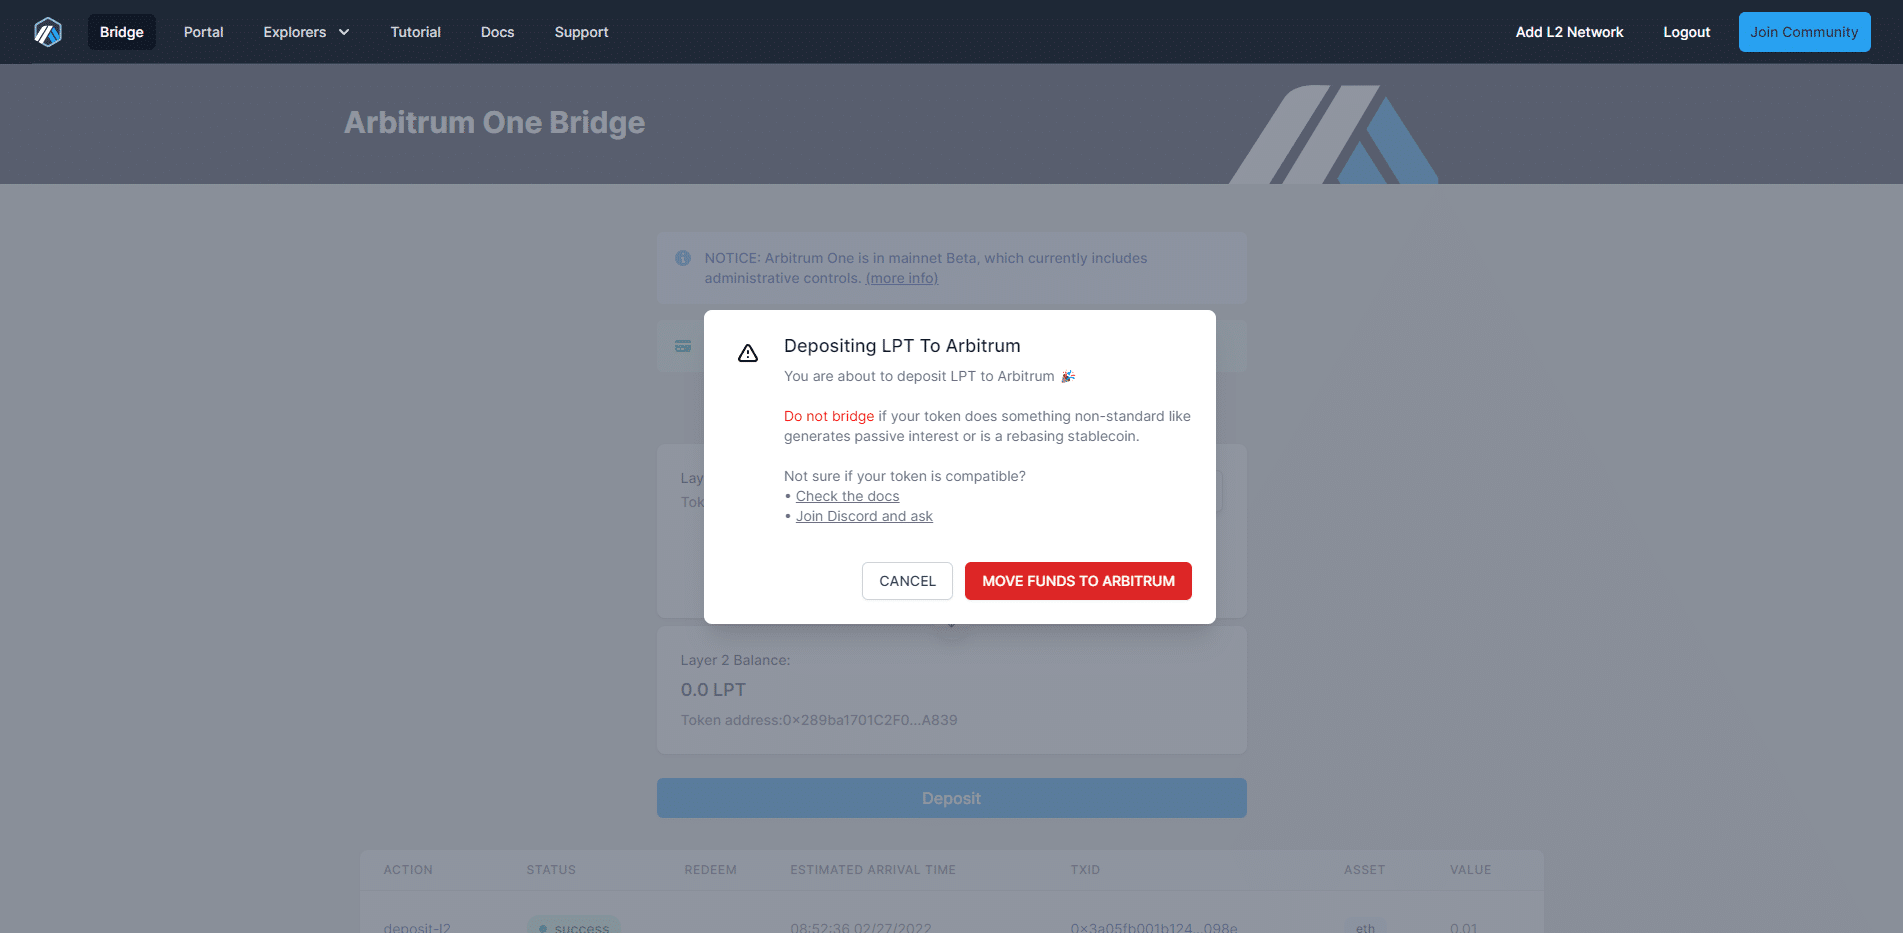
Move LPT Funds to Arbitrum - Click on Deposit and a popup will appear asking you if you want to proceed. Click on MOVE FUNDS TO ARBITRUM:Confirmation popup to Move Funds to Arbitrum.
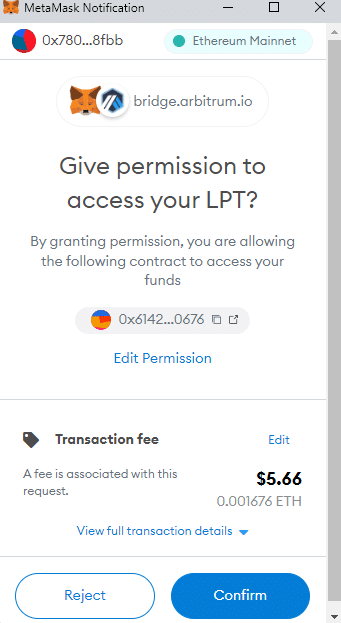
Give permission to access your LPT - Your wallet (Metamask here) may ask you to give permission to access your LPT. You will have to pay some gas fees. Click on Confirm:Give permission to access your LPT.
Wait for the permission transaction to process - Your transaction will be broadcasted on Ethereum. Wait for it to confirm, it should take about 1 minute:Transaction processing.
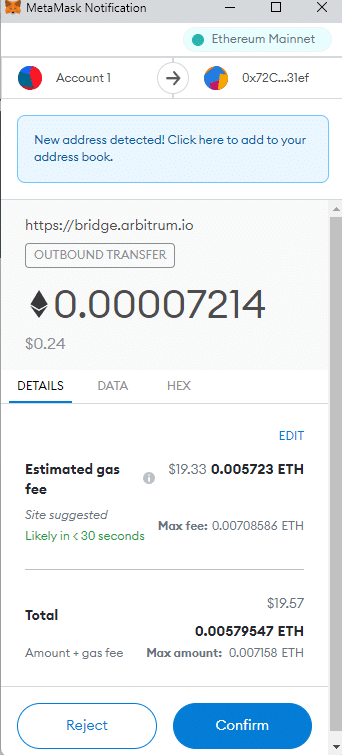
Confirm the transaction - Your wallet (Metamask here) will then ask you to confirm the bridging transaction. You will have to pay some gas fees. Click on Confirm:Confirm the transaction.
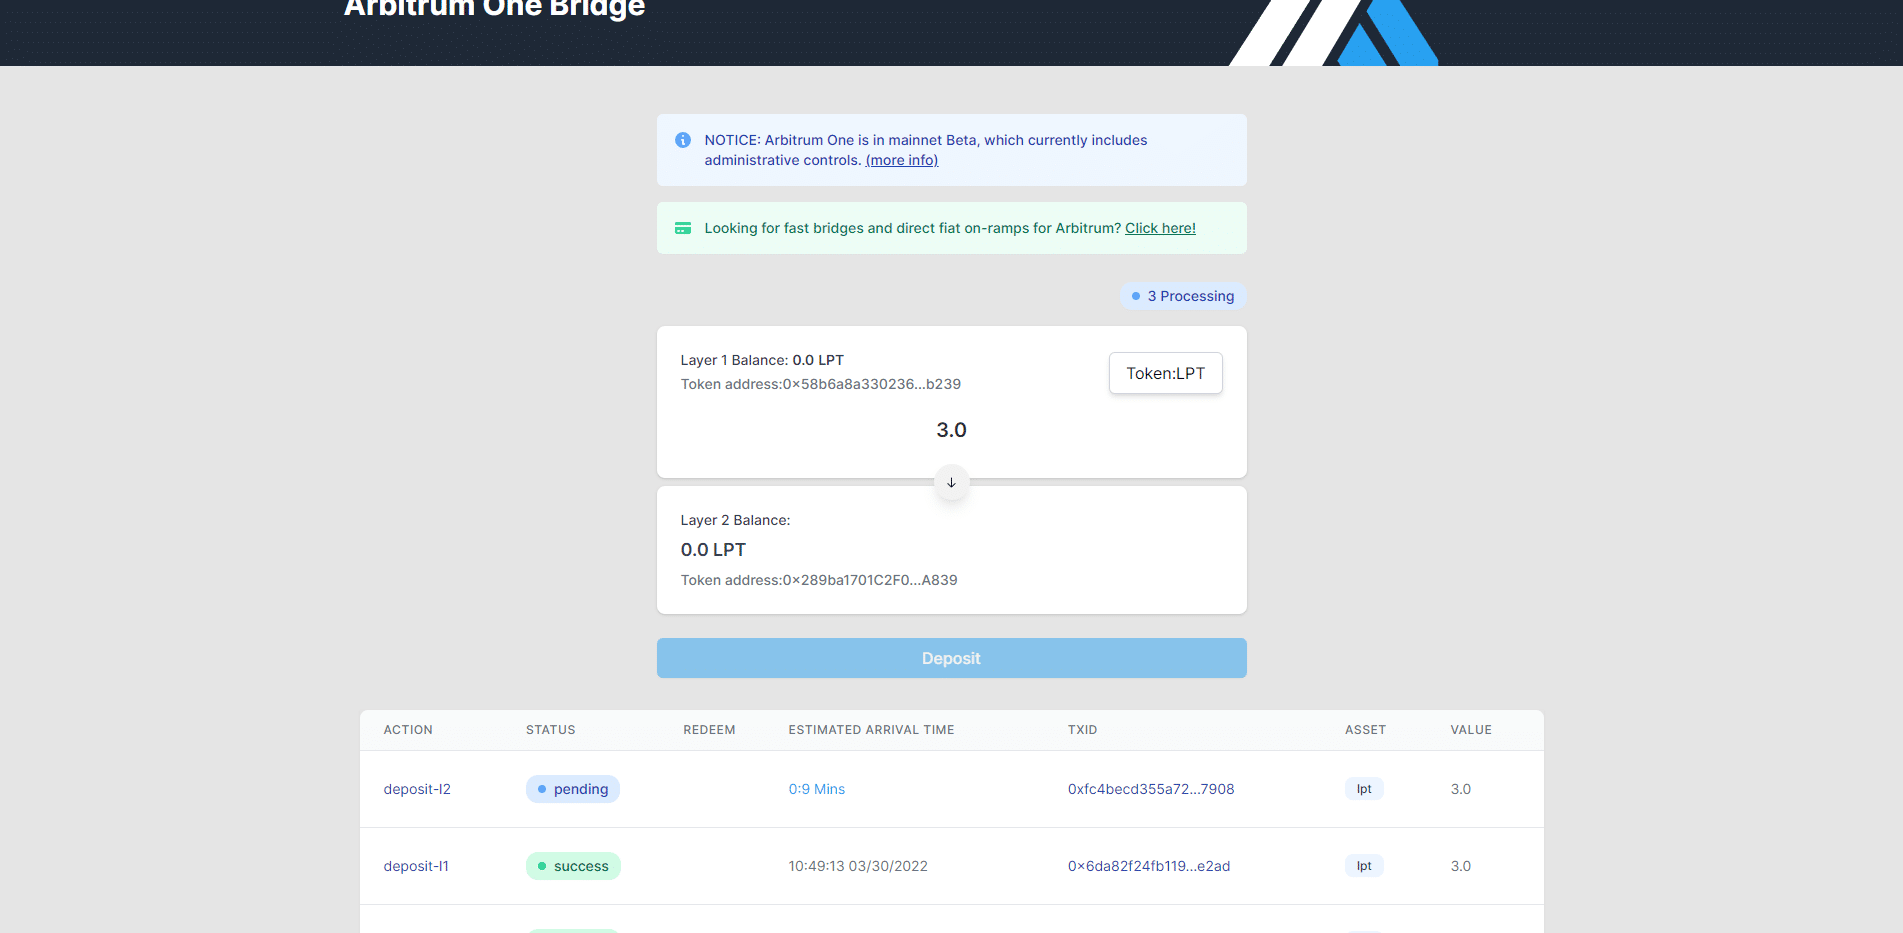
Wait for the transaction to complete on Ethereum - You must now wait for the transaction to confirm. You should see pending in the table on the Arbitrum Bridge page and the estimated arrival time. This should take about 1-3 minutes:Transaction pending on Ethereum.
Wait for the transaction to complete on Arbitrum - Once the transaction has confirmed on Ethereum, the layer 1, you must wait for it to confirm on Arbitrum, the layer 2. This can take 10 minutes:Transaction pending on Arbitrum.
Bridge completed - When both transactions have confirmed, they will both show Success, meaning that your LPT have been bridged from Ethereum to Arbitrum:Transaction success.
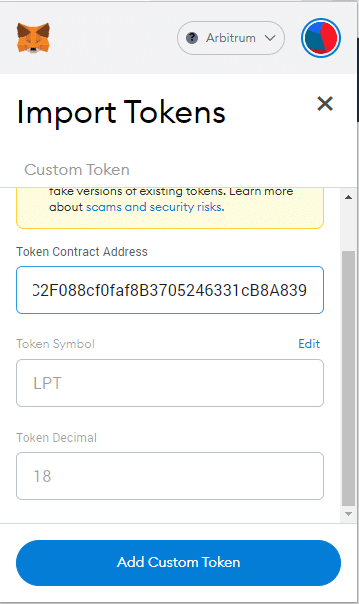
Import LPT in your wallet on Arbitrum (optional) - If you're using Metamask and don't see your LPT in your wallet while connected to the Arbitrum Network, you must first click on the Import tokens link at the bottom of Metamask, enter the LPT Arbitrum contract address 0x289ba1701C2F088cf0faf8B3705246331cB8A839 in the Token Contract Address field and click Add Custom Token:Import LPT Token to Metamask.
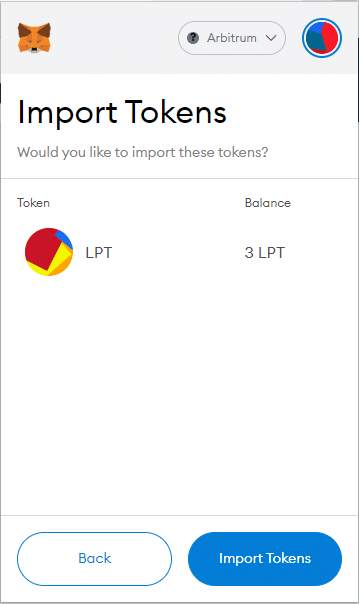
Import LPT - The Metamask screen will now show LPT and the amount you have on Arbitrum. Click on Import Tokens:Import Tokens.
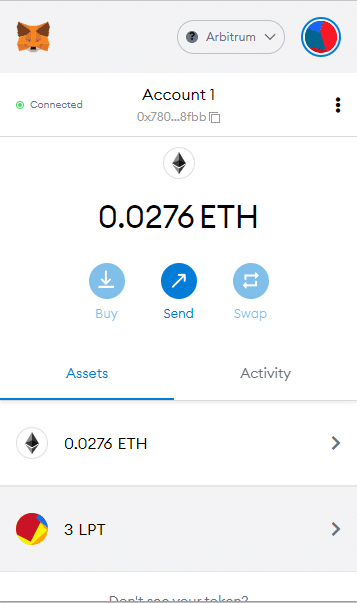
Your crypto balances on Metamask on Arbitrum - You should be able to see your new balances on Arbitrum in your wallet:Your ETH and LPT balances in your wallet on Arbitrum.
How to Stake Your Livepeer Tokens with an Orchestrator
In this part of our Livepeer staking guide, we will show in a straightforward way how to stake your LPTs to an orchestrator. We obviously suggests that you stake to us, but this will work even if you want to stake with a different orchestrator. If you don't already own Livepeer Tokens - LPT - you can buy LPT on a centralized exchange (i.e. Kraken, Coinbase, Binance etc.) or on a decentralized exchange (DEX) like Matcha.xyz, 1inch Exchange or Uniswap.
Livepeer migrated to Arbitrum in February 2022, a layer 2 chain. This guide assumes you're already familiar with Arbitrum. If you're completely new to Arbitrum, we suggest you first read our above section: How to Delegate LPT on Livepeer on Arbitrum.
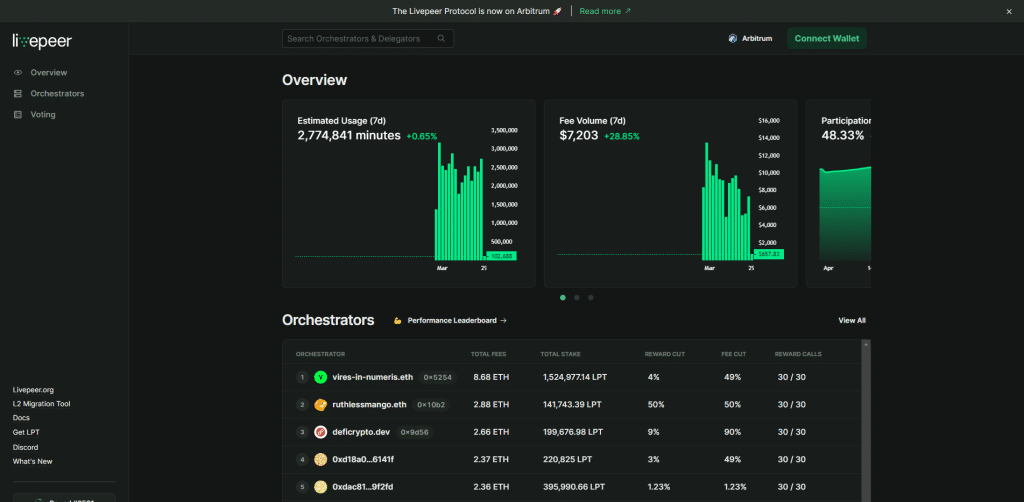
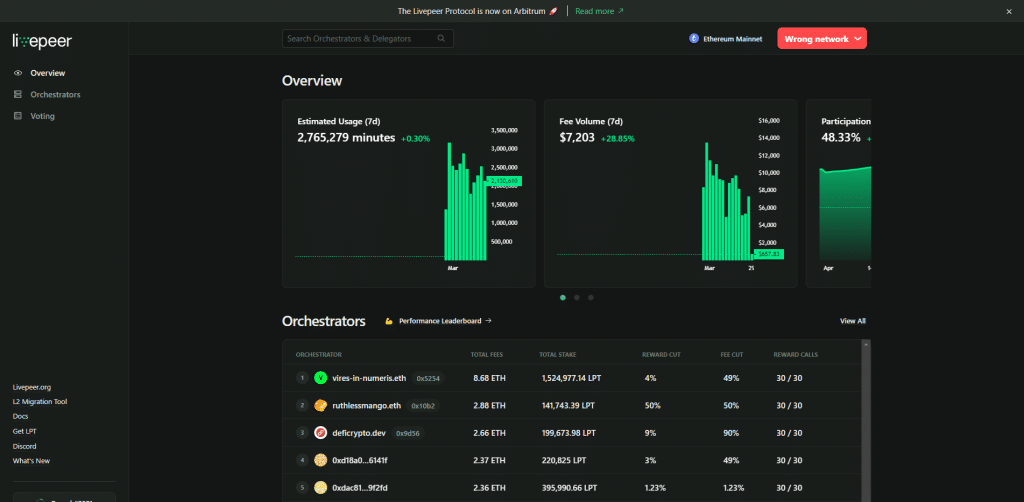
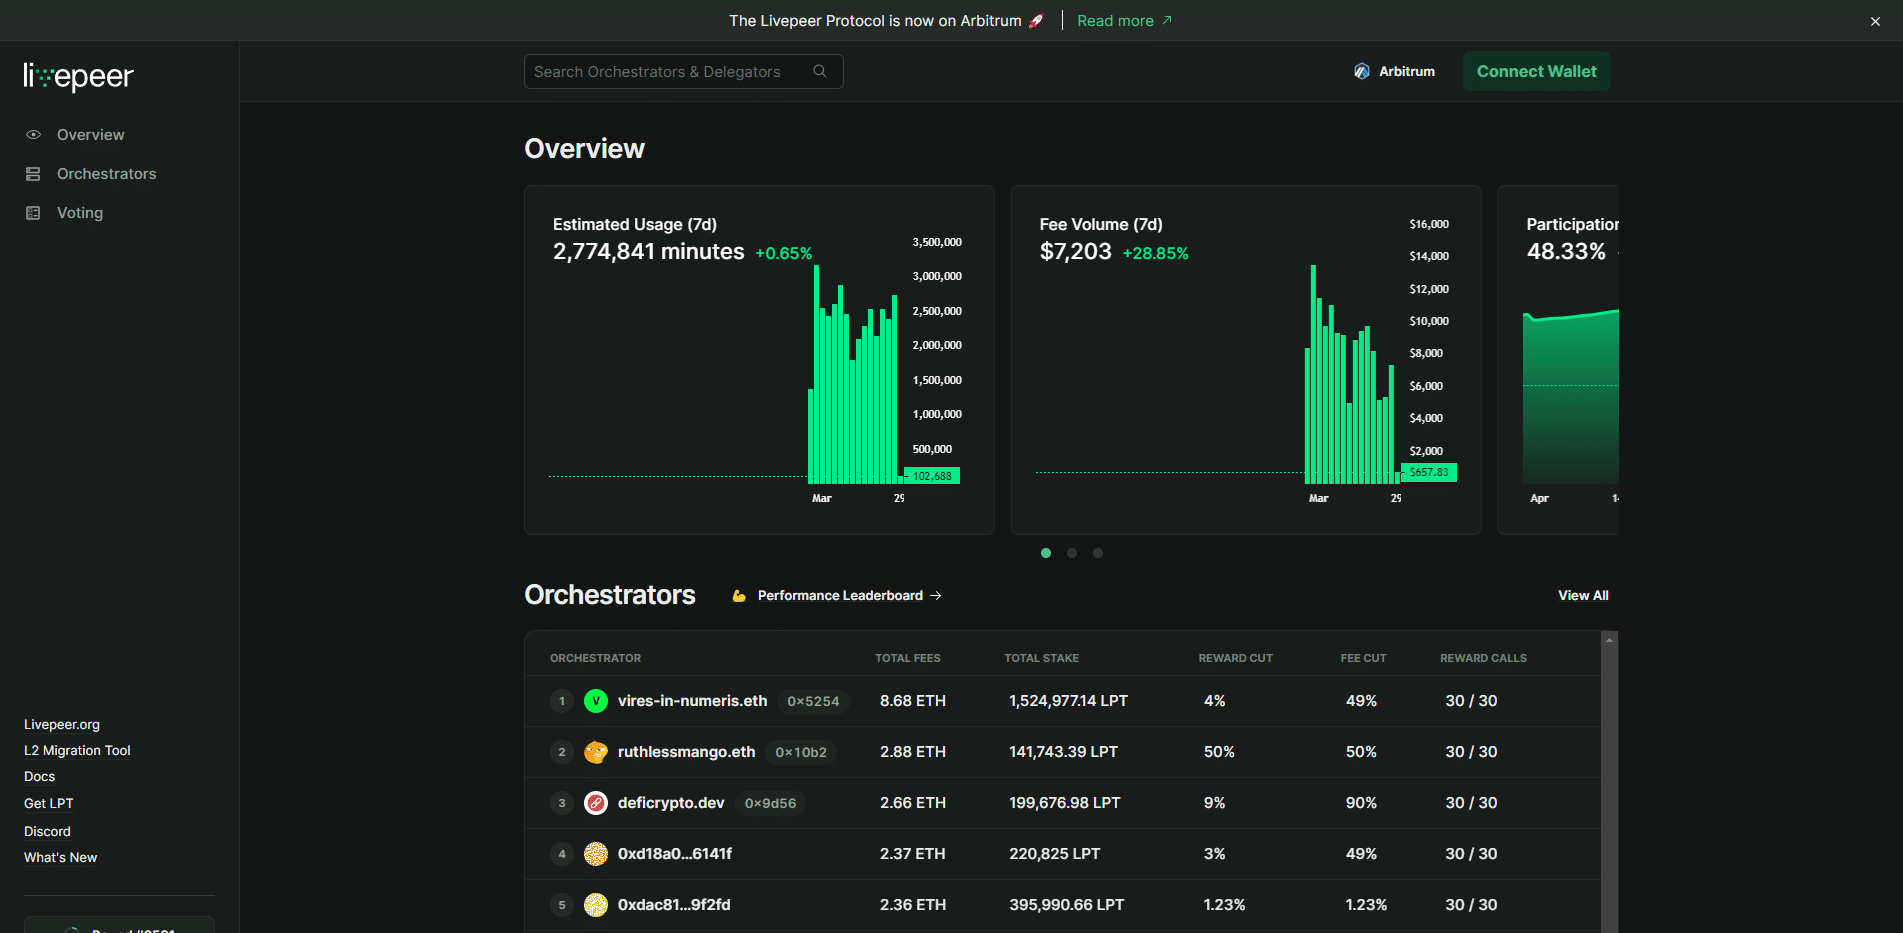
Visit Explorer.Livepeer.org - Visit this page that lists all the orchestrators that are running transcoding nodes on Livepeer. On this page you will be able to select an active orchestrator - better yet, you can select us - you'll find us under Crypto.ca: This page lists all the orchestrators on the Livepeer network.
Connect your Wallet – In our example, we will be using MetaMask, but this also works with other wallets. MetaMask is an browser extension that allows you to manage an Ethereum and ERC-20 tokens address. You can download MetaMask on Chrome or Brave. Install MetaMask, create an account and send your LPT to your new Ethereum address on the Arbitrum Network (see our Livepeer Arbitrum Guide if you've never used Arbitrum before). You must also send some ETH to that address to pay for gas. (Please note that if you're using a DApp Browser with an integrated wallet, like Coinbase Wallet or TrustWallet, it will also work. Just ignore the mentions of MetaMask below and confirm transactions with your DApp browser instead.)
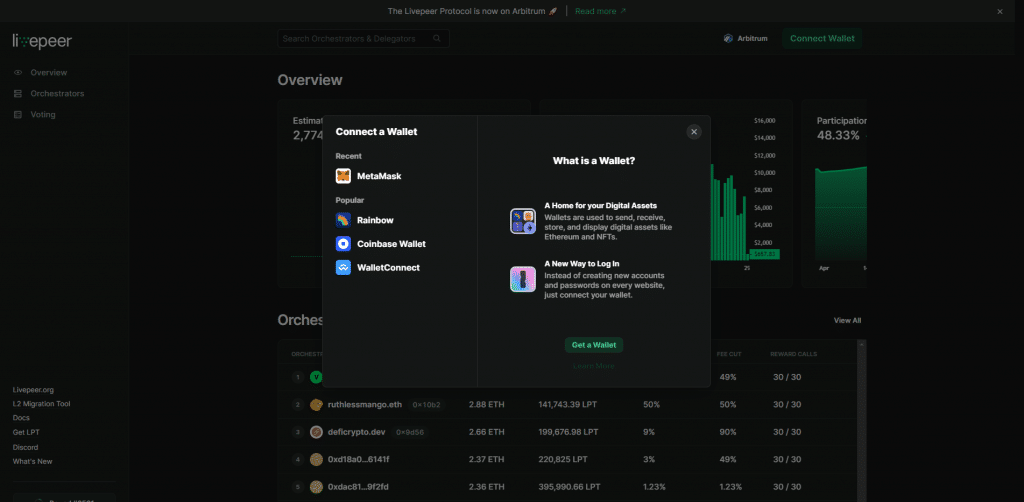
Connect to your MetaMask (or other wallet) account - Click on the button 'Connect Wallet' at the top right of the screen. This will pop up a window that allows you to choose your wallet, e.g. MetaMask. You will then be asked by MetaMask to accept Livepeer's request to connect to your wallet - do accept:The popup will ask to connect to your wallet. Once you select your wallet, your wallet will ask to confirm the connection.
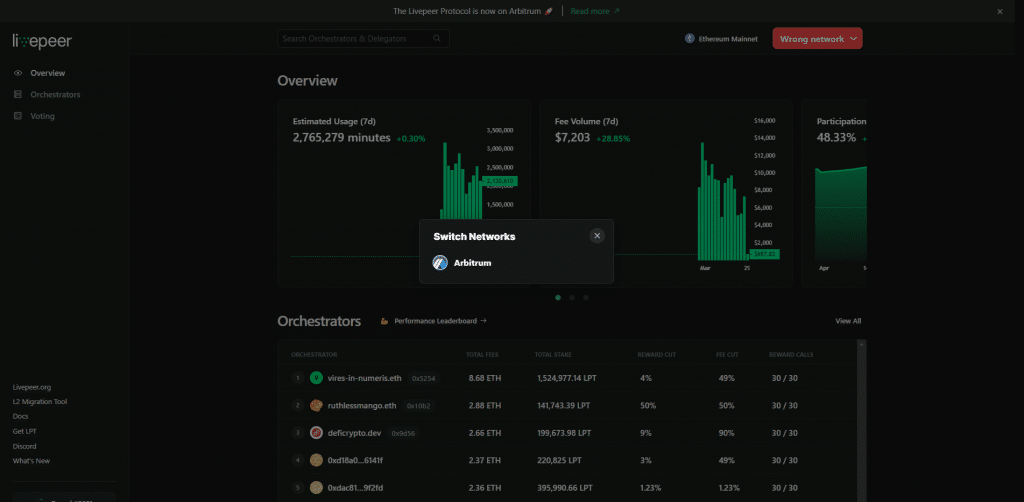
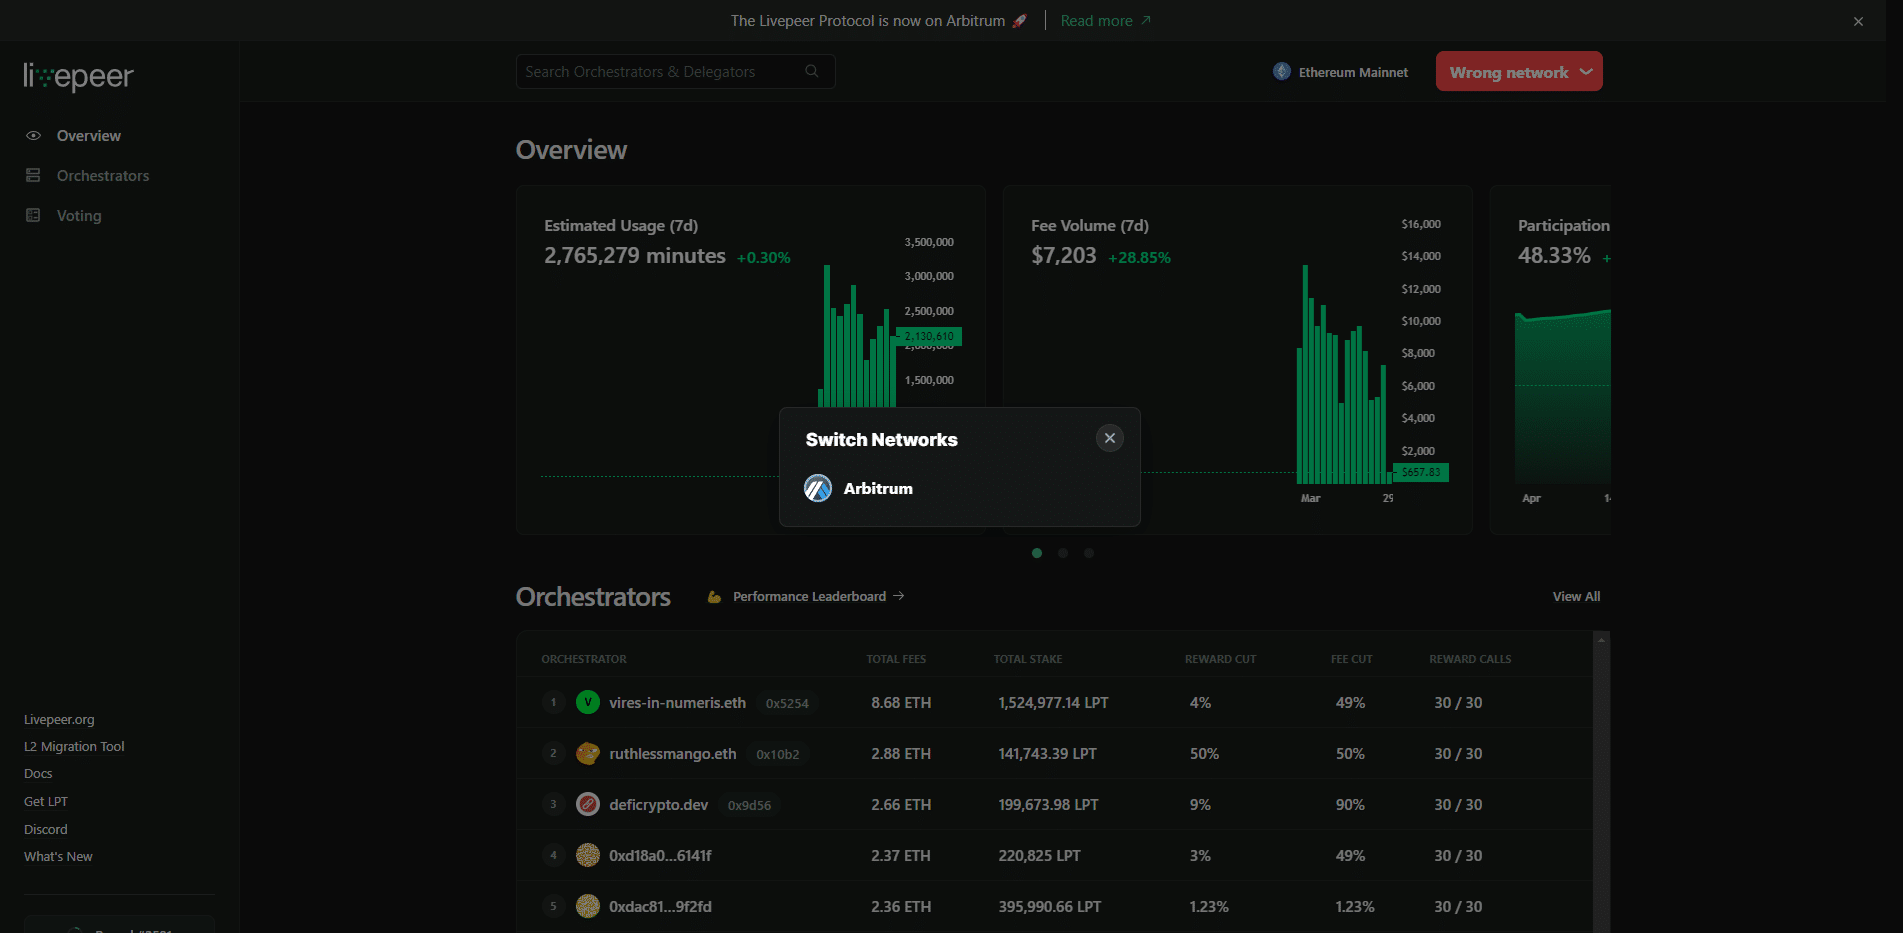
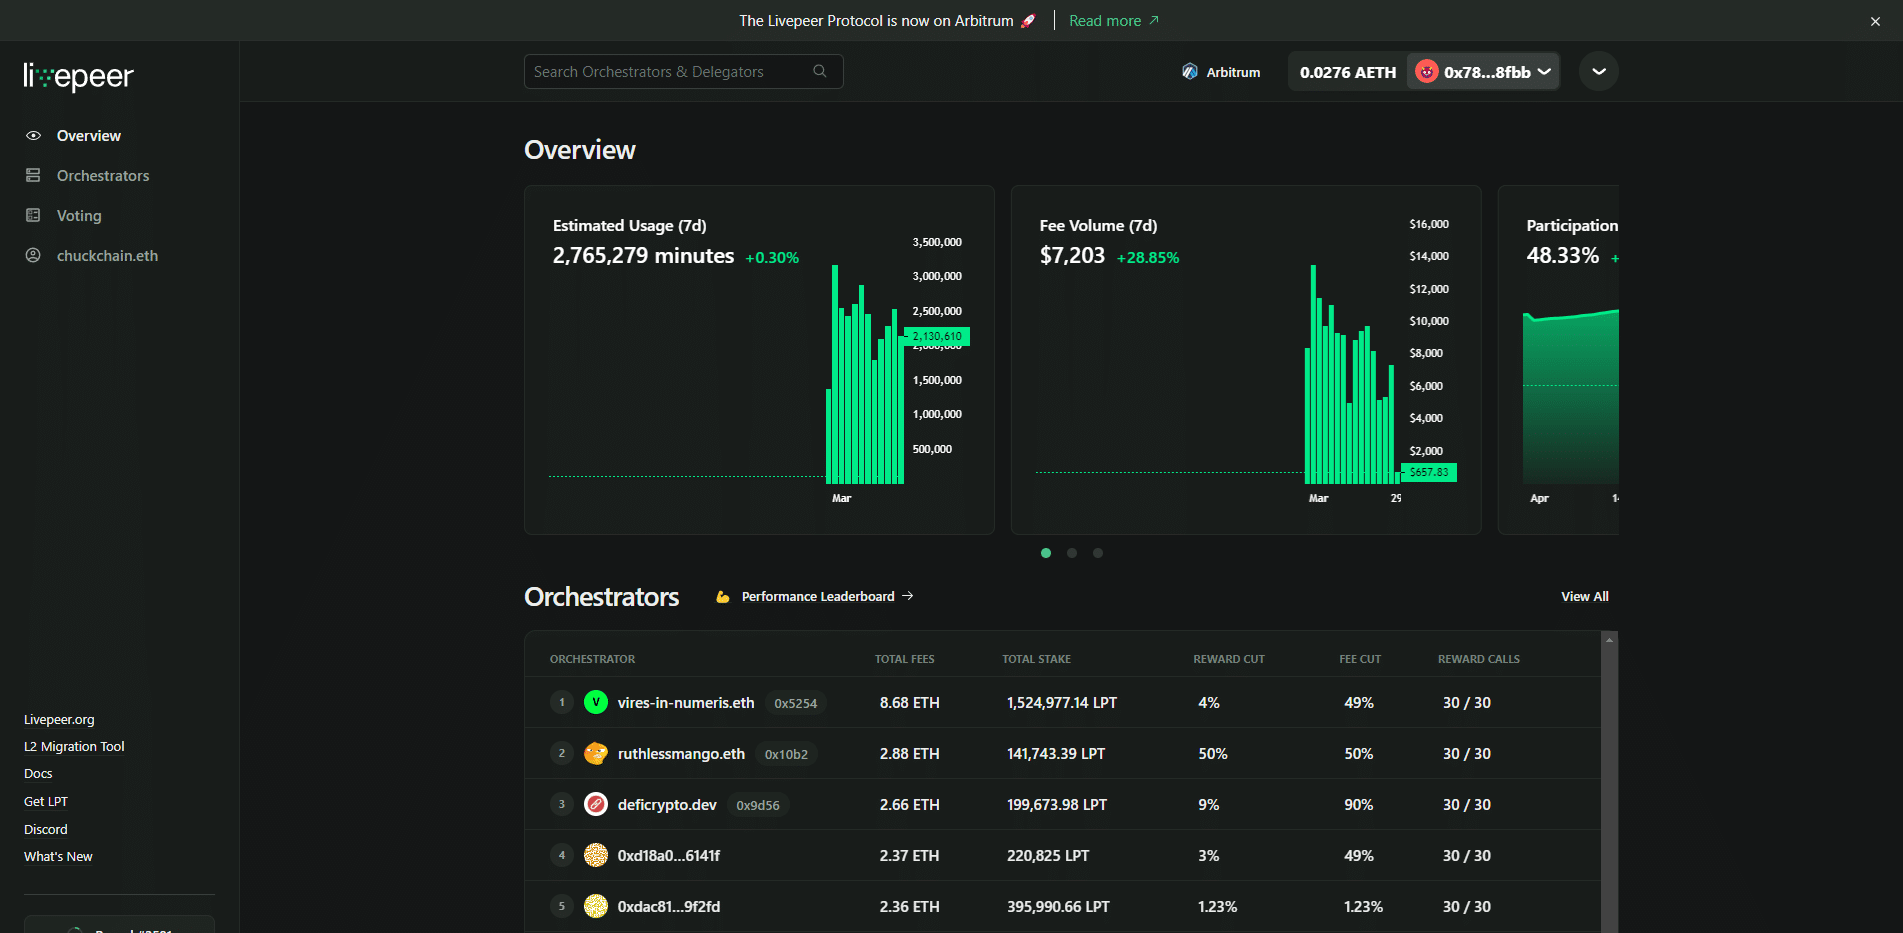
Make sure you're on the Arbitrum Network - If you did the previous steps while on the Ethereum Network, Livepeer will display that you're on the "Wrong network". If it's the case, click on the red "Wrong network" notice and click on "Arbitrum" under the "Switch Networks" popup prompt. Your wallet will ask to confirm the switch, once confirmed, Livepeer will show your address as connected on the top right of the screen:Here I'm connected to the Ethereum Network instead of the Arbitrum Network.Clicking on the Wrong network notice pops up a Switch Network prompt.Now I'm connected to the Arbitrum Network.
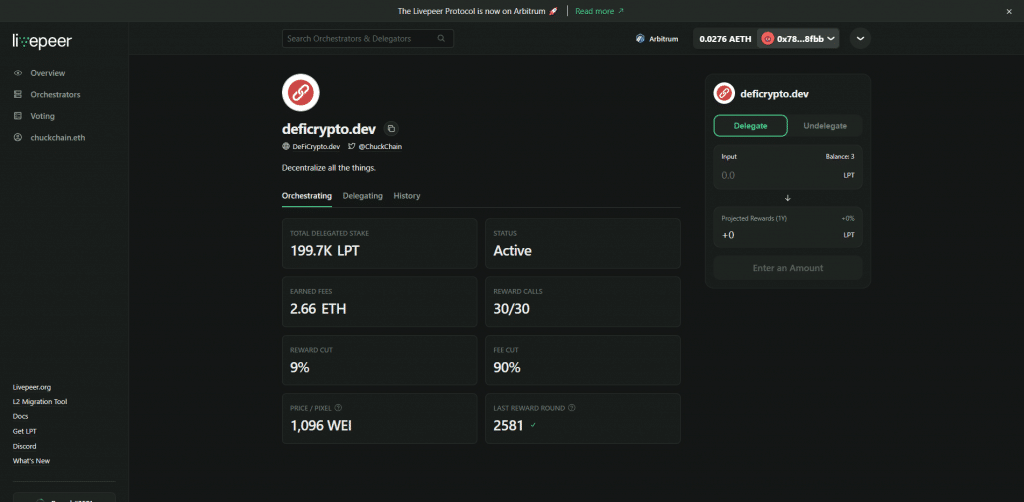
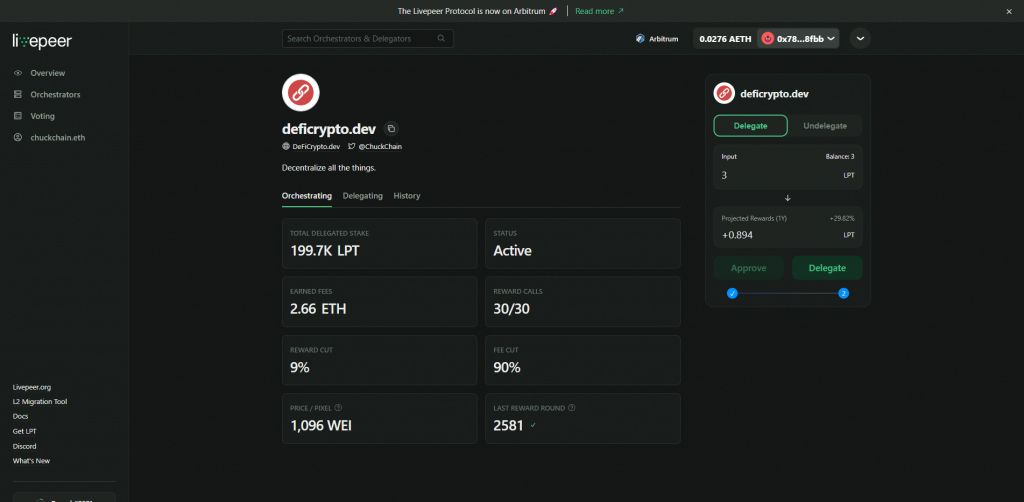
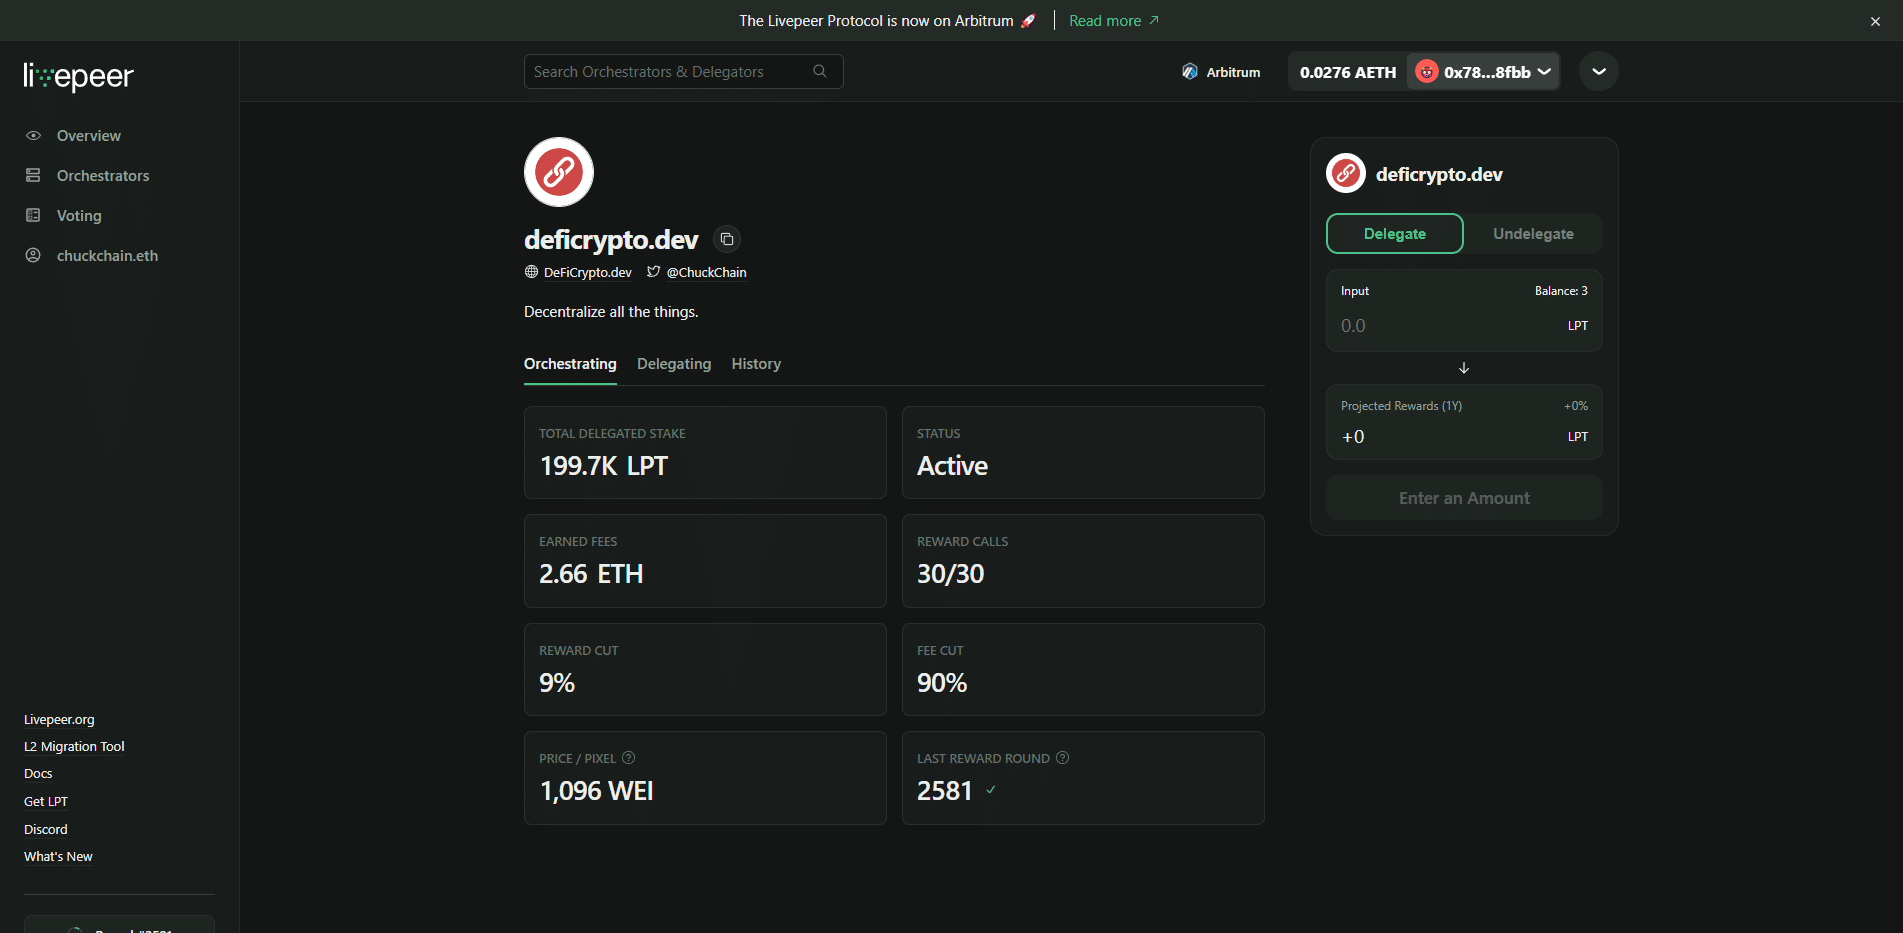
Select an orchestrator - From the list, click on the orchestrator you want to stake your LPT to. For example, if you choose us, you can click on our name on the list, Crypto.ca, and you should then see this page:This is our Crypto.ca orchestrator profile page.
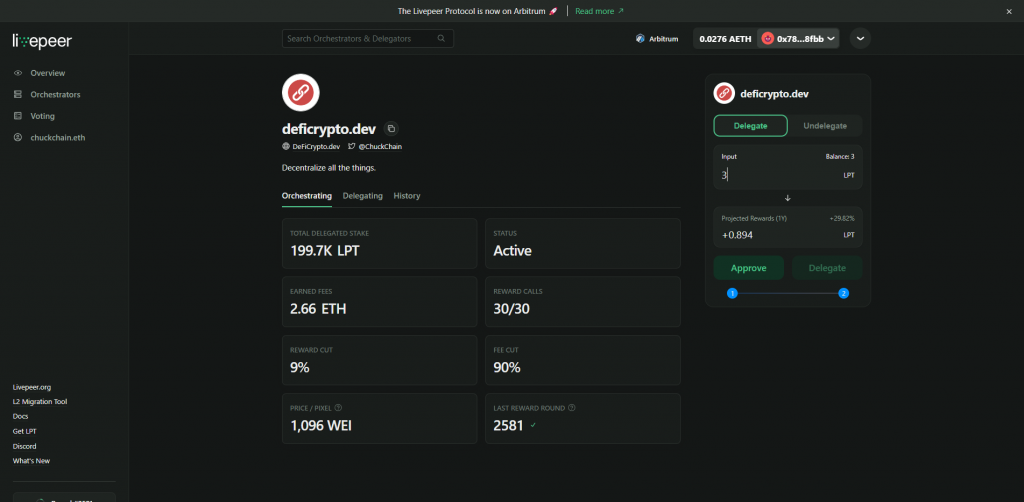
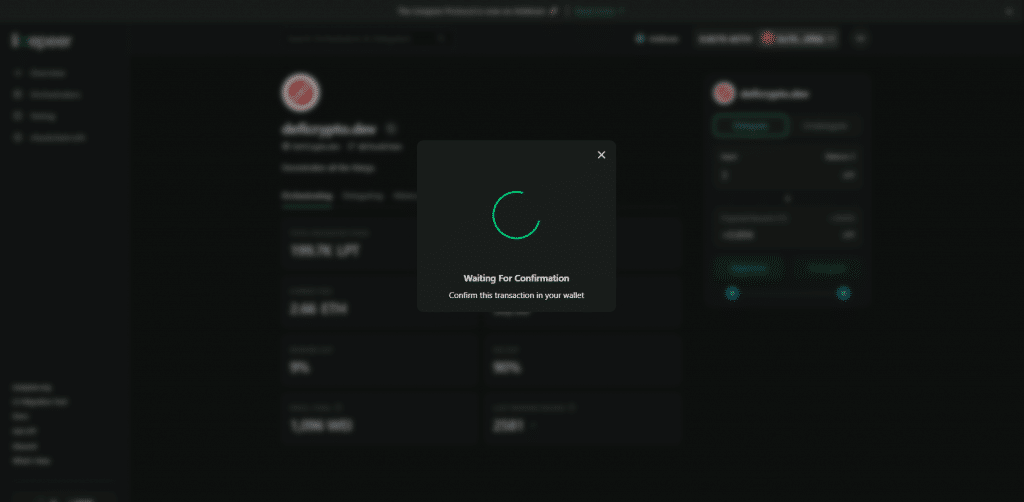
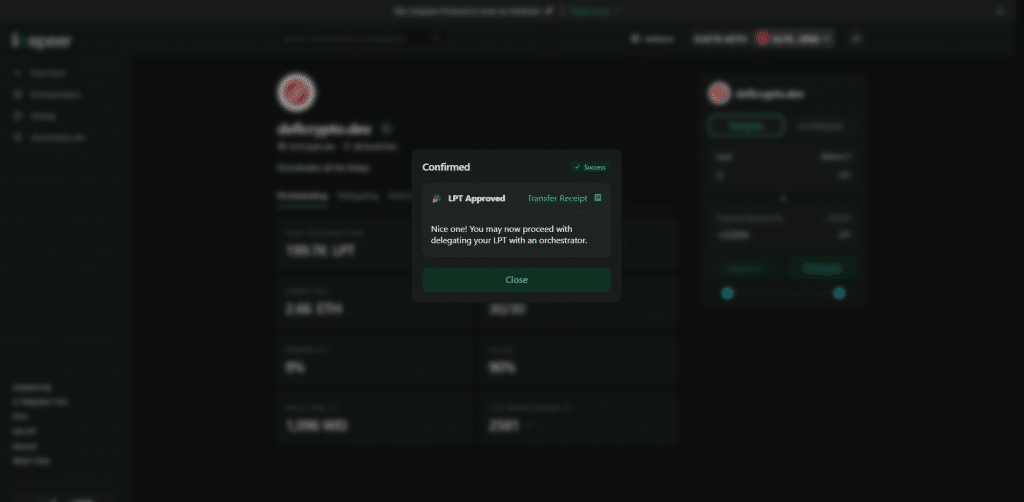
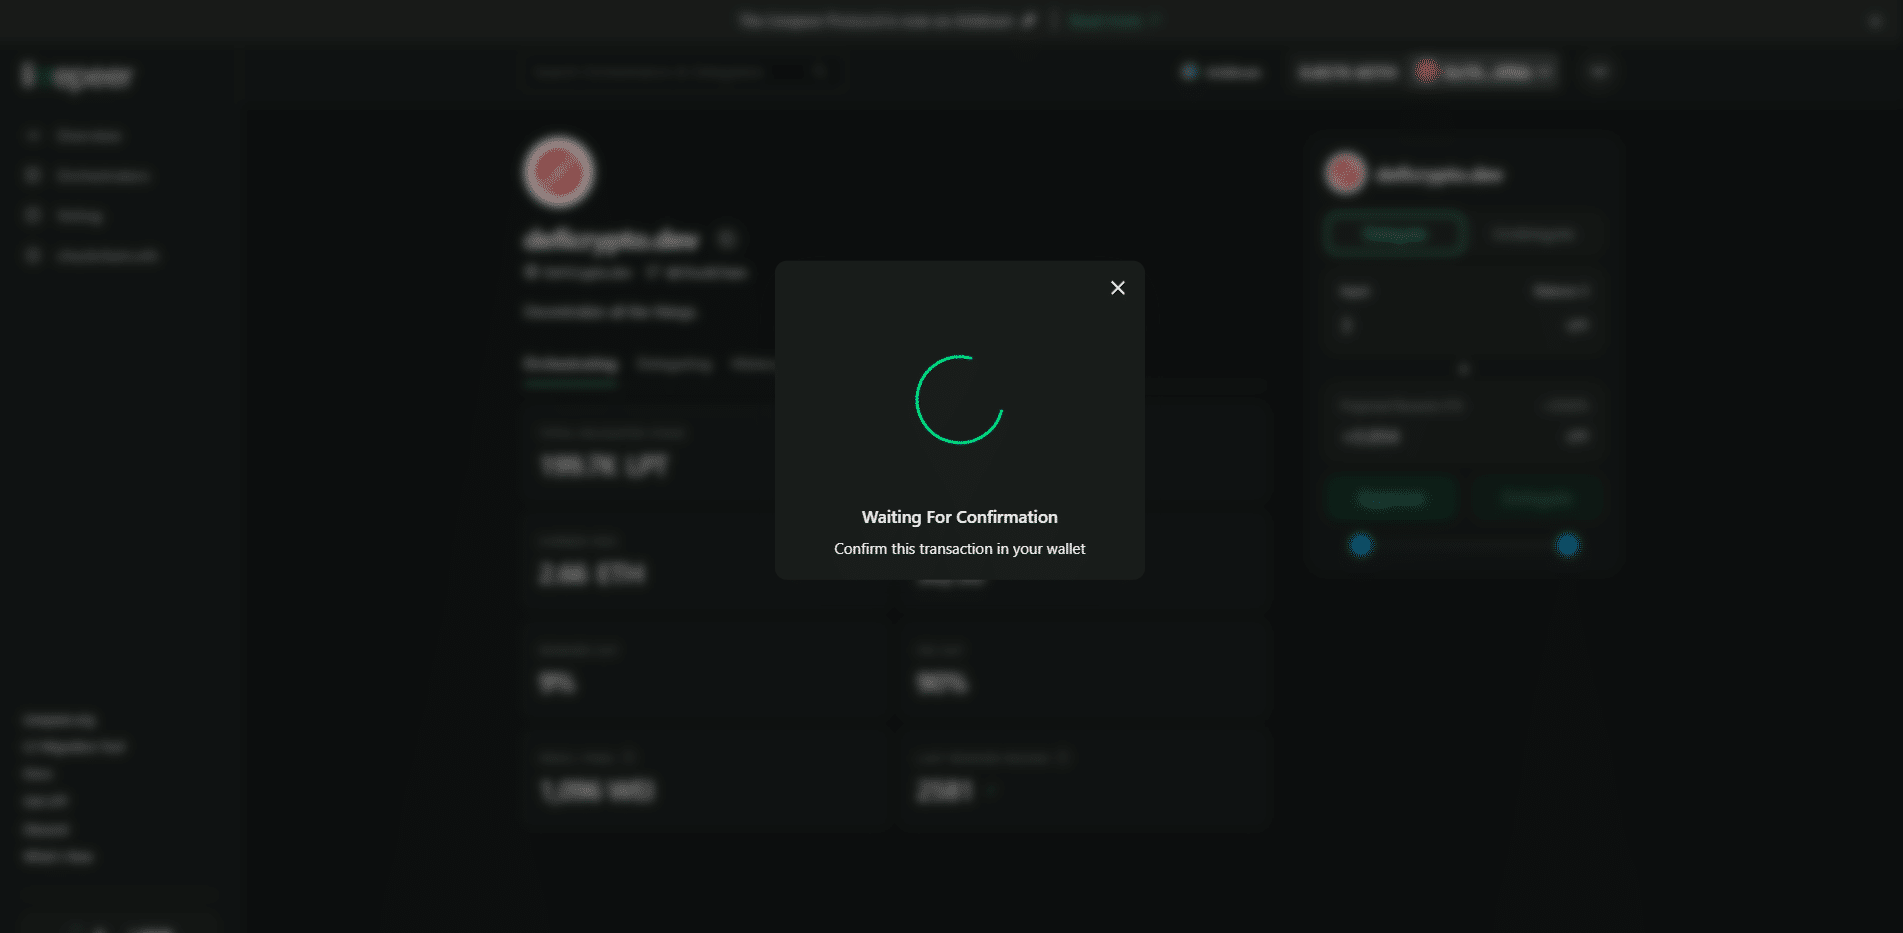
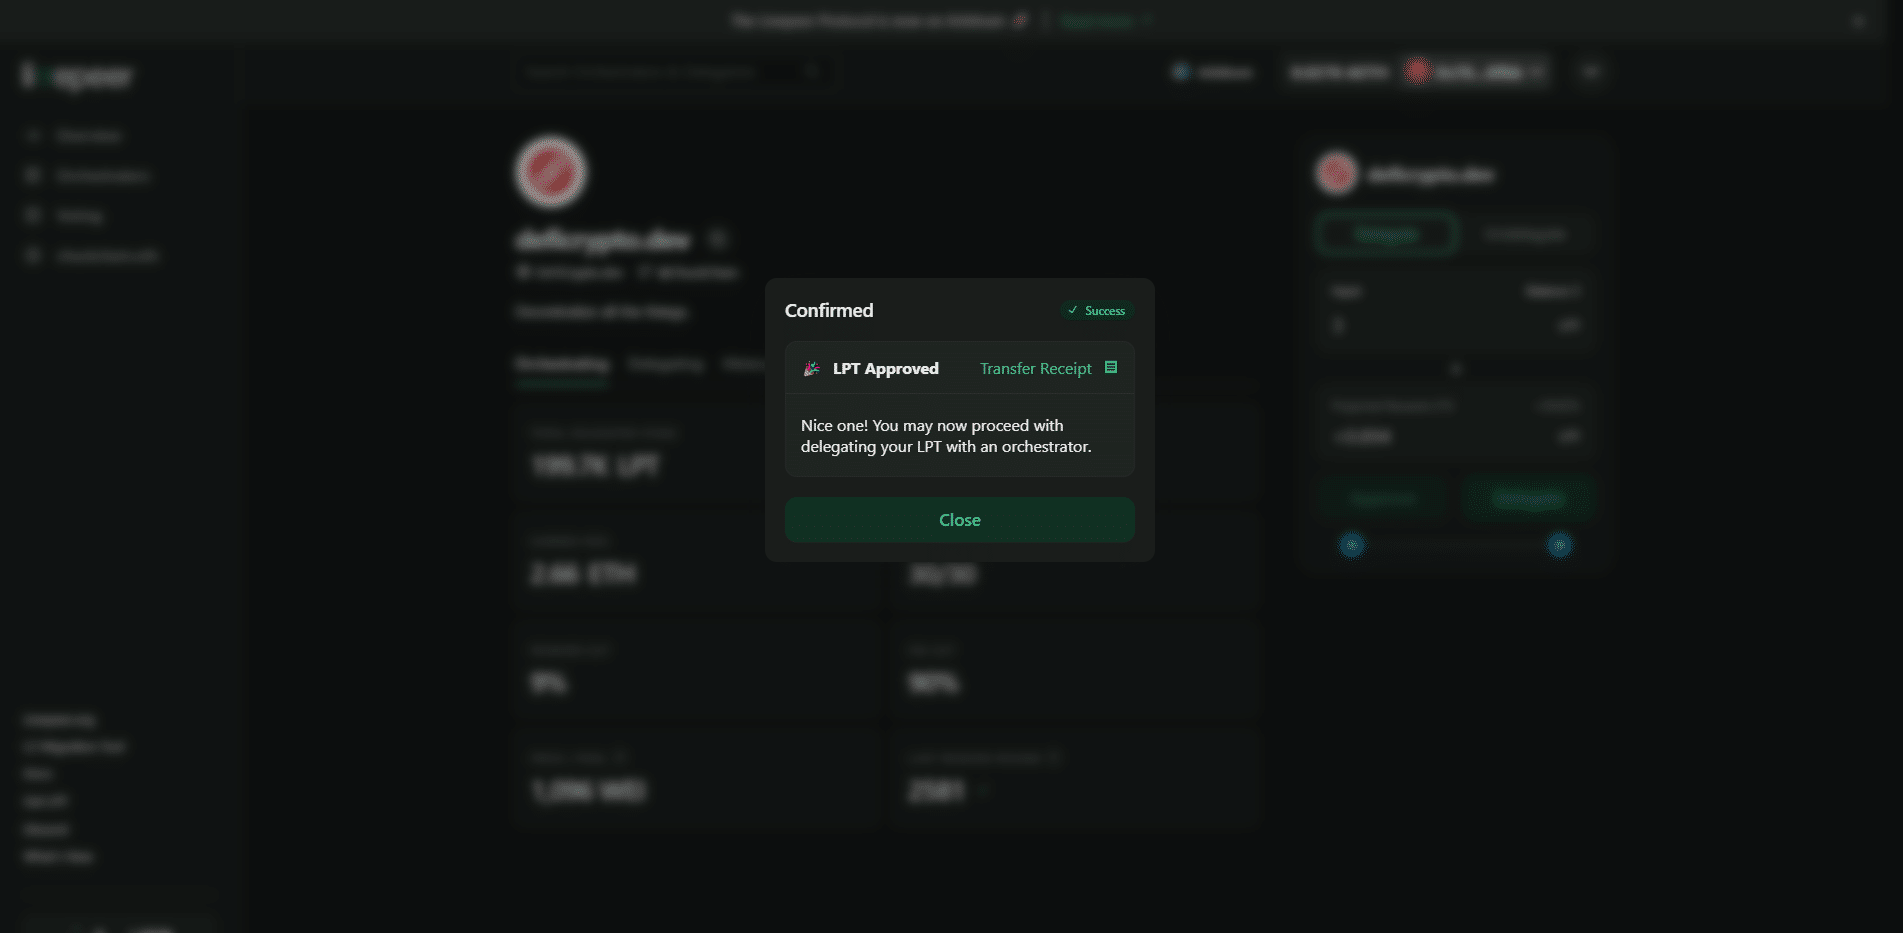
Approve your LPT for staking - You can now enter the amount of LPT you want to delegate in the box on the right, under Delegate, under Input. In this example, I input '3'. You will then see a green "Approve" button under the box on the left; click on it. This will prompt MetaMask or your other wallet provider to ask you to confirm that you want to approve your LPT for staking / delegating (this is kind of like "unlocking" your tokens so that you can stake your LPTs on the Livepeer network):Enter the amount of LPT you want to delegate and click on Approve.You must confirm the transaction with your wallet - the Transaction Fee should be very low.Once you confirm the transaction in your wallet, it will be broadcasted on the network - just wait for the transaction to confirm.
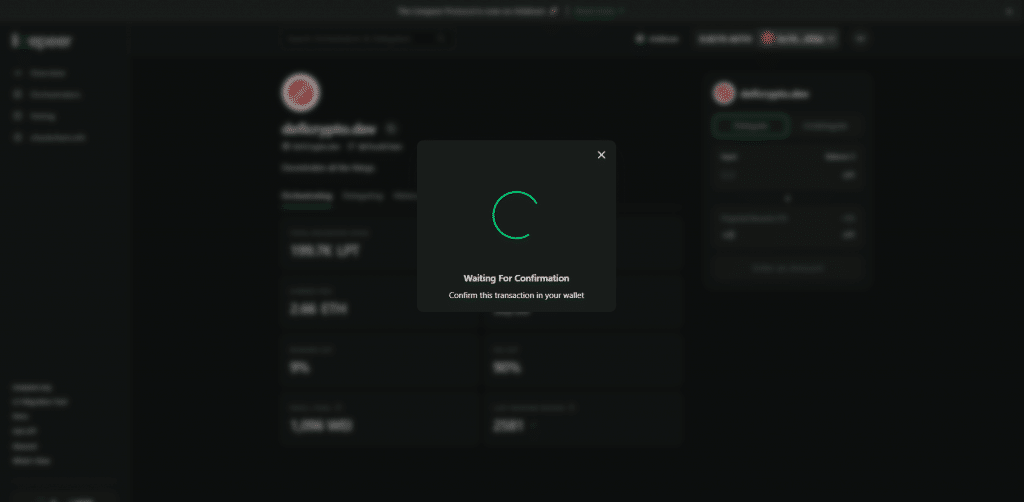
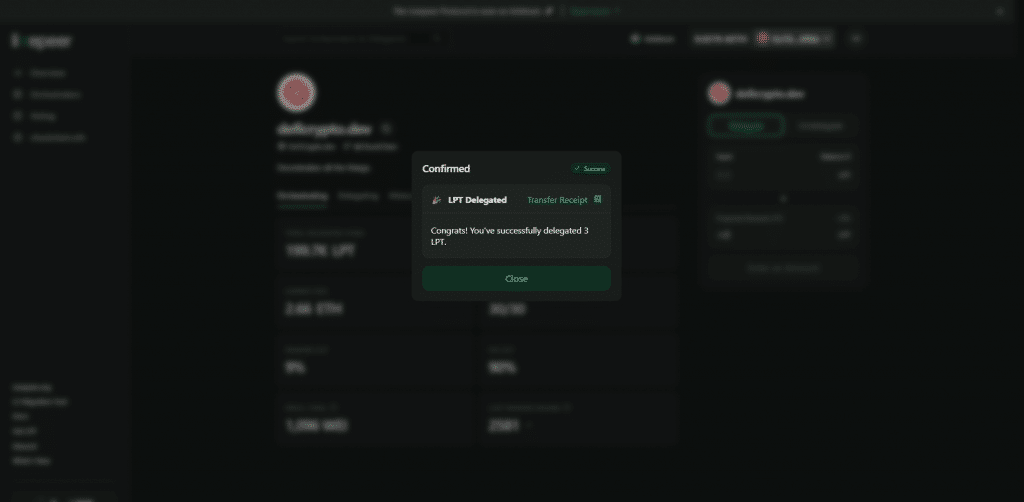
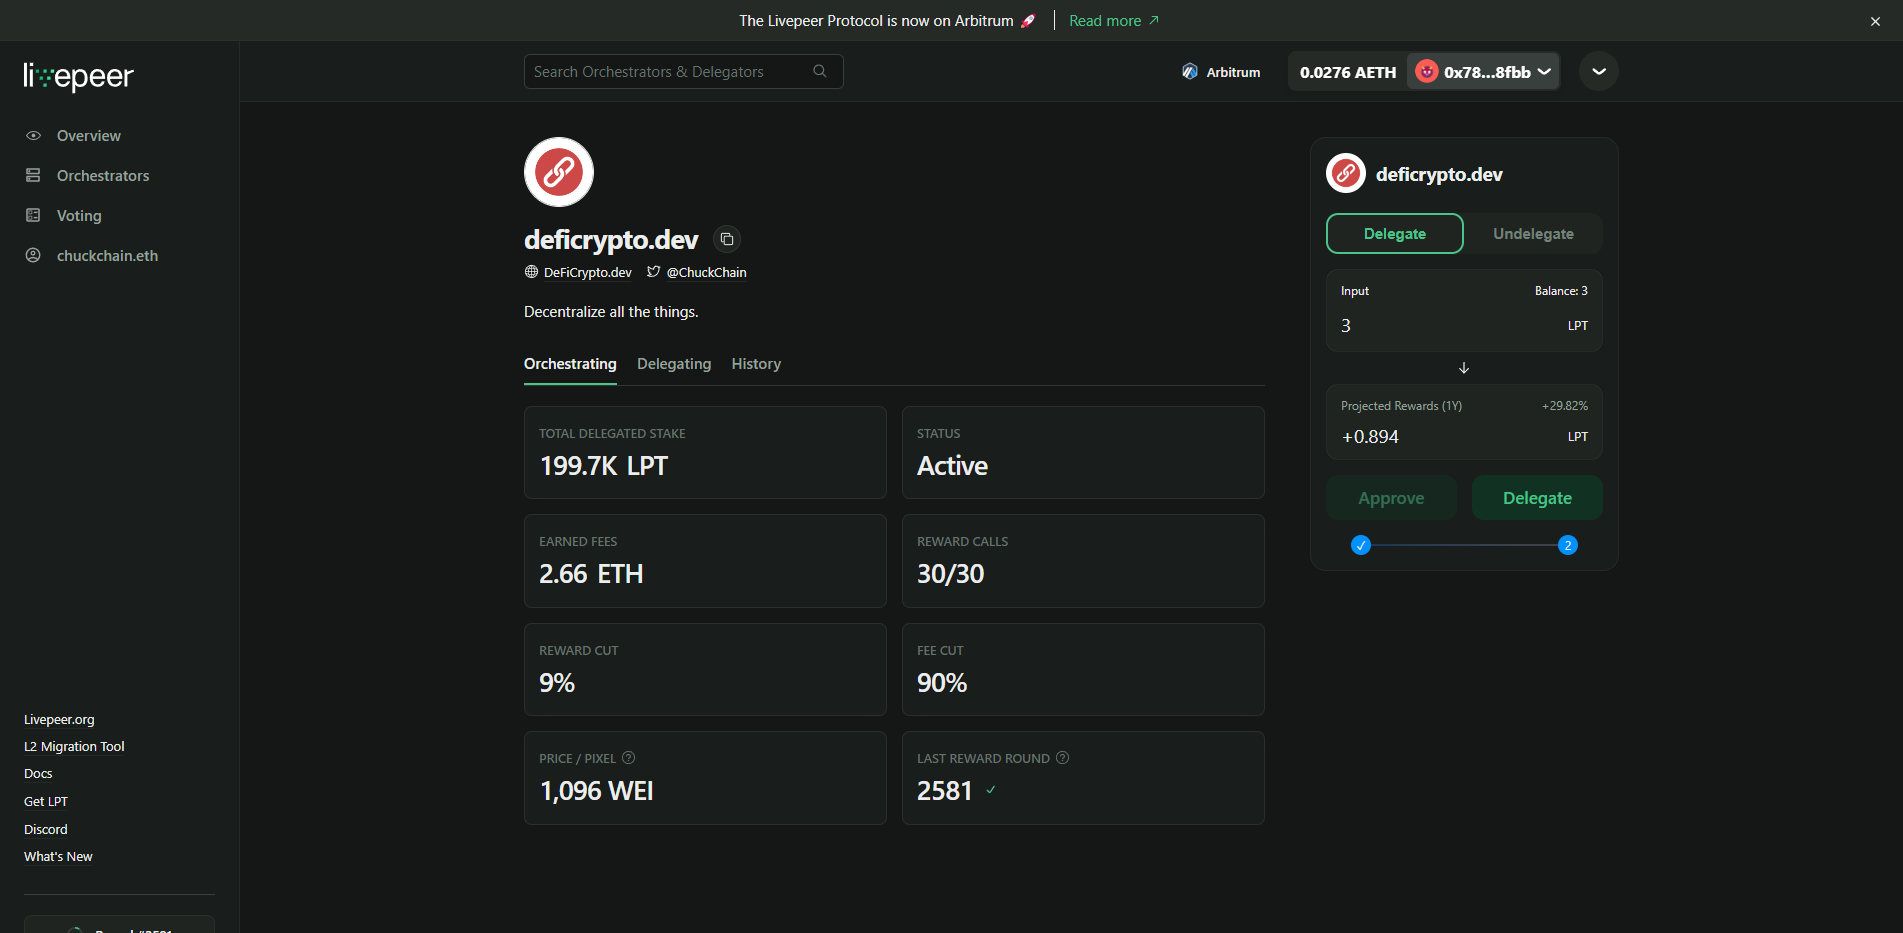
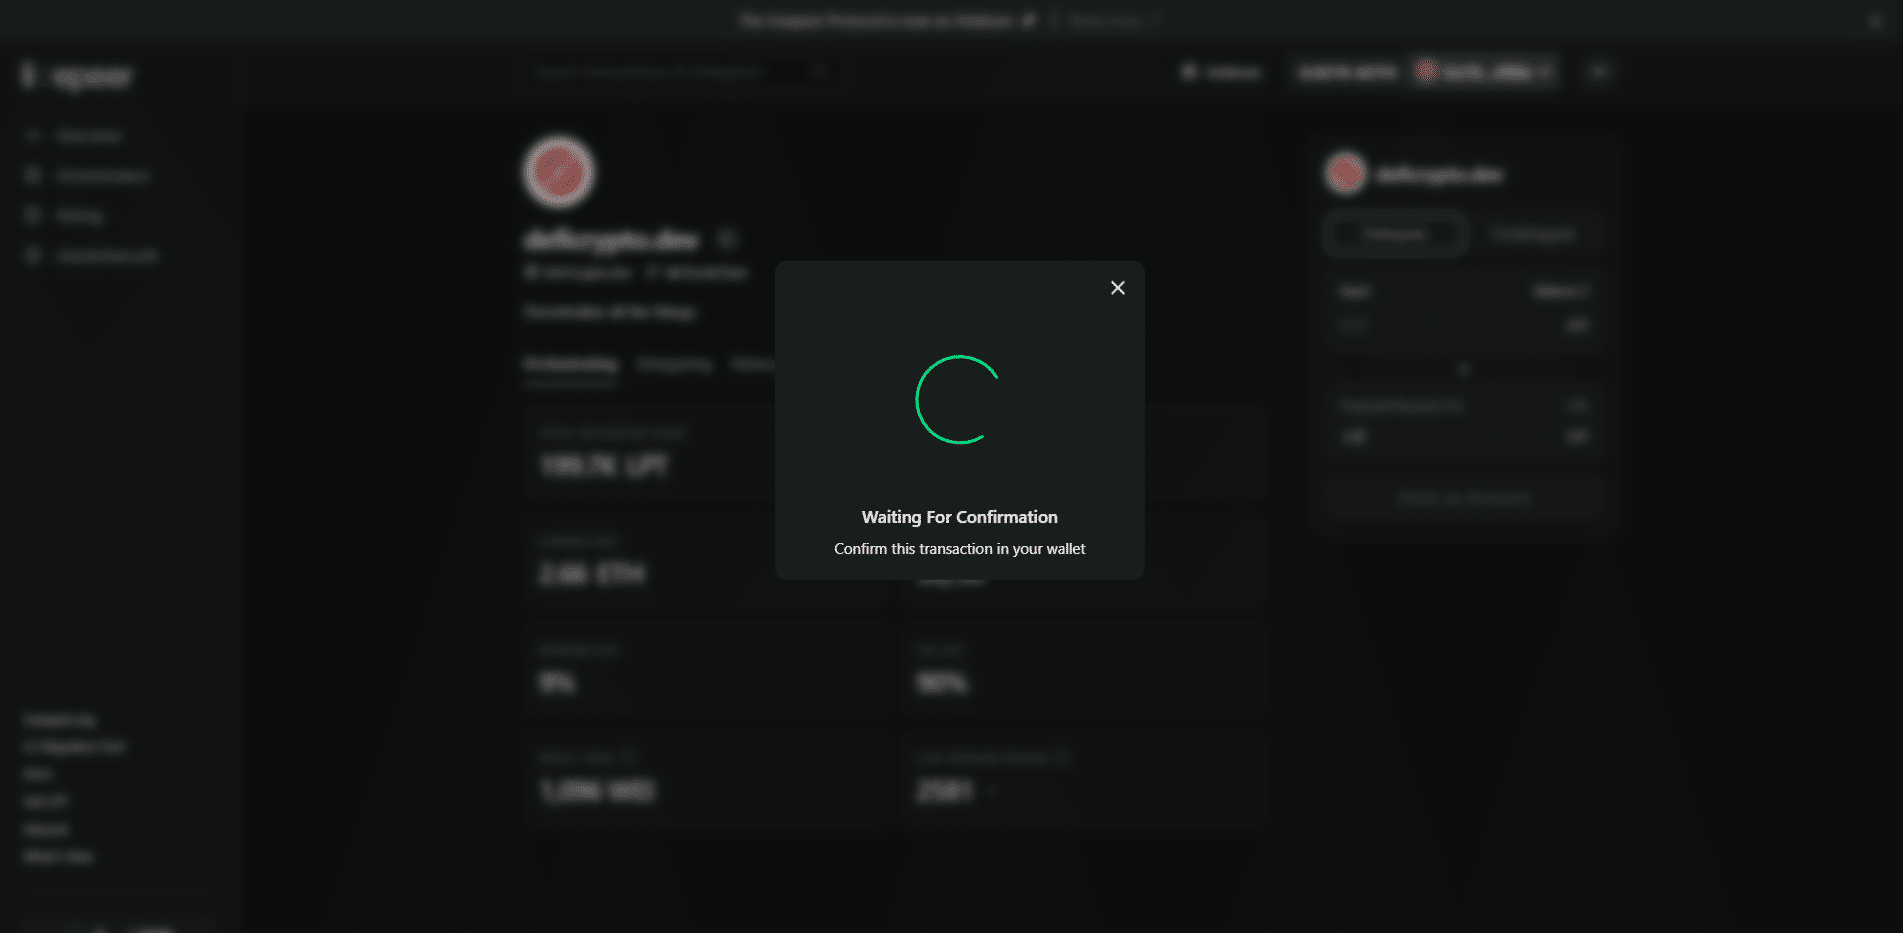
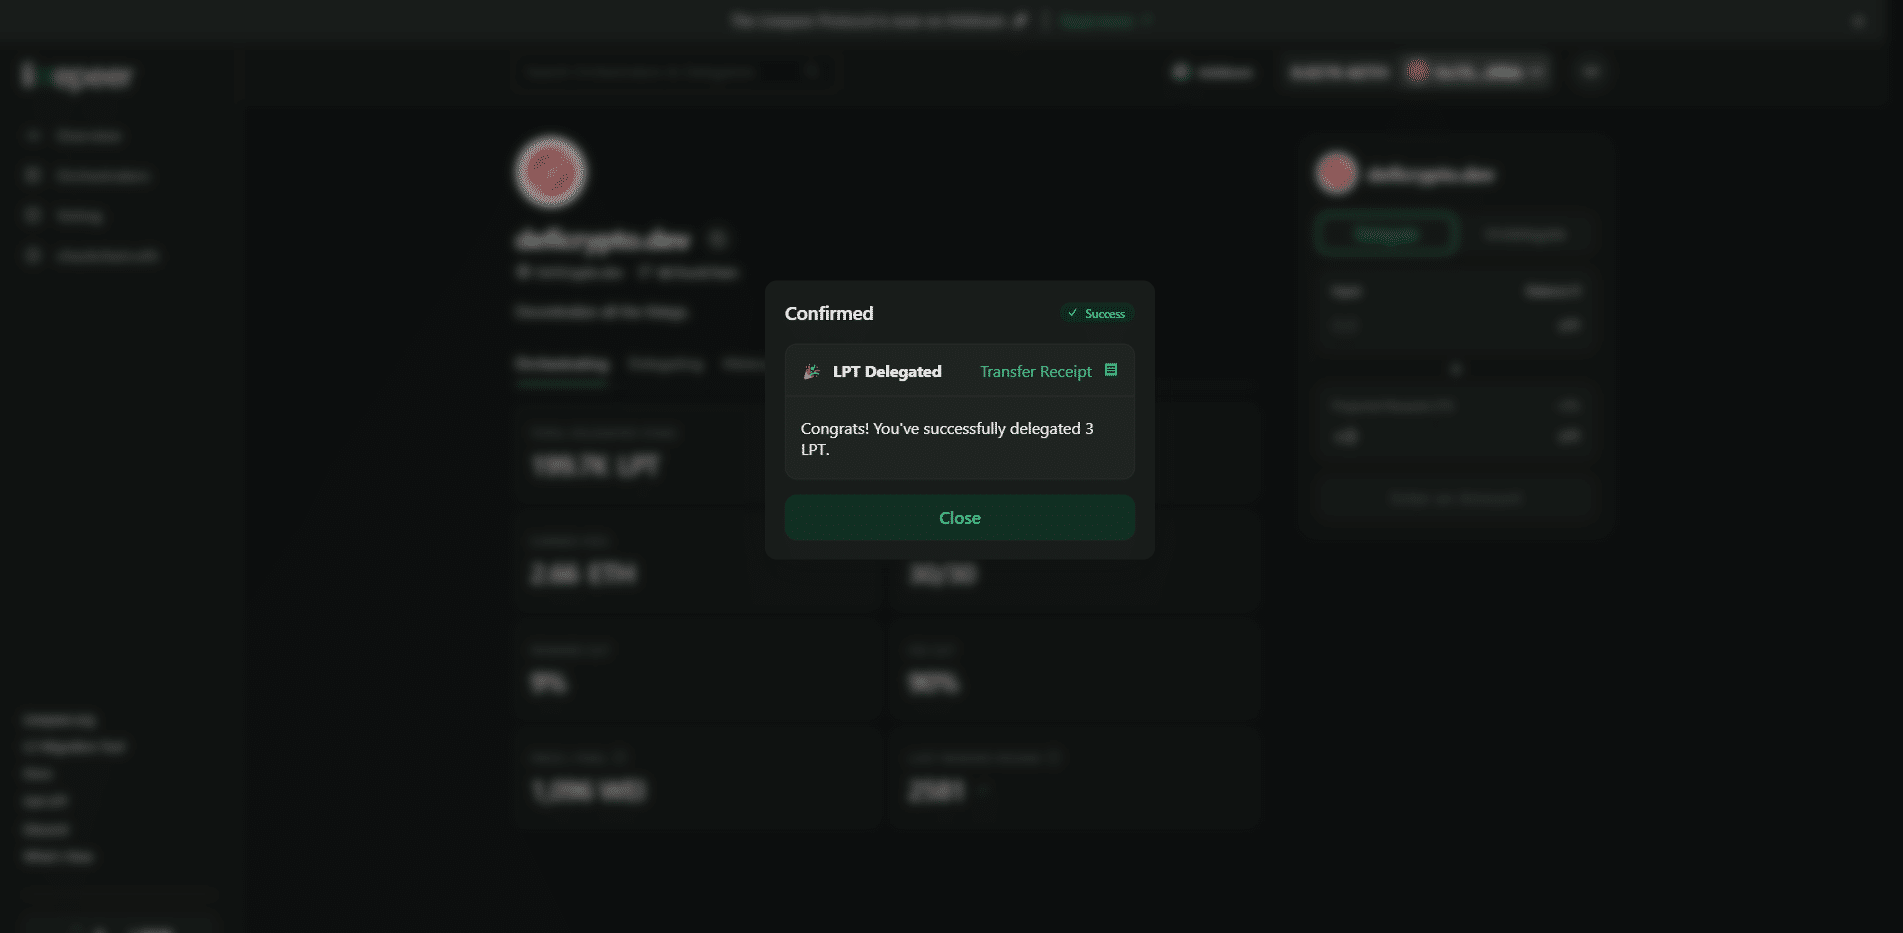
Delegate your LPT - Now in the same box on the right, you will be able to click on the green button "Delegate", and confirm the transaction with your wallet provider:Once approved, you can click on Delegate.You must confirm the transaction with your wallet - the Transaction Fee should once again be very low.Once the transaction is confirmed, your LPT will be staked to the orchestrator.
Congratulations! You're staking your LPTs - your LPTs are now staked to the orchestrator (we hope it's us). You'll get LPT rewards at each round. A round last approximately 22 hours. You don't have to do anything. Your LPT rewards will automatically restake to the same orchestrator. If you want to withdraw all or part of your LPTs at any point, you will just need to visit Explorer.Livepeer.org, connect to your account, click on your address, click on "Undelegate", and input the amount you want to undelegate. Please note that Livepeer requires 7 rounds (approximately 6.4 days) for the undelegation process to complete - while you're undelegating, you do not earn LPT rewards.
As a final note, while you will accrue LPT rewards automatically, remember to check back regularly to make sure that your orchestrator is claiming rewards every round and has not changed its reward and fee cuts.
Summary
That’s it, you’re now delegating your LTP tokens! That means you’ll be protected against inflation and more importantly, you’ll be helping the Livepeer network to do what it was designed to, offer open access to video and ai compute as well as video streaming, regardless of where a viewer lives or how good their internet is.